Step 1: Preheat the Oven - Begin by preheating your oven to 400°F (200°C). This ensures that your scones will bake evenly and achieve that beautiful golden color.
Step 2: Prepare Your Dry Ingredients - In a large mixing bowl, whisk together the all-purpose flour, cane sugar, baking powder, and sea salt until evenly combined.
Step 3: Cut in the Butter - Take your frozen stick of unsalted butter and grate it into the flour mixture. Alternatively, you can use a pastry cutter to cut the butter into small pieces.
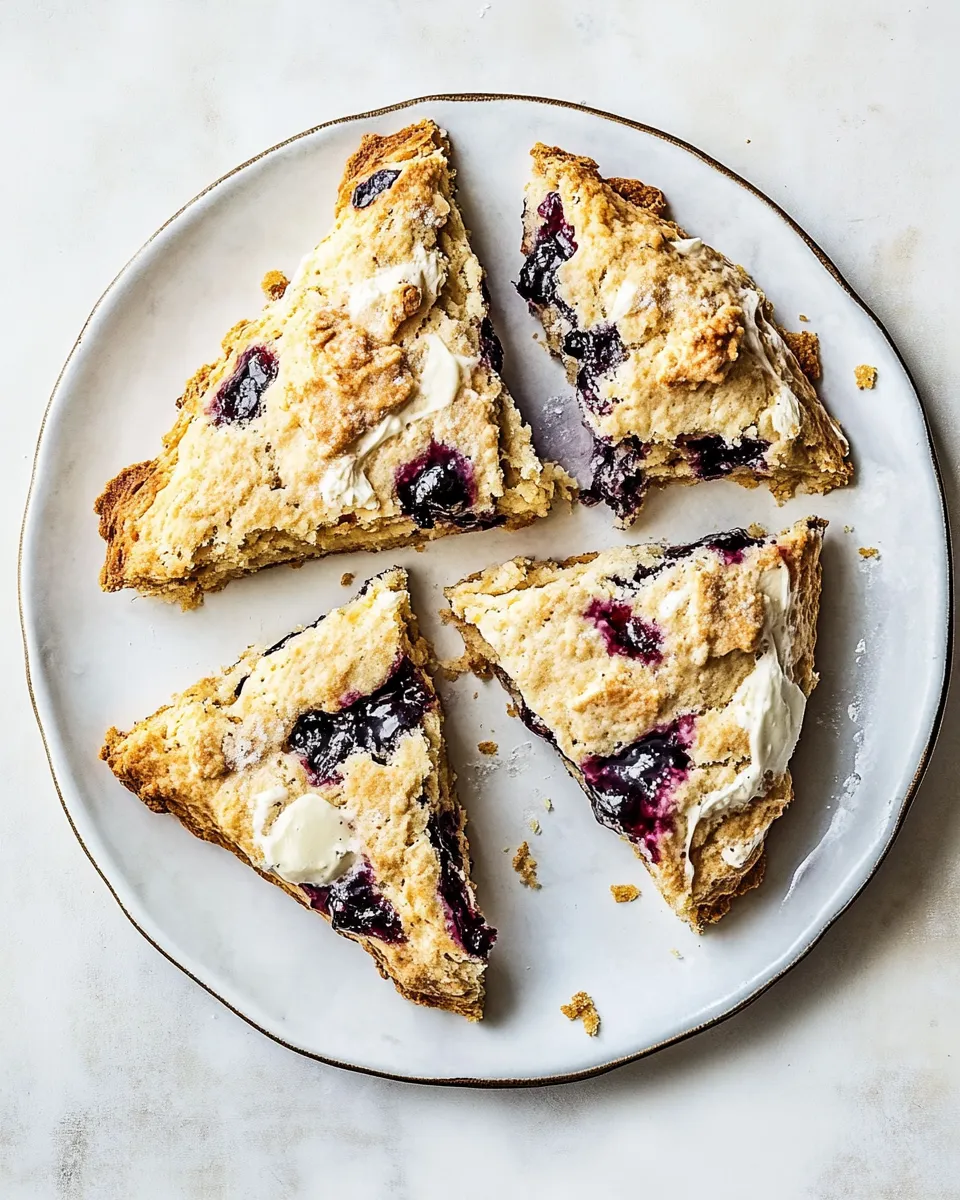
Step 4: Add the Mix-Ins - If you’re using any mix-ins, gently fold them into the flour mixture. This could be fresh berries, chocolate chips, or dried fruit—whatever you prefer!
Step 5: Mix the Wet Ingredients - In a separate bowl, whisk together the cold buttermilk (or heavy cream), egg, and vanilla extract until well combined.
Step 6: Combine Wet and Dry Ingredients - Pour the wet ingredients into the dry ingredients and stir gently with a spatula until just combined.
Step 7: Shape the Scones - Turn the dough out onto a lightly floured surface and gently pat it into a circle about 1 inch thick. Cut the dough into wedges or use a biscuit cutter for round scones.
Step 8: Brush and Sprinkle - Brush the tops of the scones with additional buttermilk or cream and sprinkle coarse sugar over the top for that extra crunch.
Step 9: Bake - Bake in the preheated oven for 15-20 minutes or until the scones are golden brown and a toothpick inserted into the center comes out clean.
Step 10: Cool and Serve - Once baked, remove the scones from the oven and let them cool on a wire rack for a few minutes. Serve warm or at room temperature, and enjoy!