Preheat your oven to 350°F (175°C) and grease your 9x13-inch baking pan or line it with parchment paper for easy removal.
In a large mixing bowl, cream together the softened unsalted butter and brown sugar until the mixture is light and fluffy. This should take about 2-3 minutes with an electric mixer.
Beat in the large egg and vanilla extract until fully incorporated.
In another bowl, whisk together the baking soda, salt, and all-purpose flour. Gradually add this dry mixture to the wet ingredients, mixing just until combined.
Fold in the quick-cooking oats until evenly distributed throughout the batter.
Spread half of the oat mixture into the prepared baking pan, pressing it down to form an even layer. Bake in the preheated oven for about 10 minutes, just until it starts to set but is not fully cooked.
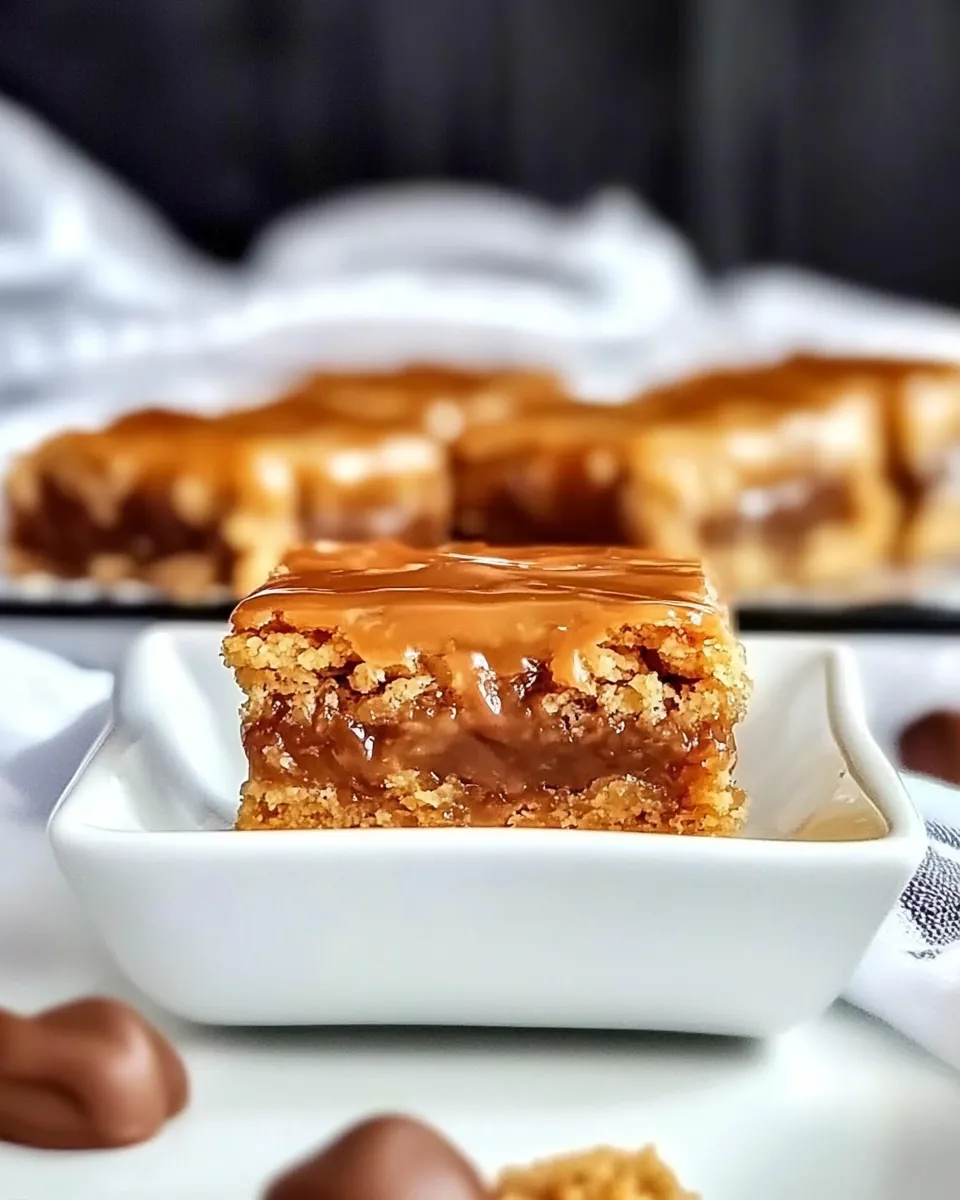
Remove the pan from the oven and evenly spread the dulce de leche over the baked oat layer. Make sure to cover it completely for maximum flavor.
Take the remaining oat mixture and crumble it over the dulce de leche layer, ensuring it’s evenly distributed.
Return the pan to the oven and bake for an additional 20-25 minutes, or until the top is golden brown and the edges are set.
Allow the bars to cool in the pan for at least 15 minutes before lifting them out using the parchment paper. Once cooled, cut into squares and serve!