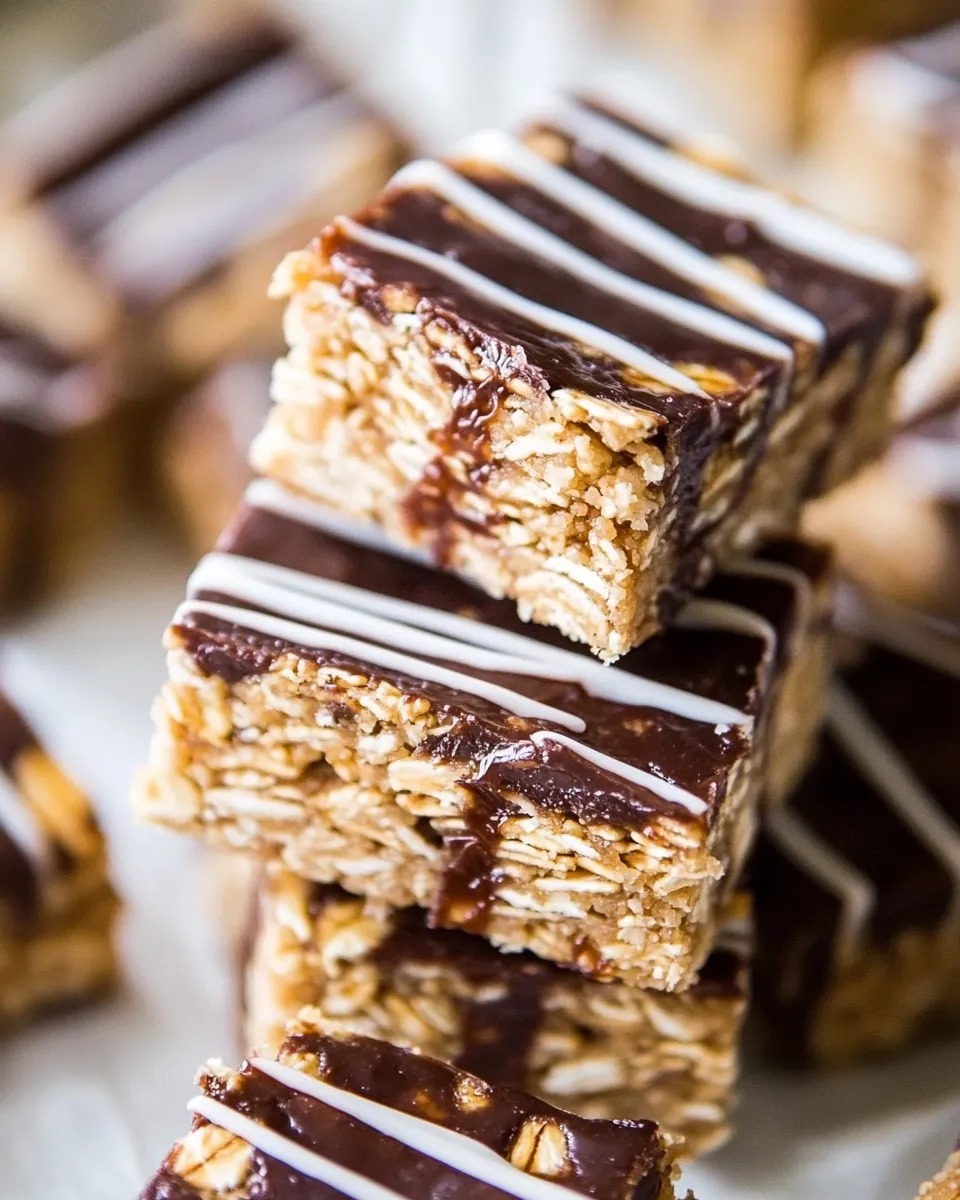
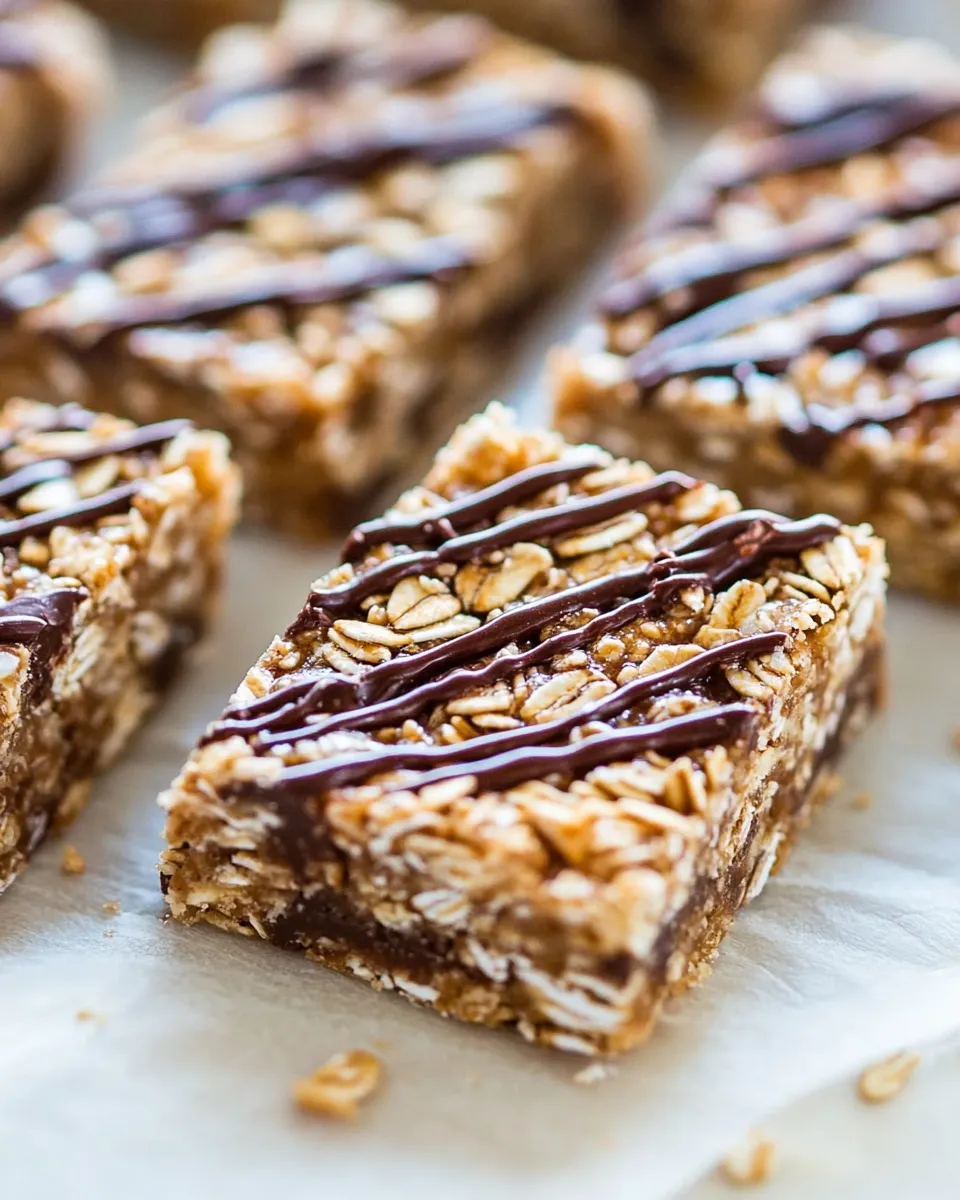
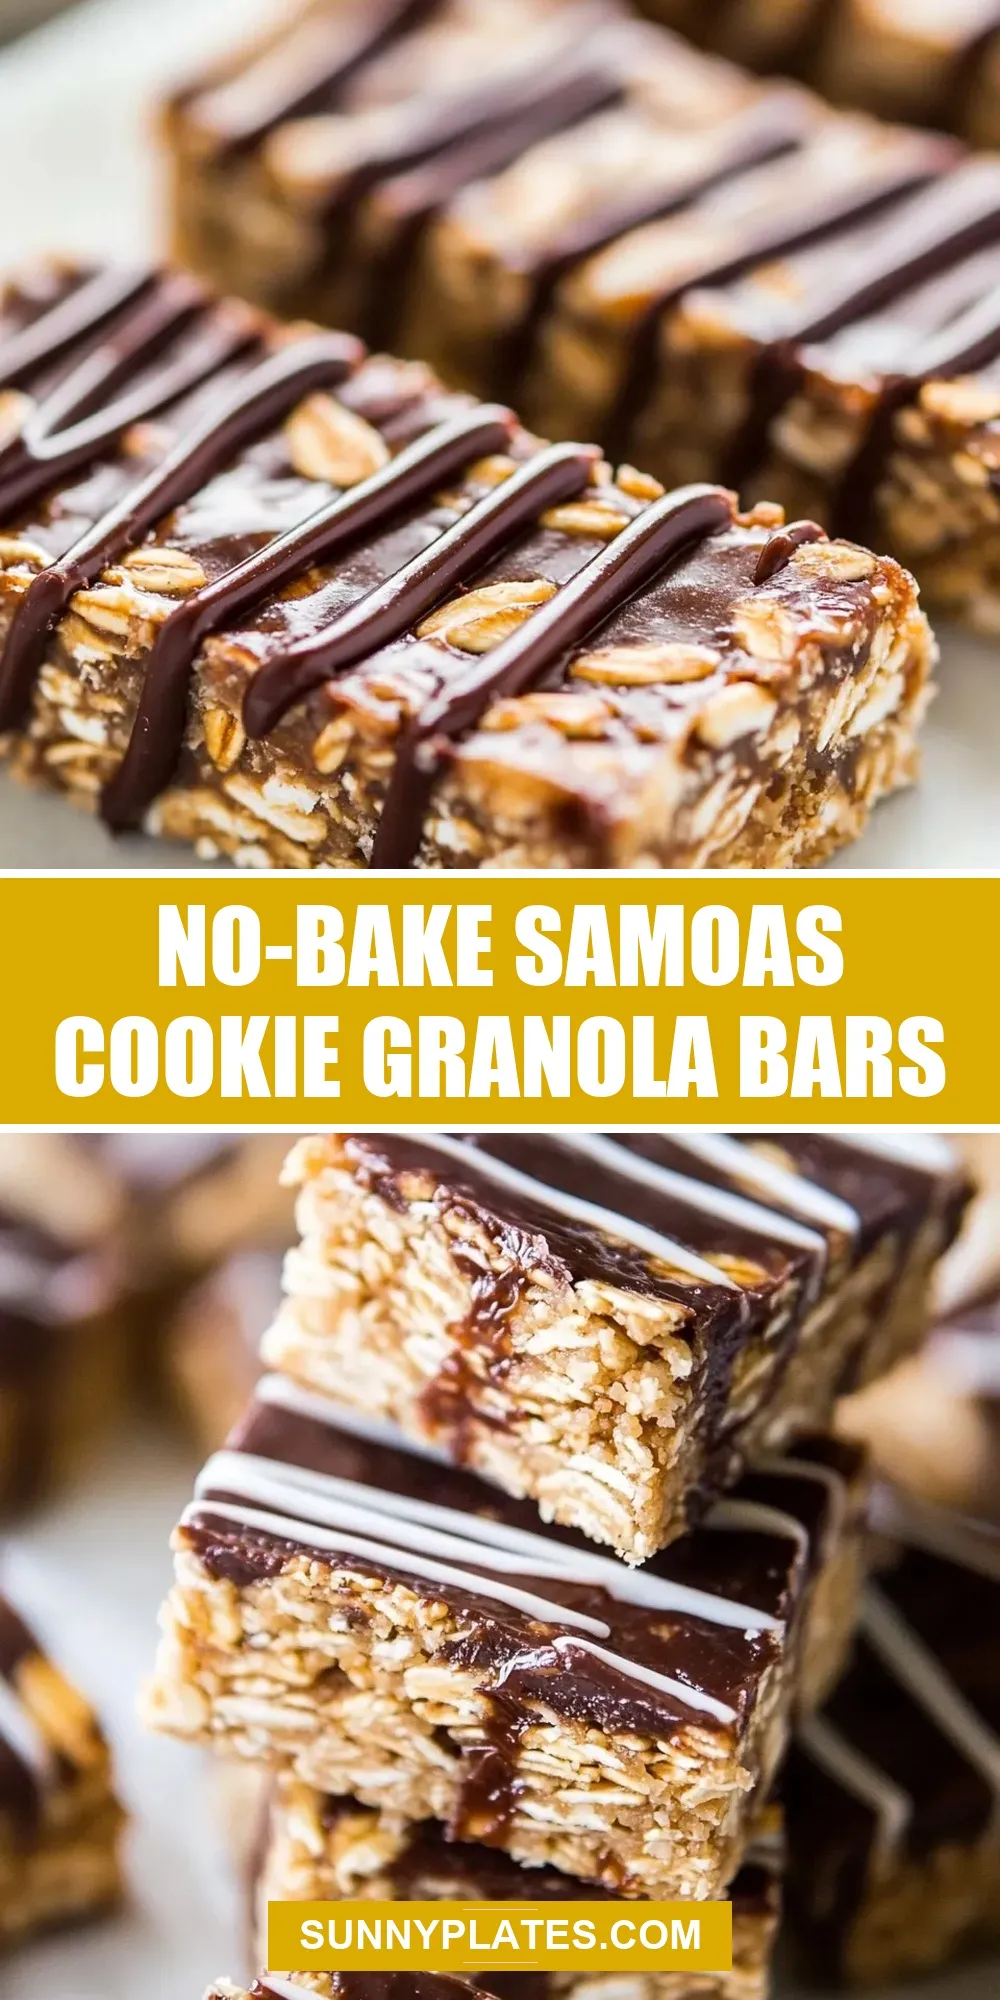
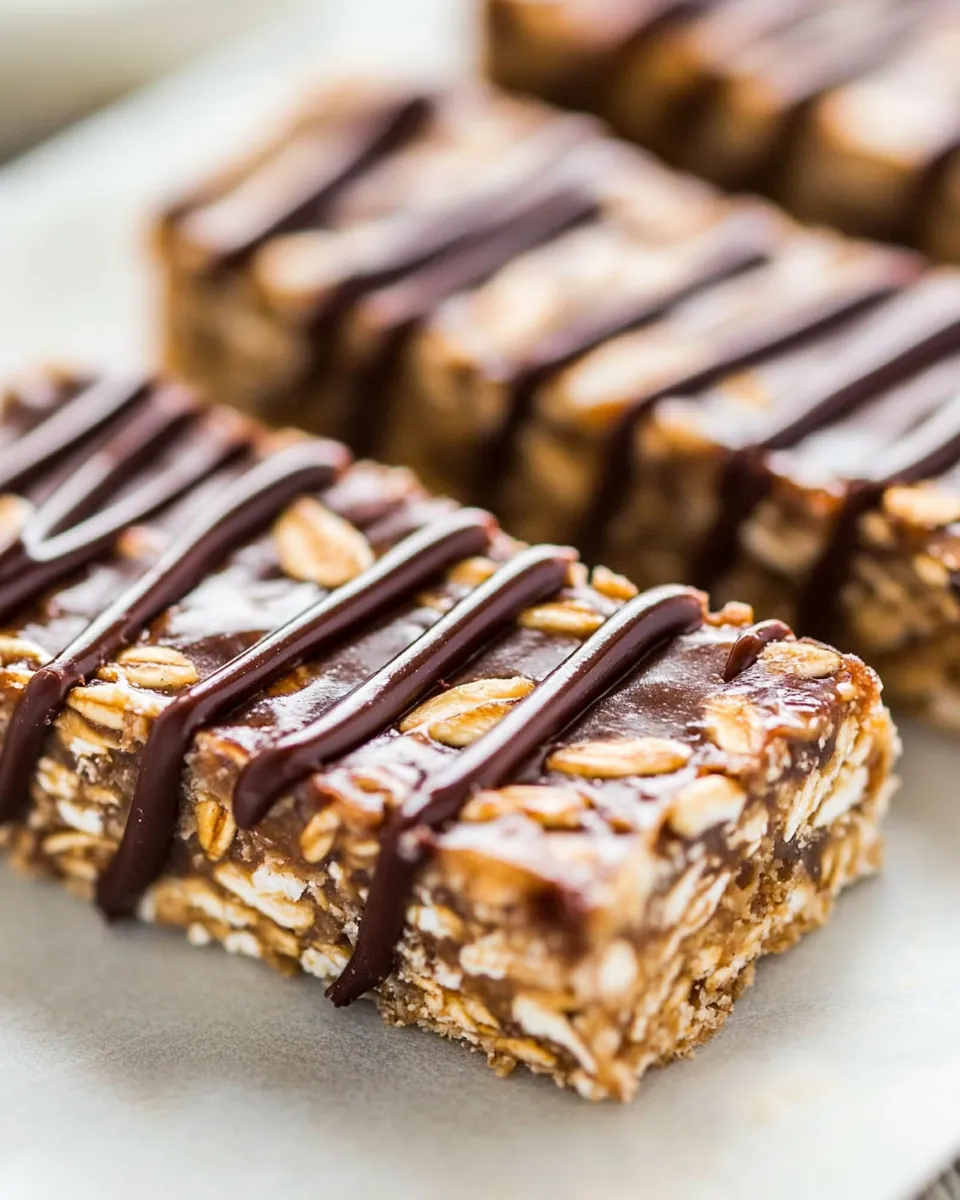
No-Bake Samoas Cookie Granola Bars
If you love the classic flavors of Samoas cookies but want a healthier, no-bake option, you’re in for a treat! These No-Bake Samoas Cookie Granola Bars combine the rich taste of coconut and caramel with the satisfying crunch of oats, making them the perfect snack for any time of day. Plus, they’re incredibly easy to whip up and require no baking—just mixing and chilling. So grab your ingredients, and let’s get started!
Why You’ll Keep Making It
These No-Bake Samoas Cookie Granola Bars are not only delicious, but they are also versatile and packed with wholesome ingredients. You can customize them to fit your taste and dietary needs, whether you want to keep them vegan or simply enjoy a healthier treat. The combination of sweetened shredded coconut, oats, and a hint of cinnamon creates a delightful chewiness that makes these bars hard to resist. Plus, with the option to drizzle melted chocolate on top, they’re sure to satisfy any sweet tooth!
Ingredients at a Glance
- 1 cup coconut oil, melted or in liquid state
- 1 cup light corn syrup (or honey, brown rice syrup, or yacon syrup for a vegan option)
- 1 cup granulated sugar
- 1 cup light brown sugar, packed
- 3 cups sweetened shredded coconut
- 2 ½ cups quick-cook oats (use Certified Gluten Free Quick Cooking Oats)
- 1 teaspoon cinnamon
- 1 teaspoon vanilla extract
- Pinch of salt, optional and to taste
- ½ cup semi-sweet chocolate chips, melted for drizzling (optional)
Tools & Equipment Needed
- Large mixing bowl: For combining all your ingredients.
- 9×13 inch baking pan: To shape and set your granola bars.
- Parchment paper: For easy removal of the bars.
- Spatula: To mix and spread the mixture evenly.
- Double boiler or microwave-safe bowl: For melting chocolate (if using).
Cooking No-Bake Samoas Cookie Granola Bars: The Process

Step 1: Prepare Your Pan
Start by lining a 9×13 inch baking pan with parchment paper. This will help you easily lift out the bars once they have set.
Step 2: Melt the Base Ingredients
In a large mixing bowl, combine the melted coconut oil, light corn syrup, granulated sugar, and light brown sugar. Stir until everything is well combined and the sugars have dissolved.
Step 3: Add Flavor and Texture
Now, add the sweetened shredded coconut, quick-cook oats, cinnamon, vanilla extract, and a pinch of salt (if using). Mix everything together until all the dry ingredients are well coated with the wet mixture.
Step 4: Press into the Pan
Transfer the mixture into the prepared baking pan. Using a spatula, press the mixture down firmly and evenly. This helps the bars hold together once they have set.
Step 5: Chill and Set
Place the pan in the refrigerator for at least 2 hours, or until the mixture is firm enough to cut into bars.
Step 6: Optional Drizzle
If you’re adding a chocolate drizzle, melt the semi-sweet chocolate chips using a double boiler or microwave. Once melted, drizzle the chocolate over the set granola bars. Return the pan to the refrigerator for an additional 30 minutes to allow the chocolate to harden.
Flavor-Forward Alternatives
- Nut butters: Add a few tablespoons of almond or peanut butter for a nutty twist.
- Dried fruit: Toss in some chopped dried apricots or cranberries for added sweetness and texture.
- Seeds: Add flaxseeds or chia seeds for an extra boost of nutrition.
- Spices: Experiment with spices like nutmeg or allspice to enhance the flavors.
Watch Outs & How to Fix
- Bars falling apart: Ensure you press the mixture firmly into the pan to help them hold together. If they still fall apart, mix in a bit more melted coconut oil to help bind them.
- Too sweet: If the bars are too sweet for your taste, reduce the amount of granulated sugar in the mixture next time.
- Chocolate not drizzling well: If your chocolate is too thick for drizzling, add a small amount of coconut oil to thin it out.
- Overcooked chocolate: Be careful when melting chocolate. Heat it gradually to avoid burning.
Storage Pro Tips
These No-Bake Samoas Cookie Granola Bars can be stored in an airtight container in the refrigerator for up to a week. For longer storage, you can freeze them! Just wrap each bar individually in plastic wrap and place them in a freezer-safe container. They will keep well for up to three months. When you’re ready to enjoy them, simply thaw in the refrigerator or at room temperature.
Your Top Questions
Can I make these bars gluten-free?
Absolutely! Just ensure you use Certified Gluten Free Quick Cooking Oats to guarantee they are gluten-free.
Can I substitute the corn syrup with something else?
Yes, you can use honey, brown rice syrup, or yacon syrup as a replacement for corn syrup. Each option will slightly alter the flavor, but they will all work well!
How can I make these bars more chocolatey?
For more chocolate flavor, consider mixing chocolate chips directly into the granola mixture before pressing it into the pan. You can also use dark chocolate chips for a richer taste.
Can I add nuts to the recipe?
Definitely! Chopped nuts like almonds, walnuts, or pecans would make a great addition. Just be sure to adjust the amount of oats to maintain the right texture.
Because You Liked This
That’s a Wrap
With these No-Bake Samoas Cookie Granola Bars, you can indulge in a sweet treat without the guilt. These bars are perfect for meal prep, a quick breakfast on the go, or a satisfying afternoon snack. The combination of coconut, oats, and chocolate will leave you wanting more, and you can feel good knowing they’re made with wholesome ingredients. So gather your supplies, channel your inner food blogger, and get ready to enjoy a delicious homemade snack that is sure to impress!
Share on Pinterest
No-Bake Samoas Cookie Granola Bars
Ingredients
Equipment
Method
- Start by lining a 9x13 inch baking pan with parchment paper. This will help you easily lift out the bars once they have set.
- In a large mixing bowl, combine the melted coconut oil, light corn syrup, granulated sugar, and light brown sugar. Stir until everything is well combined and the sugars have dissolved.
- Now, add the sweetened shredded coconut, quick-cook oats, cinnamon, vanilla extract, and a pinch of salt (if using). Mix everything together until all the dry ingredients are well coated with the wet mixture.
- Transfer the mixture into the prepared baking pan. Using a spatula, press the mixture down firmly and evenly. This helps the bars hold together once they have set.
- Place the pan in the refrigerator for at least 2 hours, or until the mixture is firm enough to cut into bars.
- If you’re adding a chocolate drizzle, melt the semi-sweet chocolate chips using a double boiler or microwave. Once melted, drizzle the chocolate over the set granola bars. Return the pan to the refrigerator for an additional 30 minutes to allow the chocolate to harden.
Notes
- Store bars in an airtight container in the refrigerator for up to a week.
- Freeze individual bars wrapped in plastic for up to three months.
- Ensure to use Certified Gluten Free oats for gluten-free options.