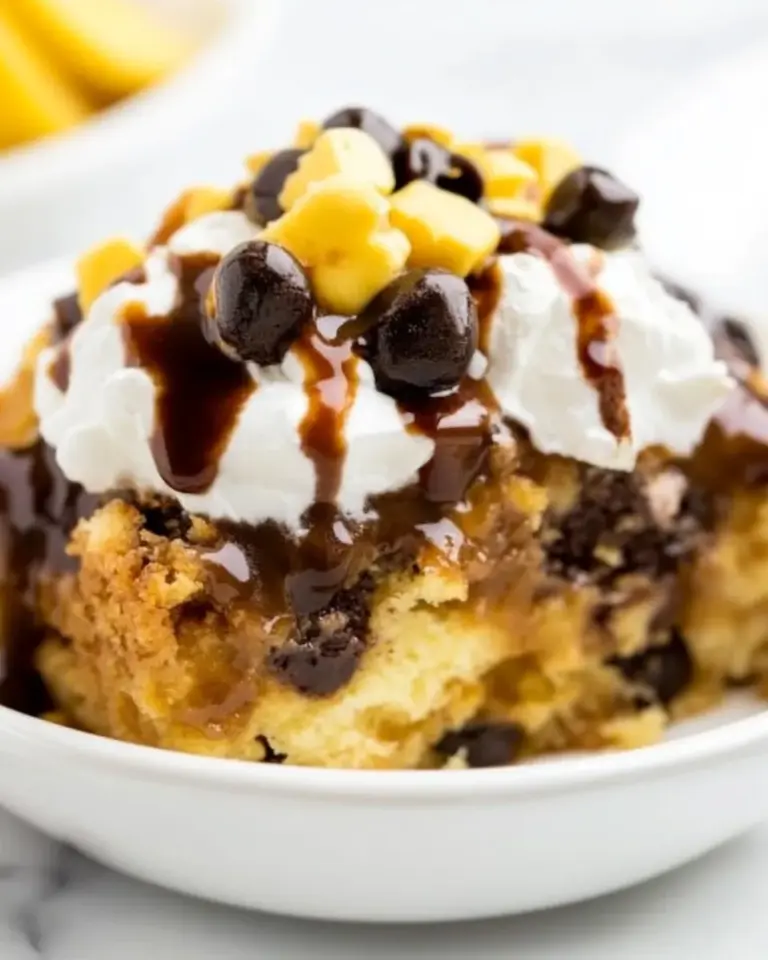
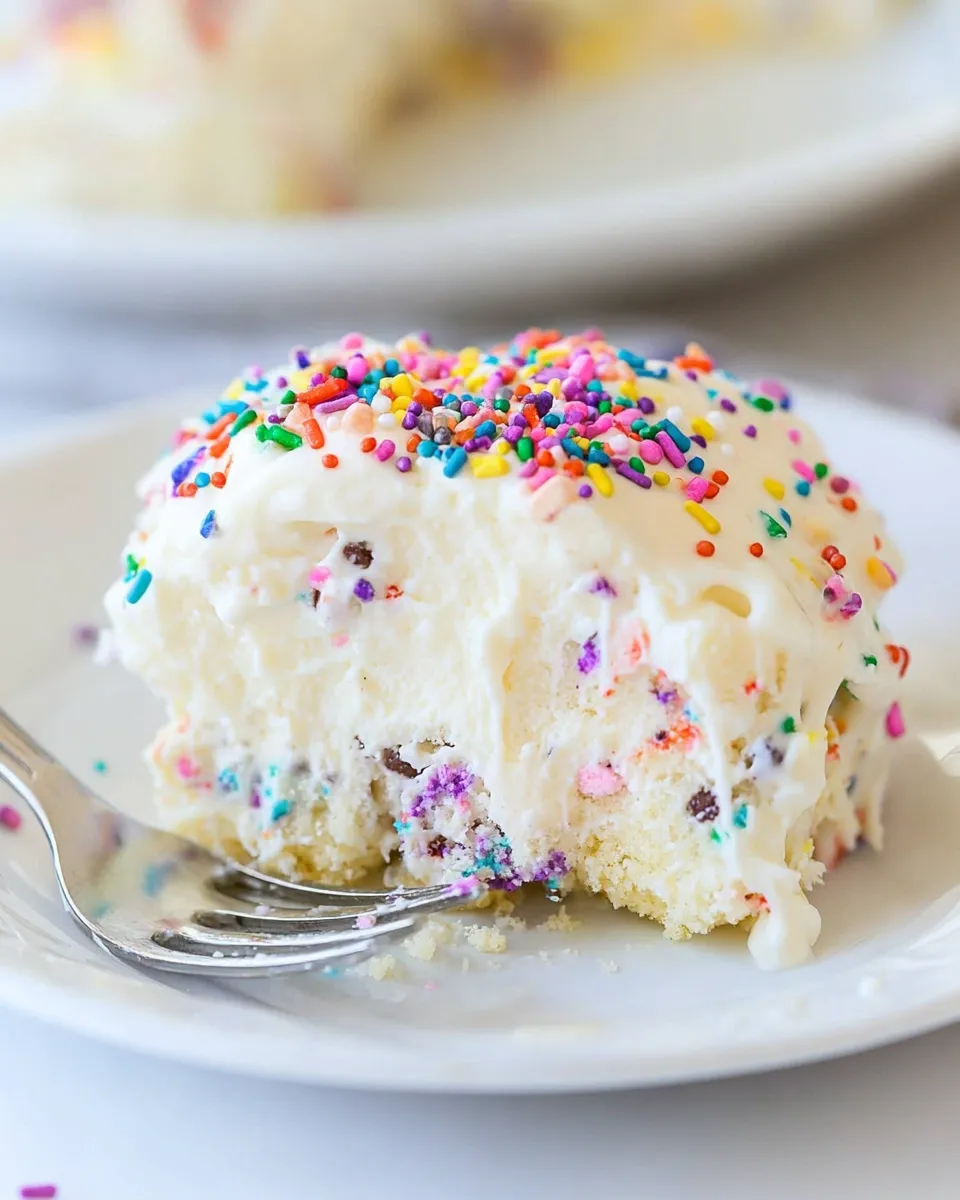
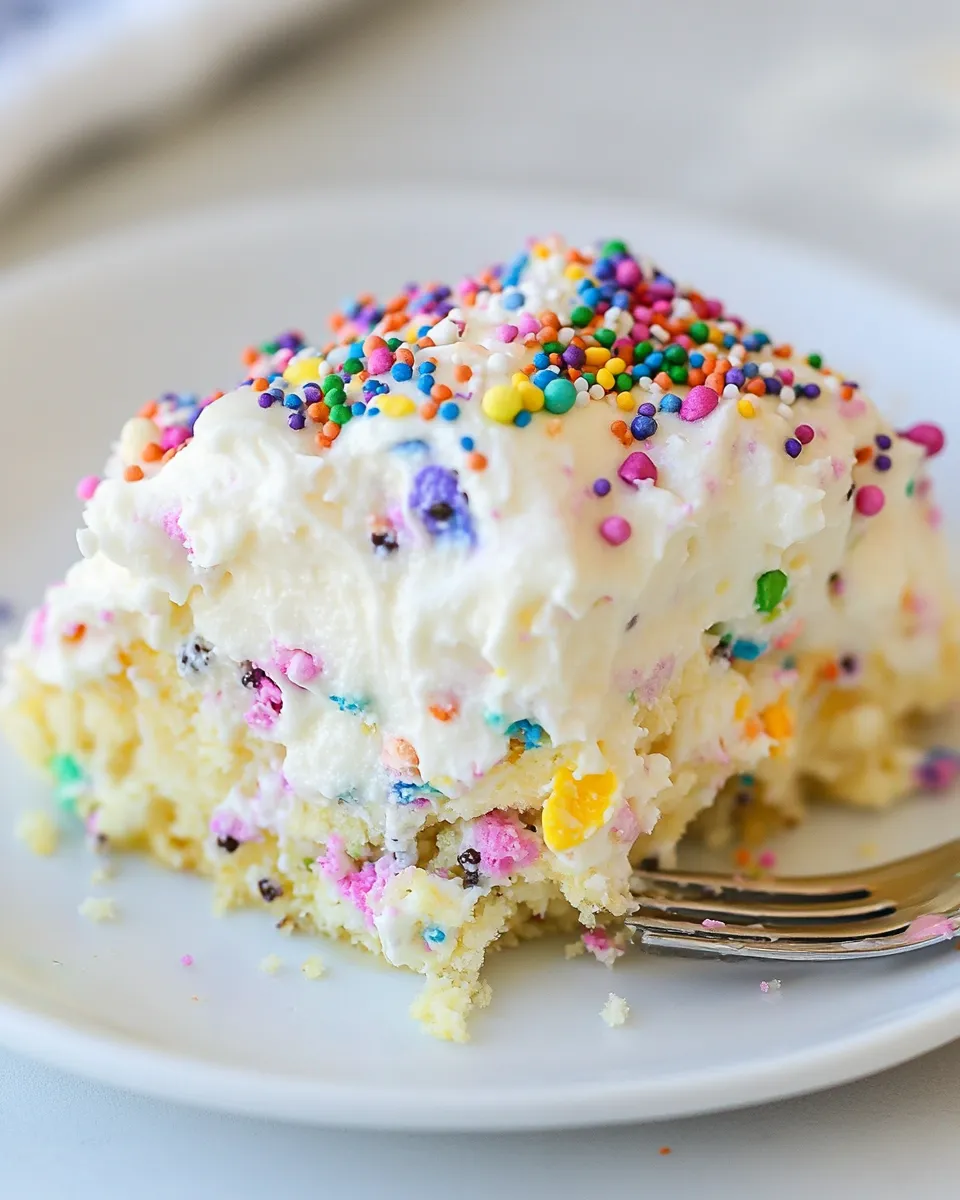
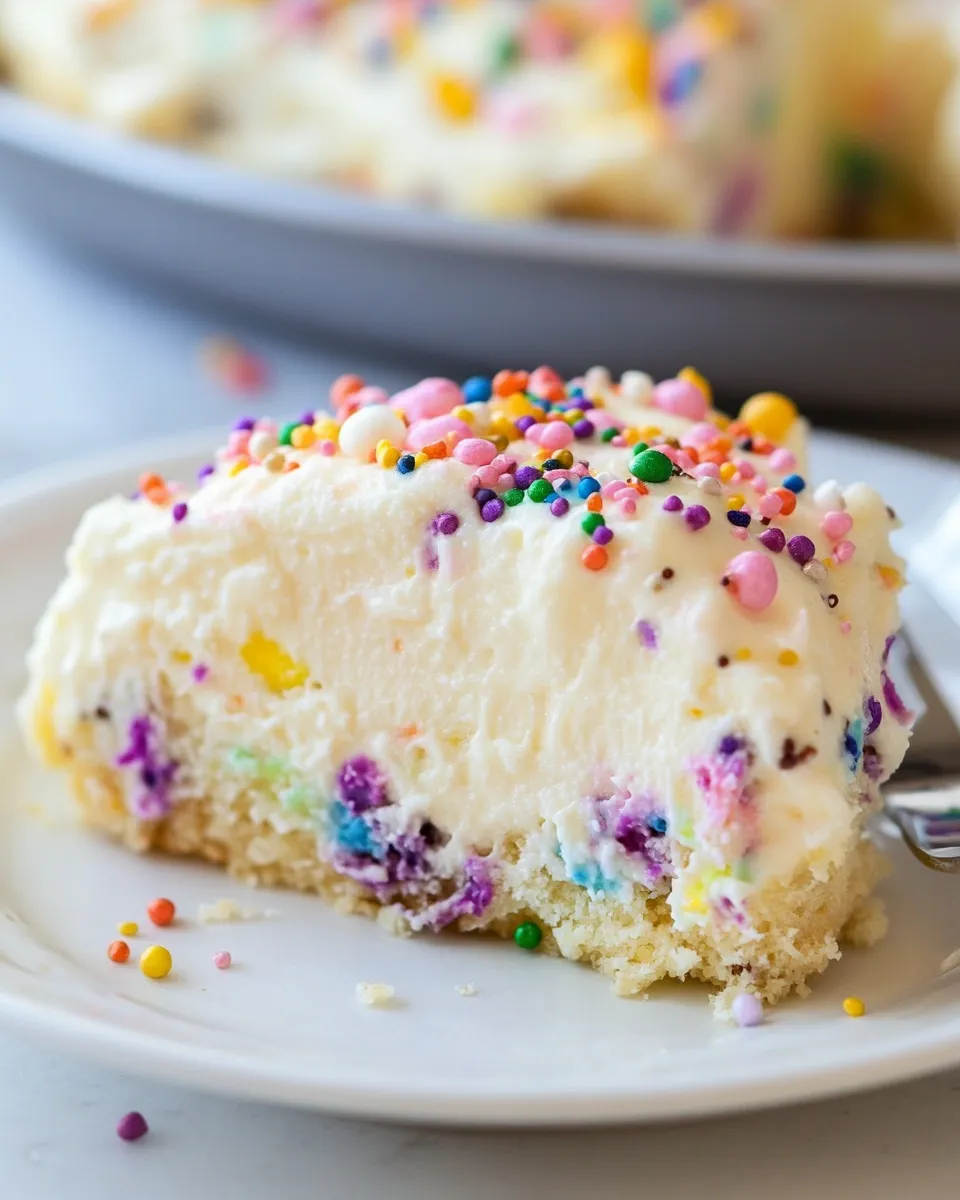
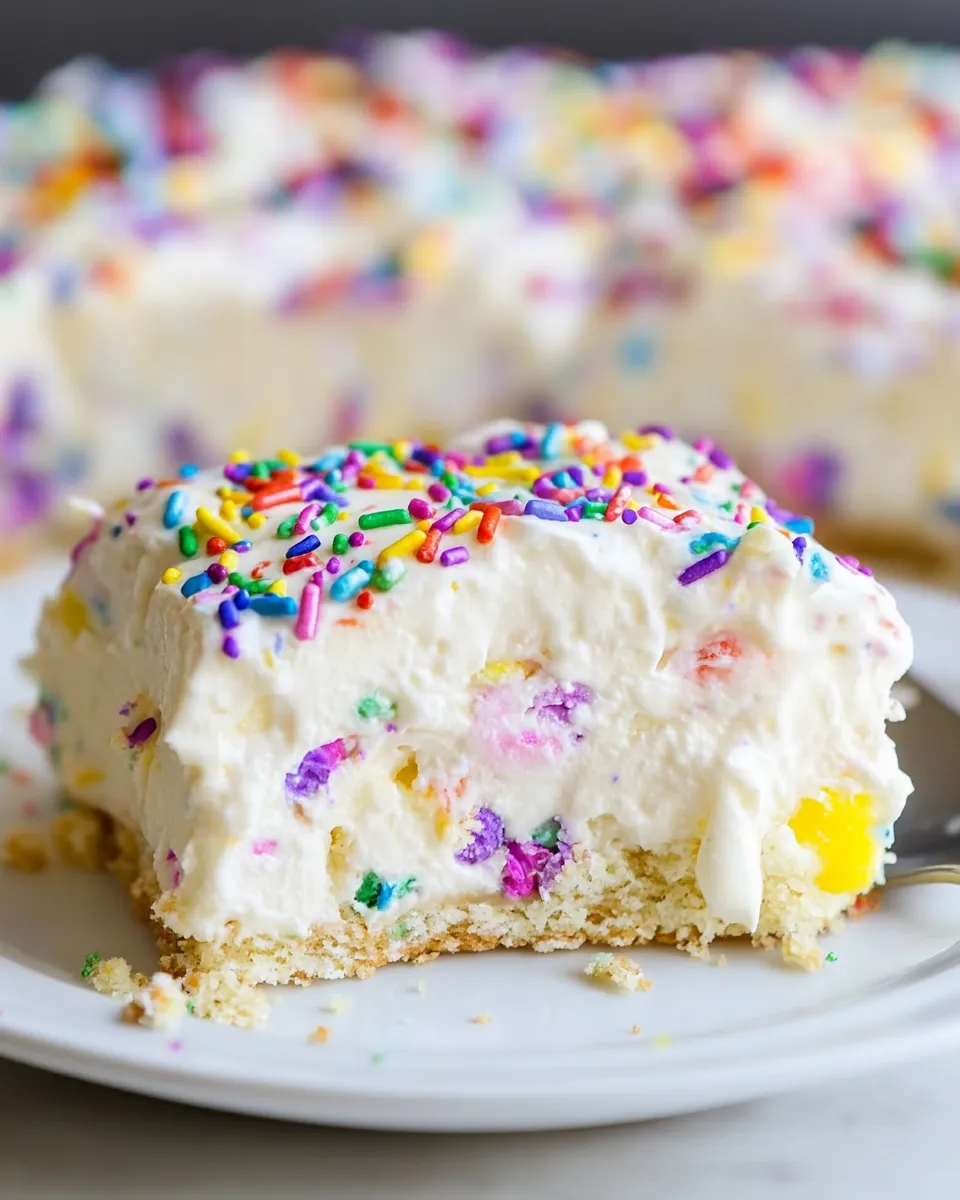
No Bake Funfetti Lush Dessert
If you’re on the lookout for a dessert that embodies celebration, joy, and a sprinkle of whimsy, look no further than this No Bake Funfetti Lush Dessert. It’s a delightful treat that combines the nostalgic flavors of birthday cake with the creamy, luscious textures that make every spoonful a joy. Perfect for parties, potlucks, or just because, this dessert is sure to impress both kids and adults alike. Plus, the best part? You don’t have to turn on the oven!
Why You’ll Love This Recipe
This No Bake Funfetti Lush Dessert is a multi-layered masterpiece that not only looks stunning but also tastes heavenly. Here are a few reasons why this recipe will become a staple in your dessert repertoire:
- Easy to Make: No baking required means less hassle and cleanup!
- Visually Appealing: The layers of colors and sprinkles make it a showstopper.
- Creamy and Rich: The combination of cream cheese and Cool Whip creates an irresistibly fluffy filling.
- Customizable: You can easily tweak ingredients to suit your taste or dietary needs.
- Perfect for Celebrations: Whether it’s a birthday or just a fun get-together, this dessert fits any occasion.
Ingredient Rundown
Gather these ingredients to make your very own No Bake Funfetti Lush Dessert:
- 15.25-ounce package Birthday Cake Oreos: Crushed into crumbs for the crust.
- 4 tablespoons salted butter: Melted to bind the Oreo crust together.
- 8 ounces cream cheese: At room temperature for a smooth filling.
- 1 cup powdered sugar: Sweetens the cream cheese layer perfectly.
- 0.5 teaspoon vanilla extract: Adds depth of flavor.
- 0.5 teaspoon butter extract: Enhances the buttery cake flavor.
- 0.25 teaspoon almond extract: A touch of nuttiness to elevate the taste.
- 4 ounces Cool Whip: For a light and fluffy texture in the filling.
- 2 tablespoons rainbow sprinkles: Because every dessert needs a pop of color!
- 5.1-ounce box vanilla pudding: Creates a creamy layer that complements the other flavors.
- 2 cups milk: For mixing with the vanilla pudding.
- 4 ounces Cool Whip: Another layer of whipped topping for extra creaminess.
- 8-ounce tub Cool Whip: Topped for a fluffy finish.
- 2 tablespoons rainbow sprinkles: For decoration on top.
Kitchen Gear Checklist
Before you dive into making this dessert, gather the following kitchen gear:
- 9×13 inch baking dish: The perfect size for layering your luscious dessert.
- Mixing bowls: For combining your ingredients.
- Electric mixer: To whip the cream cheese until fluffy.
- Spatula: For folding and spreading layers smoothly.
- Measuring cups and spoons: To ensure accurate ingredient amounts.
Step-by-Step: No Bake Funfetti Lush Dessert
Step 1: Prepare the Oreo Crust
In a mixing bowl, combine the crushed Birthday Cake Oreos with the melted salted butter. Mix until the crumbs are evenly coated with butter and resemble wet sand. Press this mixture firmly into the bottom of a 9×13 inch baking dish to create an even crust. Set aside.
Step 2: Make the Cream Cheese Layer
In another bowl, beat the cream cheese until smooth and creamy using an electric mixer. Gradually add in the powdered sugar, blending until fully incorporated. Mix in the vanilla extract, butter extract, and almond extract. Gently fold in 4 ounces of Cool Whip until well combined. Spread this cream cheese mixture over the Oreo crust, smoothing it out evenly with a spatula.
Step 3: Prepare the Vanilla Pudding Layer
In a separate bowl, whisk together the vanilla pudding mix and 2 cups of milk until it thickens, which should take about 2 minutes. Once thickened, spread the pudding over the cream cheese layer. Top with a sprinkle of rainbow sprinkles for added fun!
Step 4: Add the Whipped Topping
Spread another 4 ounces of Cool Whip over the vanilla pudding layer, smoothing it out evenly. This will create a lovely fluffy layer that complements the other textures.
Step 5: Final Touches
Finish off your No Bake Funfetti Lush Dessert by topping with the remaining 8 ounces of Cool Whip. Spread it evenly and garnish with an additional 2 tablespoons of rainbow sprinkles. Cover the baking dish with plastic wrap and refrigerate for at least 4 hours, or preferably overnight, to allow the layers to set properly.
Make It Your Way
Feel free to customize your No Bake Funfetti Lush Dessert with these ideas:
- Swap Birthday Cake Oreos for regular Oreos or another flavor to change up the crust.
- Add fresh fruit like strawberries or blueberries for a fruity twist.
- Incorporate different extract flavors, such as coconut or lemon, for a unique taste.
- Use dairy-free cream cheese and Cool Whip for a plant-based option.
Method to the Madness
The beauty of this No Bake Funfetti Lush Dessert lies in its simplicity. Each layer complements the others, creating a delightful balance of textures and flavors. The crunchy Oreo crust provides a perfect base, while the cream cheese layer adds richness. The vanilla pudding introduces a creamy sweetness, and the Cool Whip on top adds a lightness that makes it all come together beautifully. The rainbow sprinkles not only enhance the visual appeal but also add a fun crunch that makes every bite exciting.
Storage Pro Tips
To keep your No Bake Funfetti Lush Dessert fresh and delicious:
- Store leftovers in an airtight container in the refrigerator for up to 5 days.
- For best texture, enjoy within the first few days after making.
- You can freeze the dessert for up to a month. Just make sure to wrap it tightly to prevent freezer burn.
- Thaw in the refrigerator overnight before serving if frozen.
Helpful Q&A
Can I make this dessert ahead of time?
Absolutely! In fact, it’s best to make it at least 4 hours in advance, but overnight is even better. This allows the layers to set and the flavors to meld beautifully.
What can I use if I can’t find Birthday Cake Oreos?
You can substitute regular Oreos or any vanilla-flavored cookie for the crust. Each will give a slightly different flavor but will work equally well.
How can I make this dessert gluten-free?
To make the dessert gluten-free, simply use gluten-free cookies in place of the Birthday Cake Oreos. Ensure that all other ingredients are also certified gluten-free.
Can I use homemade whipped cream instead of Cool Whip?
Yes! You can definitely use homemade whipped cream. Just ensure it’s whipped to stiff peaks for the best texture and stability.
Our Most-Loved Recipes
Explore more delicious recipes that you’ll love:
Let’s Eat
Now that you know how to prepare this delightful No Bake Funfetti Lush Dessert, gather your ingredients and get started! With each layer you create, you’ll feel the excitement building for that first bite. Whether it’s a special occasion or just a sweet treat for yourself, this dessert is bound to bring smiles and joy to your table. Enjoy every creamy, colorful, and delicious moment!
No Bake Funfetti Lush Dessert
Ingredients
Equipment
Method
- In a mixing bowl, combine the crushed Birthday Cake Oreos with the melted salted butter. Mix until the crumbs resemble wet sand. Press into the bottom of a 9x13 inch baking dish to create a crust. Set aside.
- In another bowl, beat the cream cheese until smooth. Gradually add powdered sugar, blending until incorporated. Mix in vanilla, butter, and almond extracts. Gently fold in 4 ounces of Cool Whip. Spread over the Oreo crust.
- In a separate bowl, whisk together vanilla pudding mix and milk until thickened. Spread over the cream cheese layer and top with rainbow sprinkles.
- Spread another 4 ounces of Cool Whip over the pudding layer. This adds a fluffy texture.
- Top with the remaining 8 ounces of Cool Whip and garnish with 2 tablespoons of rainbow sprinkles. Cover and refrigerate for at least 4 hours or overnight.
Notes
- Store leftovers in an airtight container in the refrigerator for up to 5 days.
- For best texture, enjoy within the first few days after making.
- You can freeze the dessert for up to a month, wrapping it tightly to prevent freezer burn.