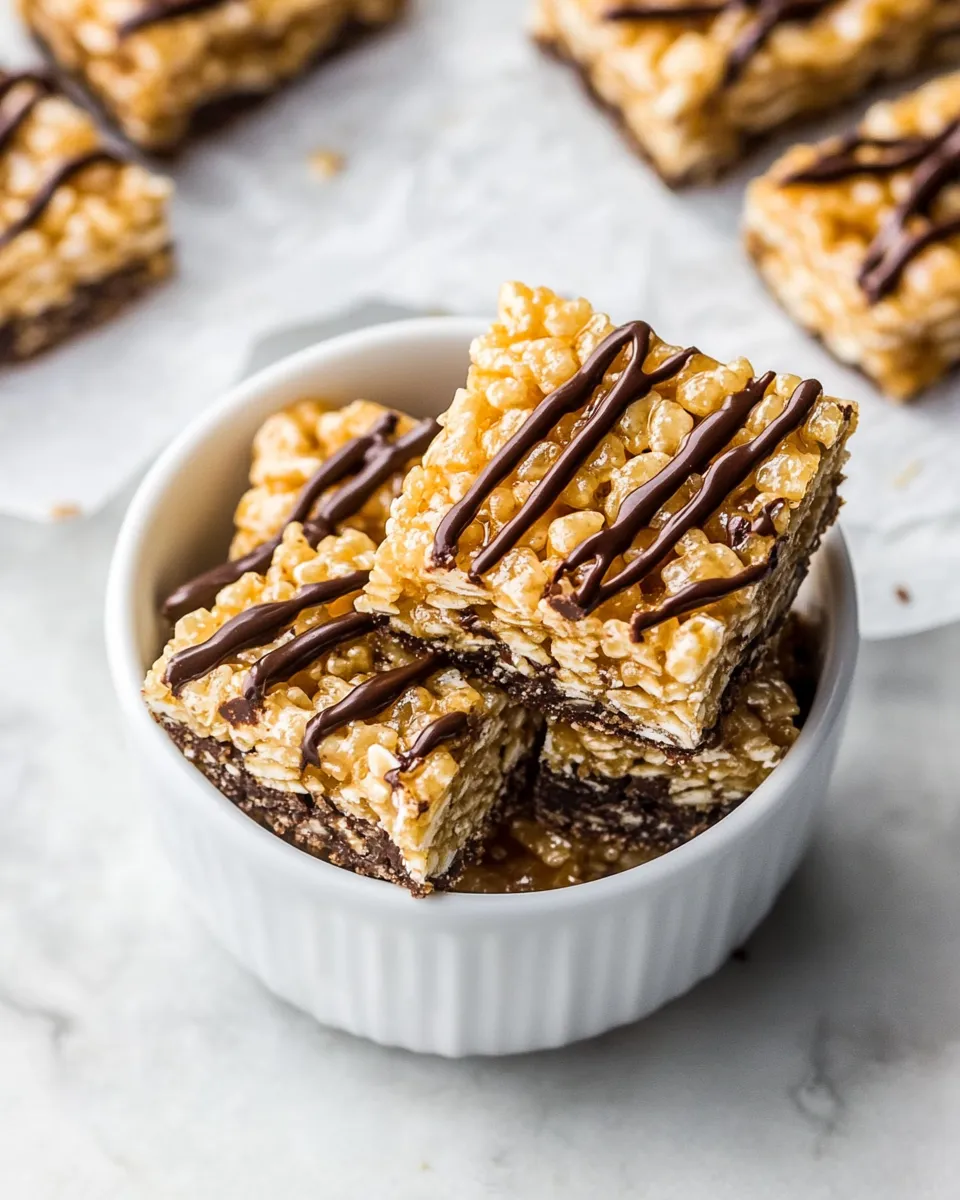
Healthy Rice Krispie Treats
Healthy Rice Krispie Treats are the perfect blend of nostalgia and wholesome ingredients. They’re not just a childhood favorite; they can also be a guilt-free snack that satisfies your sweet tooth. With a few simple swaps, you can create a delightful treat that is both delicious and nutritious. Say goodbye to the traditional marshmallow-laden version and hello to a healthier alternative that everyone will love. Let’s dive into the reasons why you’ll adore these Healthy Rice Krispie Treats and how to whip them up in your kitchen!
Reasons to Love Healthy Rice Krispie Treats
– Simple Ingredients: With just a handful of wholesome ingredients, you can create a treat that’s both satisfying and nutritious.
– Nutritious Twist: The use of brown rice syrup and creamy peanut butter provides natural sweetness and healthy fats.
– Customizable: You can easily add your favorite mix-ins, whether that’s dark chocolate, nuts, or dried fruits.
– Quick and Easy: This recipe comes together in under 30 minutes, making it a perfect last-minute snack or dessert.
– Kid-Friendly: It’s a fun recipe to make with kids, encouraging them to get involved in the kitchen.
What to Buy
- Brown Rice Syrup: This will serve as a natural sweetener and binding agent.
- Creamy Peanut Butter: Opt for the no-stir variety for the best texture.
- Coconut Oil: A healthy fat that helps in binding the ingredients together.
- Pure Vanilla Extract: For a hint of flavor that elevates the treats.
- Kosher Salt: A pinch of salt enhances the sweetness.
- Crispy Rice Cereal: Choose regular or brown rice; ensure it’s gluten-free if needed.
- Optional Dark Chocolate: For drizzling over the top, adding a rich finish.
Toolbox for This Recipe
- Mixing Bowl: For combining the ingredients.
- Spatula: To help mix everything thoroughly.
- 9×9-inch Baking Pan: The perfect size for setting your treats.
- Parchment Paper: To line the pan for easy removal.
- Measuring Cups and Spoons: For accurate measurements.
Healthy Rice Krispie Treats: Step-by-Step Guide
Step 1: Prepare the Pan
Start by greasing your 9×9-inch baking pan lightly with coconut oil or lining it with parchment paper for easy removal later.
Step 2: Combine Wet Ingredients
In a medium saucepan over low heat, combine 1 cup of brown rice syrup, 1 cup of creamy peanut butter, and 1 tablespoon of coconut oil. Stir until melted and smooth.
Step 3: Add Flavor
Once the mixture is well combined, remove it from heat. Stir in 2 teaspoons of pure vanilla extract and ½ teaspoon of kosher salt until fully incorporated.
Step 4: Mix in the Cereal
In a large mixing bowl, place 3 cups of crispy rice cereal. Pour the warm peanut butter mixture over the cereal and gently fold it in until all the cereal is coated.
Step 5: Press into the Pan
Transfer the mixture into the prepared baking pan. Use a spatula to press it down firmly and evenly.
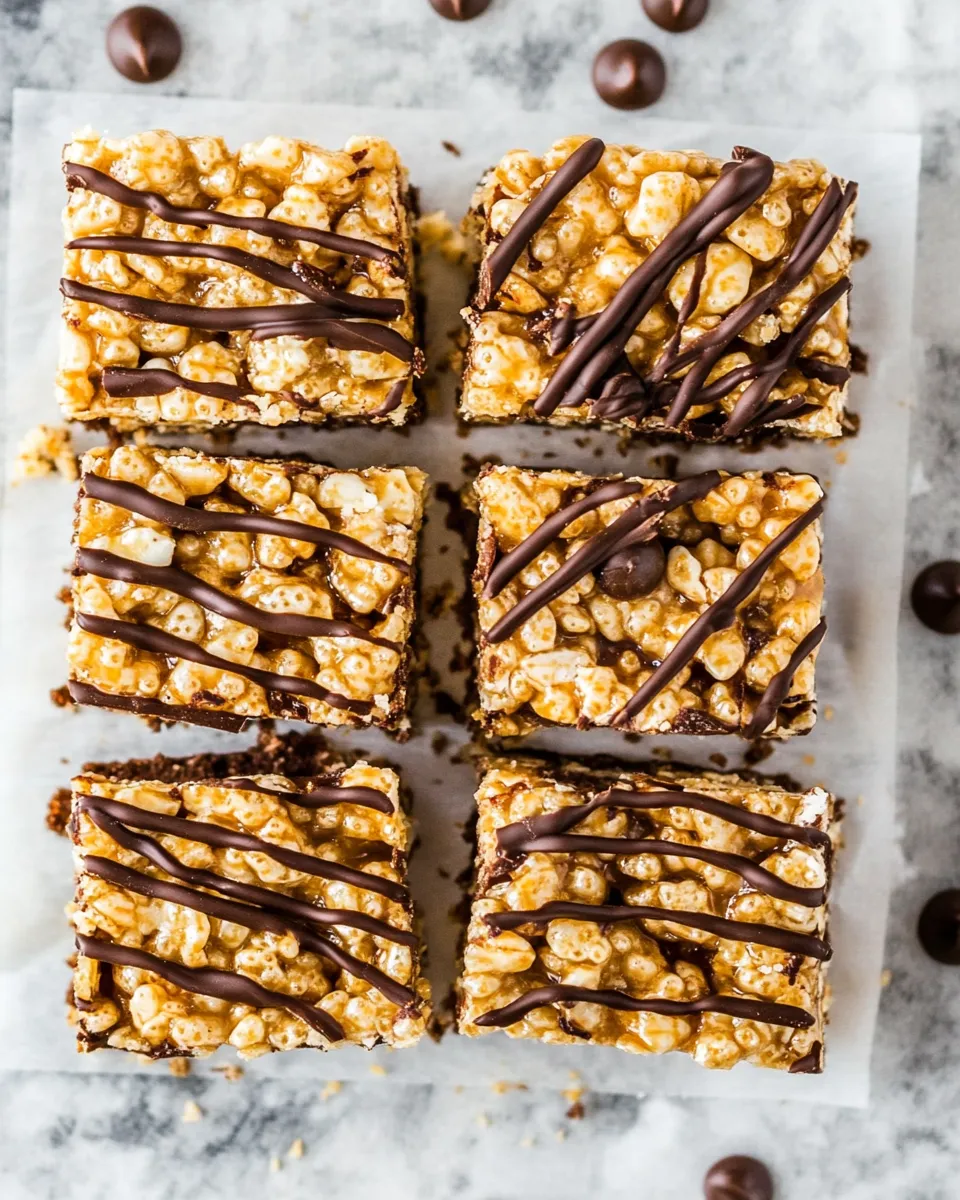
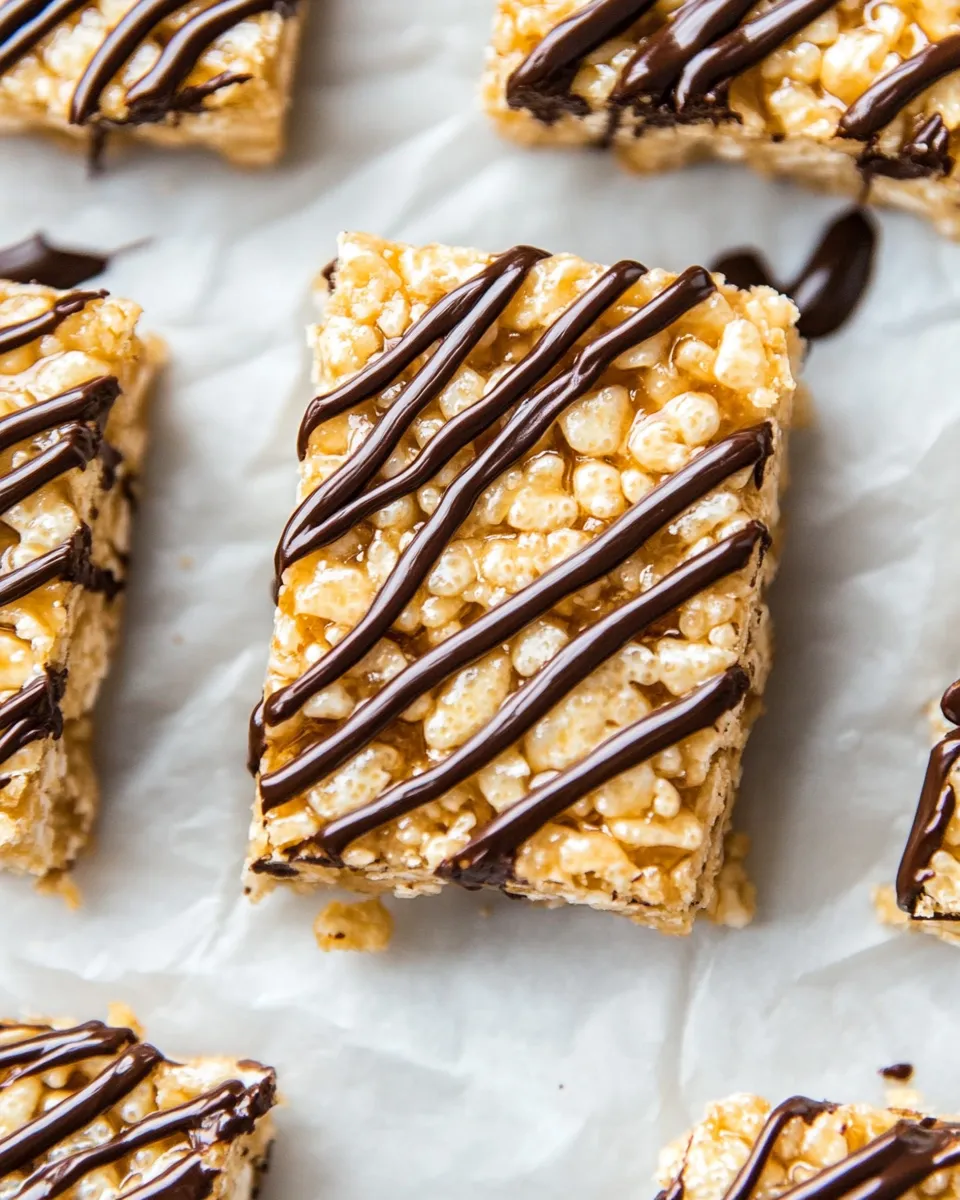
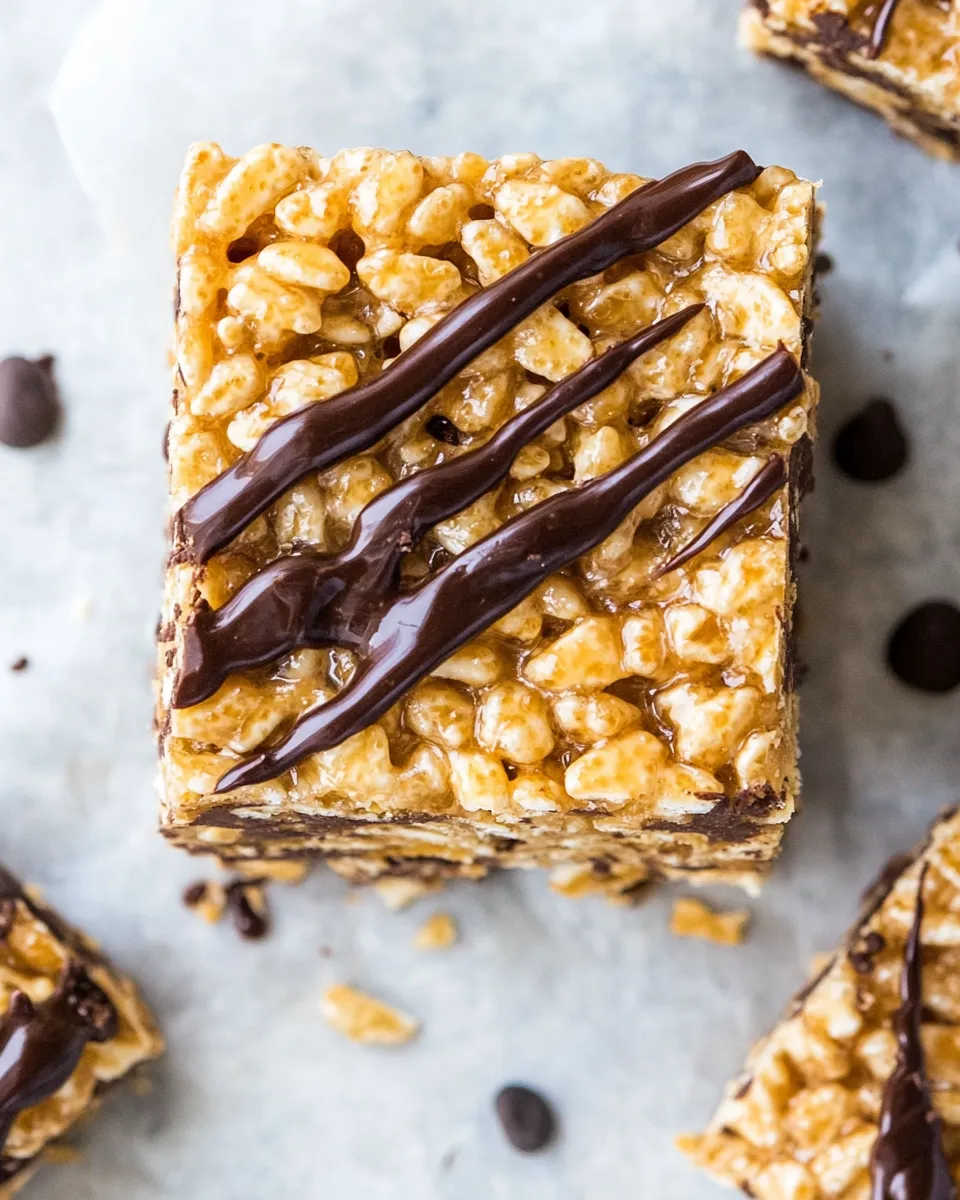
Step 6: Optional Chocolate Drizzle
If desired, melt ¼ cup of dark chocolate in the microwave or on a double boiler. Drizzle it over the pressed mixture for an extra touch of indulgence.
Step 7: Chill and Slice
Refrigerate the pan for at least 30 minutes to set. Once firm, remove from the pan and cut into squares or bars.
Nutrition-Minded Tweaks
- Nut Butter Alternatives: Swap peanut butter for almond or cashew butter for a different flavor profile.
- Sweetener Options: Use maple syrup or agave nectar if you prefer a different sweetness.
- Protein Boost: Mix in some protein powder for added nutrition.
- Mix-Ins: Consider adding chia seeds or flaxseeds for extra fiber.
Errors to Dodge
- Using refrigerated peanut butter can result in a greasy mixture that won’t set properly.
- Not pressing the mixture firmly enough into the pan can lead to crumbly treats.
- Overheating the wet ingredients can cause them to scorch, affecting the flavor.
- Skipping the chilling step may result in treats that fall apart when cut.
Best Ways to Store
To keep your Healthy Rice Krispie Treats fresh:
- Store them in an airtight container at room temperature for up to a week.
- For longer storage, refrigerate them for up to two weeks.
- You can also freeze the treats by wrapping them individually in plastic wrap and placing them in a freezer-safe bag; they’ll keep for up to three months.
Quick Questions
Can I make these treats vegan?
Yes! Simply use a plant-based nut butter and ensure your rice cereal is vegan-friendly.
Are these treats gluten-free?
Absolutely! Just make sure to choose gluten-free crispy rice cereal.
Can I use honey instead of brown rice syrup?
Yes, honey can be a substitute, but it will yield a slightly different taste and texture.
What can I add to these treats for extra flavor?
You can add spices like cinnamon or nutmeg, or mix in dried fruits for added sweetness.
Because You Liked This
Serve & Enjoy
These Healthy Rice Krispie Treats are perfect for an after-school snack, a post-workout boost, or a sweet treat to satisfy your cravings. Share them with friends and family, or keep them all to yourself; we won’t judge! Enjoy the crunch and the nutty sweetness while feeling good about what you’re eating.
These Healthy Rice Krispie Treats are a delicious way to indulge without the guilt. The combination of crispy cereal, creamy peanut butter, and a touch of sweetness makes for a satisfying treat that everyone can enjoy. With a few simple ingredients and steps, you can create a delightful snack that’s sure to become a favorite in your home. Happy treating!
Healthy Rice Krispie Treats
Ingredients
Equipment
Method
- Step 1: Prepare the Pan - Grease your 9x9-inch baking pan lightly with coconut oil or line it with parchment paper for easy removal later.
- Step 2: Combine Wet Ingredients - In a medium saucepan over low heat, combine brown rice syrup, creamy peanut butter, and coconut oil. Stir until melted and smooth.
- Step 3: Add Flavor - Remove from heat and stir in vanilla extract and kosher salt until fully incorporated.
- Step 4: Mix in the Cereal - In a large mixing bowl, place crispy rice cereal. Pour the warm peanut butter mixture over the cereal and gently fold until all is coated.
- Step 5: Press into the Pan - Transfer the mixture into the prepared baking pan and press it down firmly and evenly.
- Step 6: Optional Chocolate Drizzle - Melt dark chocolate in the microwave or double boiler and drizzle it over the pressed mixture.
- Step 7: Chill and Slice - Refrigerate for at least 30 minutes to set, then cut into squares or bars.
Notes
- Store in an airtight container at room temperature for up to a week.
- Refrigerate for up to two weeks for longer freshness.
- Freeze individually wrapped treats for up to three months.