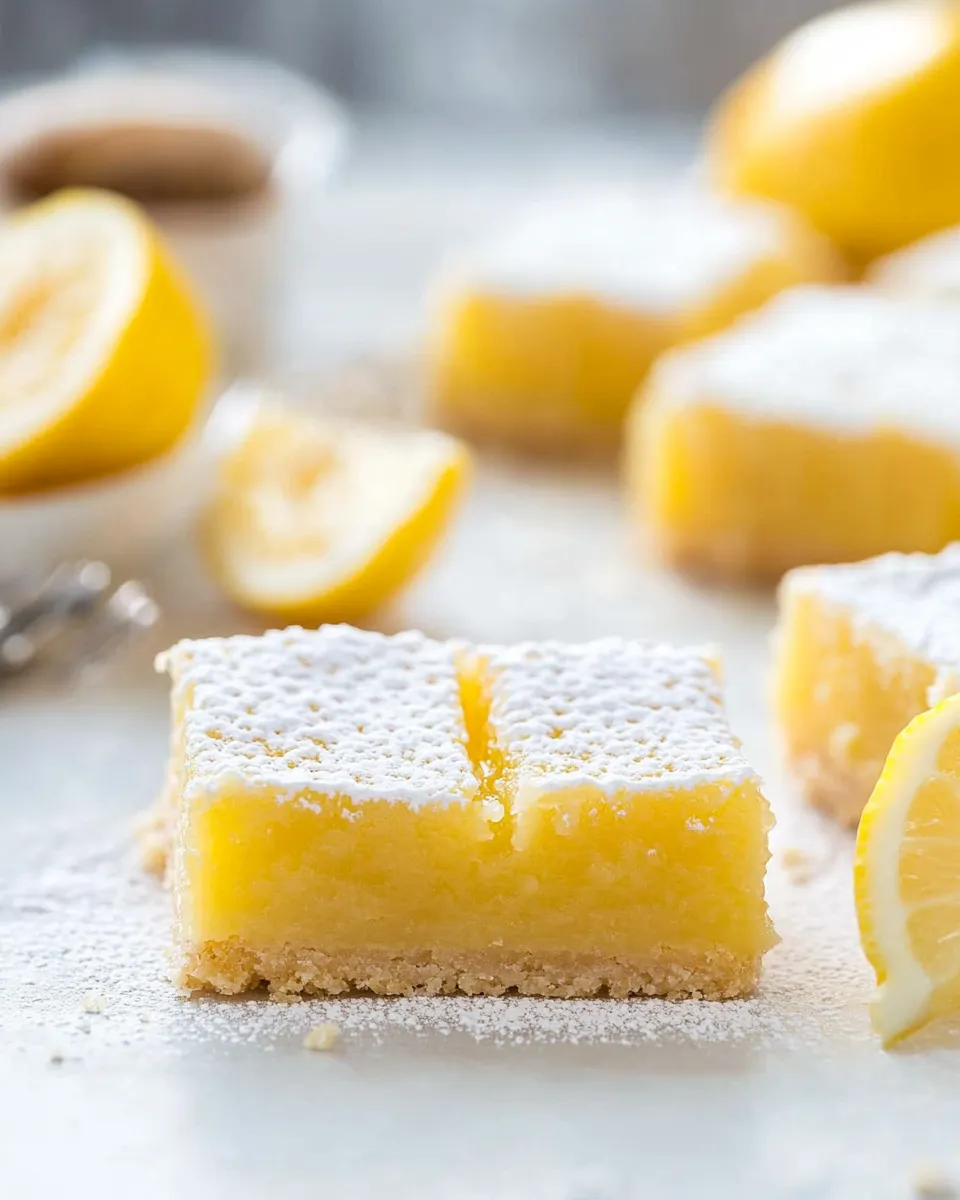
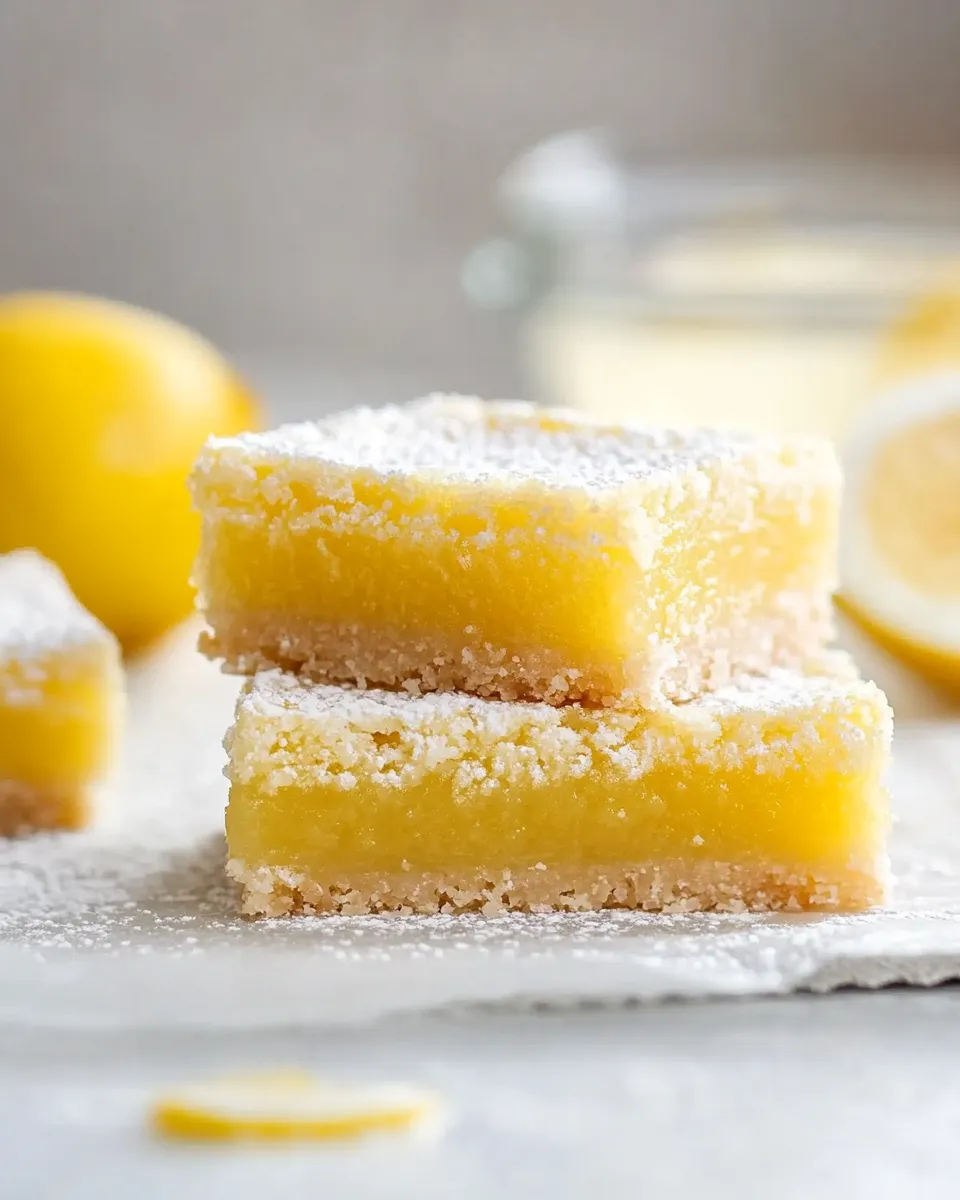
Gluten Free Lemon Bars
Lemon bars are the epitome of sunny desserts – bright, tangy, and sweet. With their buttery crust and creamy lemon filling, they are a delightful treat that can brighten any day. If you follow a gluten-free diet, you might think this classic dessert is off the table, but fear not! This Gluten Free Lemon Bars recipe is here to save the day. These bars maintain all the traditional flavors and textures you love while ensuring that they are safe for those avoiding gluten. Let’s dive into this zesty and refreshing dessert that you can whip up in no time!
Why This Gluten Free Lemon Bars Stands Out
What makes these Gluten Free Lemon Bars truly remarkable is their perfect balance of tartness and sweetness. The combination of freshly squeezed lemon juice and zest infuses a vibrant citrus flavor, which is beautifully complemented by the buttery crust. Plus, the use of gluten-free flour ensures that everyone can enjoy these bars without sacrificing taste or texture. Whether you’re hosting a gathering or simply craving something sweet, these lemon bars will impress your family and friends.
What We’re Using
- 1 cup gluten free flour (222 grams): This is the foundation of our crust, providing the necessary structure without gluten.
- 1 cup granulated sugar (100 grams): Sweetness for the crust, creating that delightful contrast with the tangy filling.
- 1 stick salted butter (113 grams): Cold and cut into pieces, this adds richness and flavor to the crust.
- 2 tablespoons water (28 grams): To help bring the crust ingredients together.
- 1 cup granulated sugar (300 grams): For the filling, making it pleasantly sweet.
- ½ cup lemon juice (114 grams): Freshly squeezed from about 4 lemons for that bright, zesty flavor.
- 2 tablespoons grated lemon zest (12 grams): Enhances the lemon flavor with aromatic oils from the lemon peel.
- 4 large eggs (200 grams): Lightly beaten, these provide structure and a custard-like texture to the filling.
- ½ cup gluten free flour (37 grams): To thicken the lemon filling and give it a perfect set.
- Powdered sugar: Optional for dusting on top for an elegant finish.
Essential Tools for Success
- Mixing bowls: For combining the crust and filling.
- Whisk: Essential for incorporating the eggs and sugar into the filling.
- 9×9 inch baking pan: The ideal size for these lemon bars, allowing for even baking.
- Parchment paper: For easy removal of the bars from the pan.
- Measuring cups and spoons: To ensure accurate measurements for the best results.
Gluten Free Lemon Bars: How It’s Done
Step 1: Prepare the Oven and Baking Pan
Preheat your oven to 350°F (175°C). Line your 9×9 inch baking pan with parchment paper, leaving some overhang on the sides for easy removal later.
Step 2: Make the Crust
In a mixing bowl, combine 1 cup of gluten free flour and 1 cup of granulated sugar. Add the cold, cut-up butter and use a pastry cutter or your fingers to mix until the mixture resembles coarse crumbs. Add 2 tablespoons of water and mix until the dough just comes together.
Step 3: Bake the Crust
Press the crust mixture evenly into the bottom of the prepared baking pan. Bake in the preheated oven for about 15 minutes, or until lightly golden. Remove from the oven and set aside to cool slightly.
Step 4: Prepare the Filling
In a separate bowl, whisk together 1 cup of granulated sugar, ½ cup of lemon juice, 2 tablespoons of lemon zest, and the lightly beaten eggs until well combined. Gradually sift in ½ cup of gluten free flour and whisk until smooth.
Step 5: Combine the Filling and Bake
Pour the lemon filling over the pre-baked crust. Return to the oven and bake for an additional 20-25 minutes, or until the filling is set and slightly firm to the touch.
Step 6: Cool and Serve
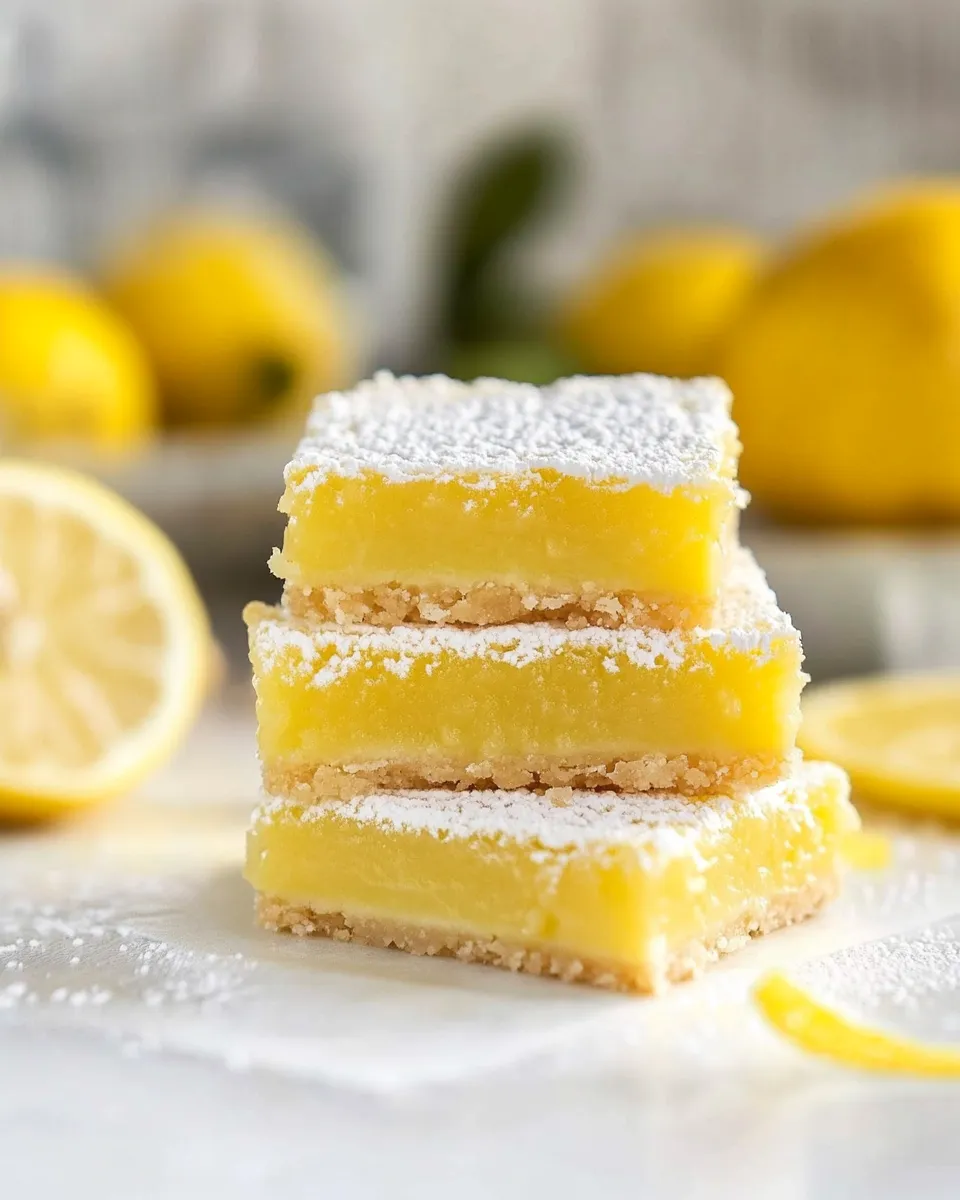
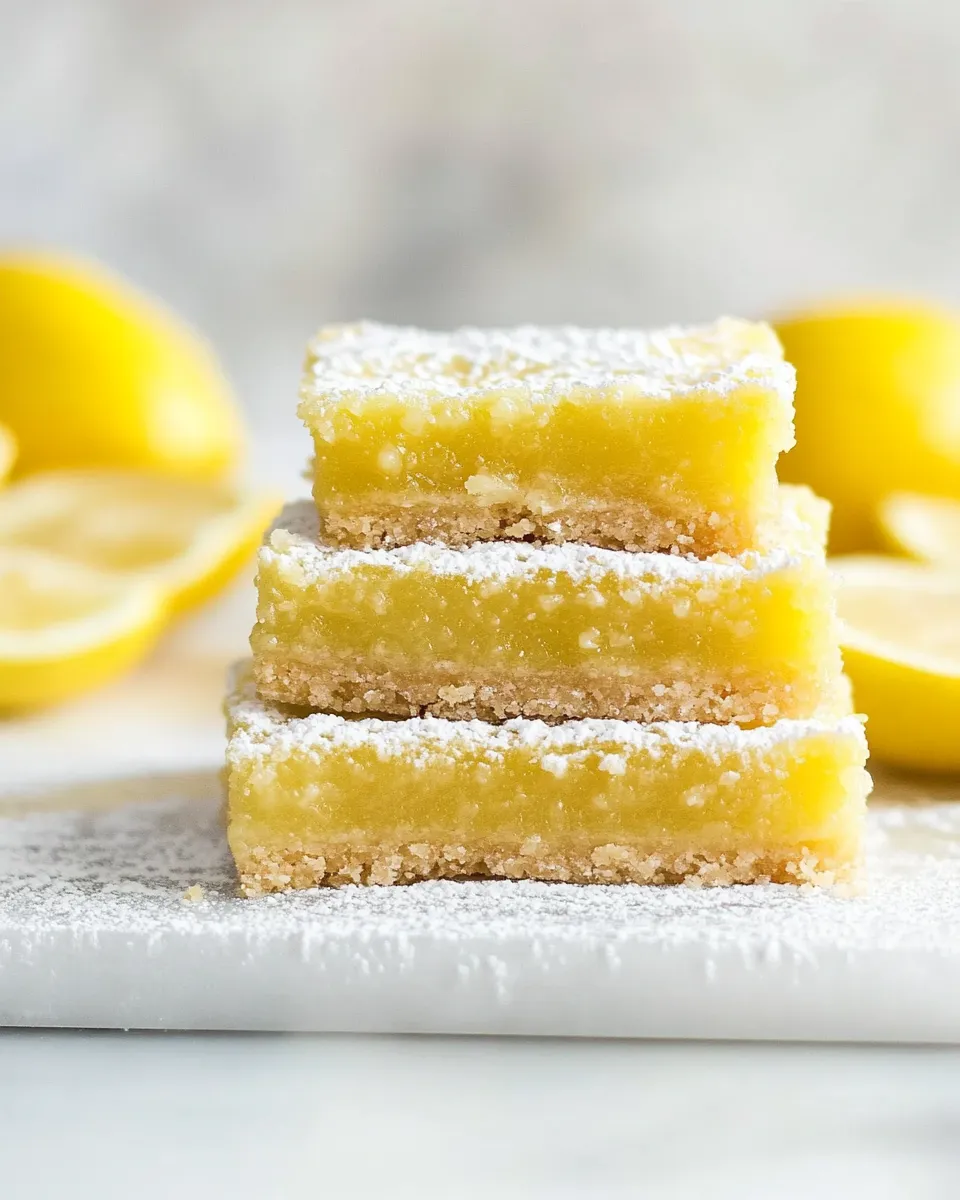
Once baked, remove the pan from the oven and let it cool at room temperature. Once completely cool, use the parchment paper to lift the bars out of the pan. Cut into squares and dust with powdered sugar if desired.
Healthier Substitutions
- Replace granulated sugar with coconut sugar for a lower glycemic index option.
- Use unsalted butter instead of salted butter if you prefer more control over the salt content.
- For a dairy-free version, substitute the butter with coconut oil or a plant-based butter alternative.
- Consider using a sugar substitute like stevia or monk fruit sweetener to reduce calories.
Cook’s Notes
- For the best flavor, use fresh lemons rather than bottled lemon juice.
- Be sure to measure your flour correctly; using too much can lead to a dense crust.
- Let the bars cool completely before slicing for clean edges.
- Feel free to add a pinch of salt to the filling for enhanced flavor.
Keep It Fresh: Storage Guide
These Gluten Free Lemon Bars can be stored in an airtight container in the refrigerator for up to 5 days. If you want to freeze them, wrap individual bars tightly in plastic wrap and place them in a freezer-safe container. They can be frozen for up to 3 months. Just thaw in the refrigerator when you’re ready to enjoy them again!
Ask & Learn
Can I use a different type of gluten-free flour?
Yes! You can use other gluten-free flour blends, but make sure they contain xanthan gum or add some separately to help with texture.
What can I serve with lemon bars?
Lemon bars pair beautifully with whipped cream, fresh berries, or a scoop of vanilla ice cream for an extra indulgent treat.
How can I tell when the lemon bars are done baking?
The edges should be set, and the center should have a slight jiggle but not be liquid. It will firm up as it cools.
Can I make these lemon bars vegan?
Yes, you can substitute the eggs with flaxseed meal or chia seeds mixed with water to create a binding effect.
What to Make After This
- Gluten Free Brownies – Indulge in rich chocolate goodness.
- Gluten Free Chocolate Chip Cookies – A classic favorite for everyone.
- Gluten Free Vanilla Cupcakes – Perfect for celebrations and gatherings.
- Gluten Free Pumpkin Pie – A seasonal favorite with a gluten-free twist.
Bring It Home
These Gluten Free Lemon Bars are not just a dessert; they’re a celebration of flavor and a testament to the fact that gluten-free baking can be deliciously satisfying. With their refreshing taste and perfectly balanced sweetness, they’re sure to become a beloved recipe in your collection. Whether you find yourself enjoying a sunny afternoon with a cup of tea or sharing them at a gathering, these lemon bars are a delightful treat that everyone can enjoy. So, gather your ingredients, preheat your oven, and get ready to indulge in a slice of sunshine!
Gluten Free Lemon Bars
Ingredients
Equipment
Method
- Preheat your oven to 350°F (175°C). Line your 9x9 inch baking pan with parchment paper, leaving some overhang on the sides for easy removal later.
- In a mixing bowl, combine 1 cup of gluten free flour and 1 cup of granulated sugar. Add the cold, cut-up butter and mix until it resembles coarse crumbs. Add 2 tablespoons of water and mix until the dough just comes together.
- Press the crust mixture evenly into the bottom of the prepared baking pan. Bake for about 15 minutes, or until lightly golden. Remove from the oven and set aside to cool slightly.
- In a separate bowl, whisk together 1 cup of granulated sugar, ½ cup of lemon juice, 2 tablespoons of lemon zest, and the lightly beaten eggs until well combined. Gradually sift in ½ cup of gluten free flour and whisk until smooth.
- Pour the lemon filling over the pre-baked crust. Return to the oven and bake for an additional 20-25 minutes, or until the filling is set and slightly firm to the touch.
- Once baked, remove the pan from the oven and let it cool at room temperature. Once completely cool, use the parchment paper to lift the bars out of the pan. Cut into squares and dust with powdered sugar if desired.
Notes
- For the best flavor, use fresh lemons rather than bottled lemon juice.
- Be sure to measure your flour correctly; using too much can lead to a dense crust.
- Let the bars cool completely before slicing for clean edges.
- Feel free to add a pinch of salt to the filling for enhanced flavor.