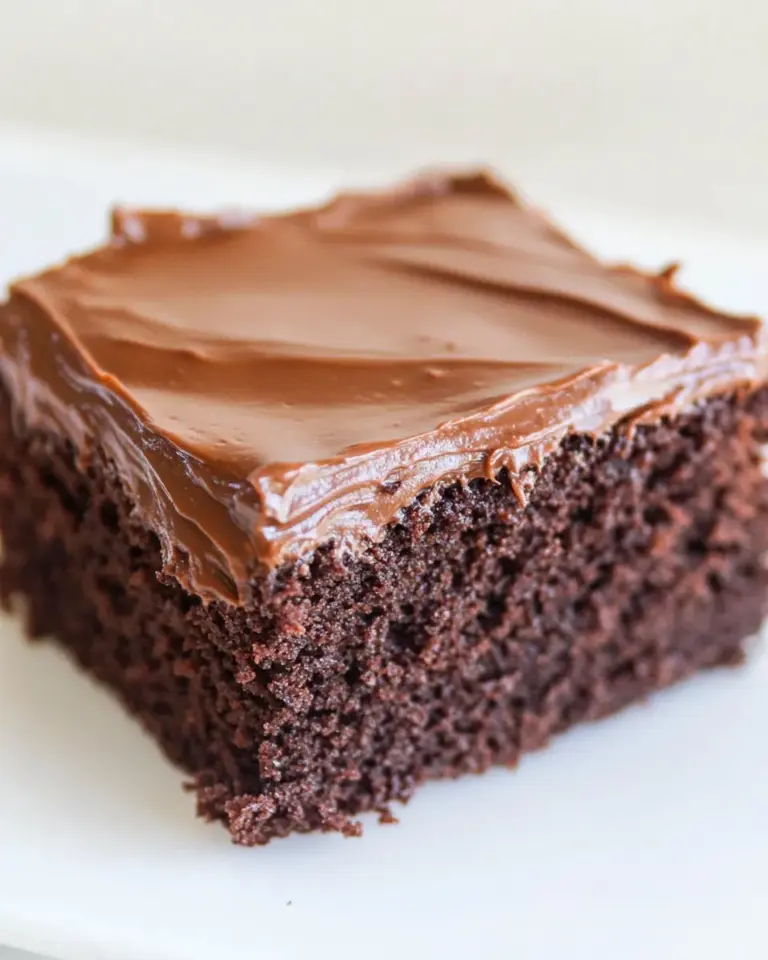
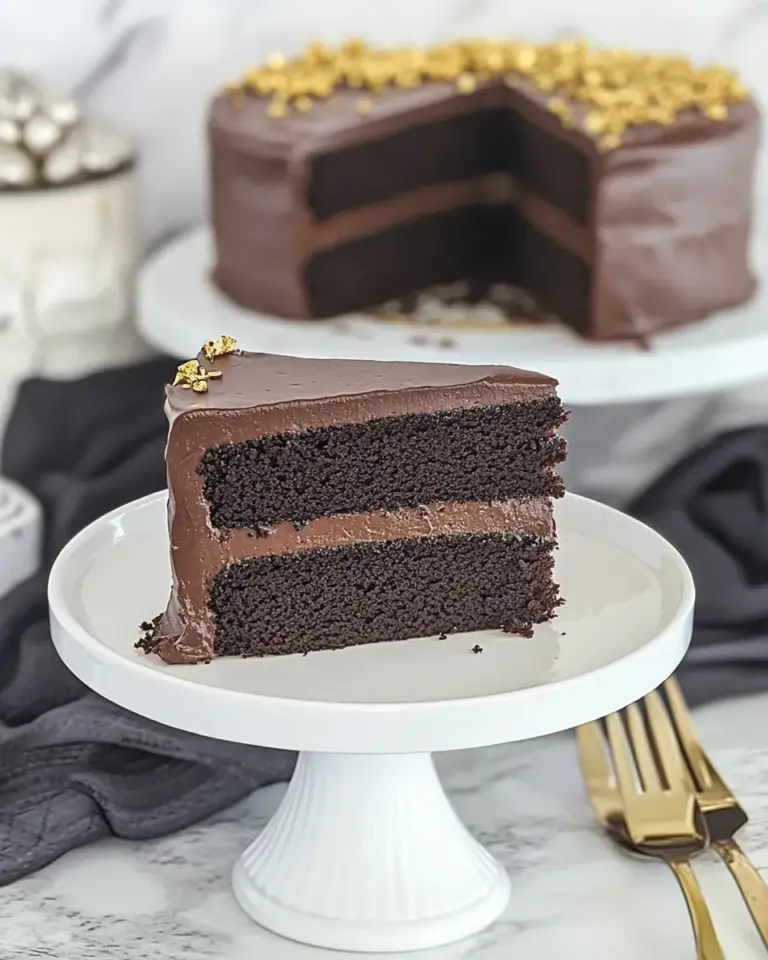
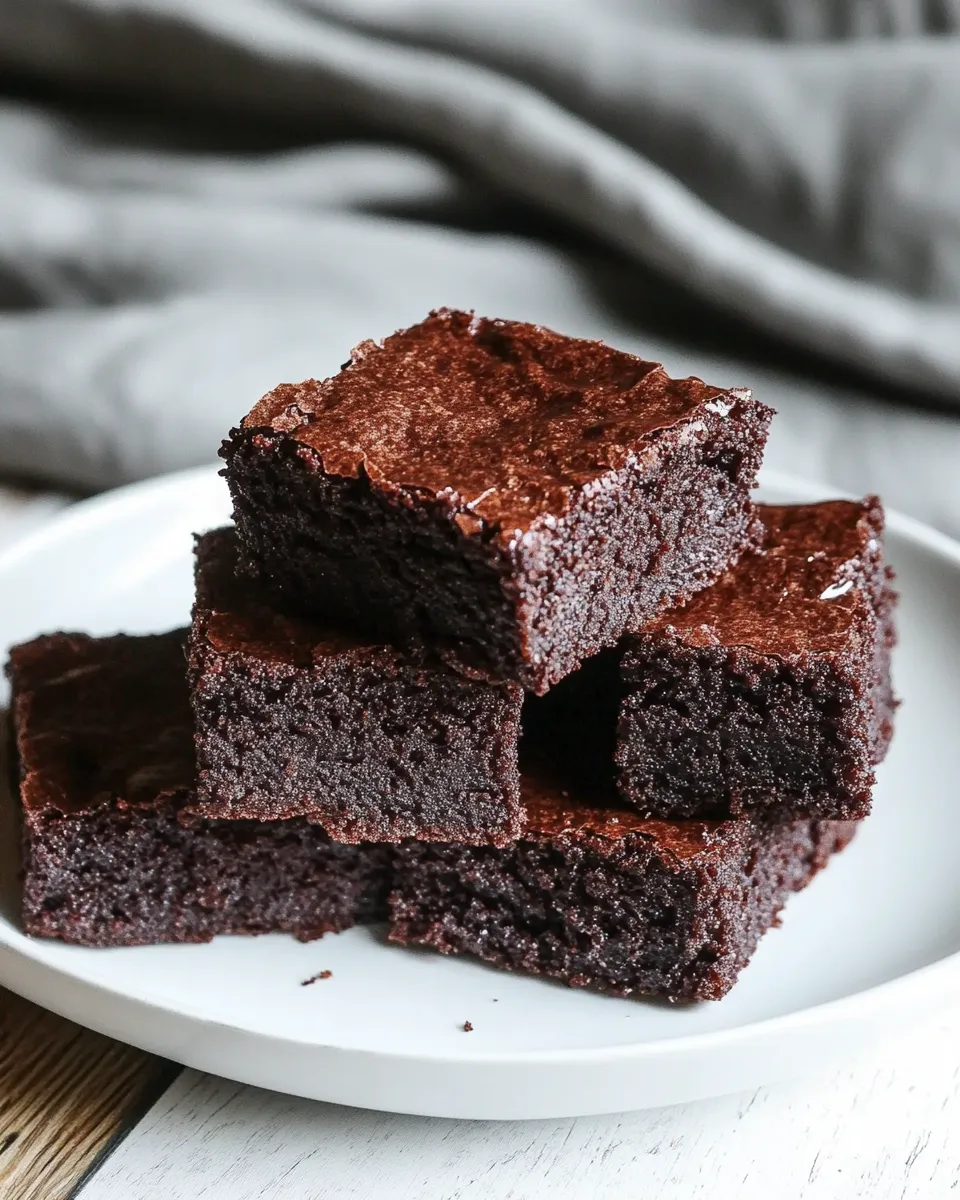
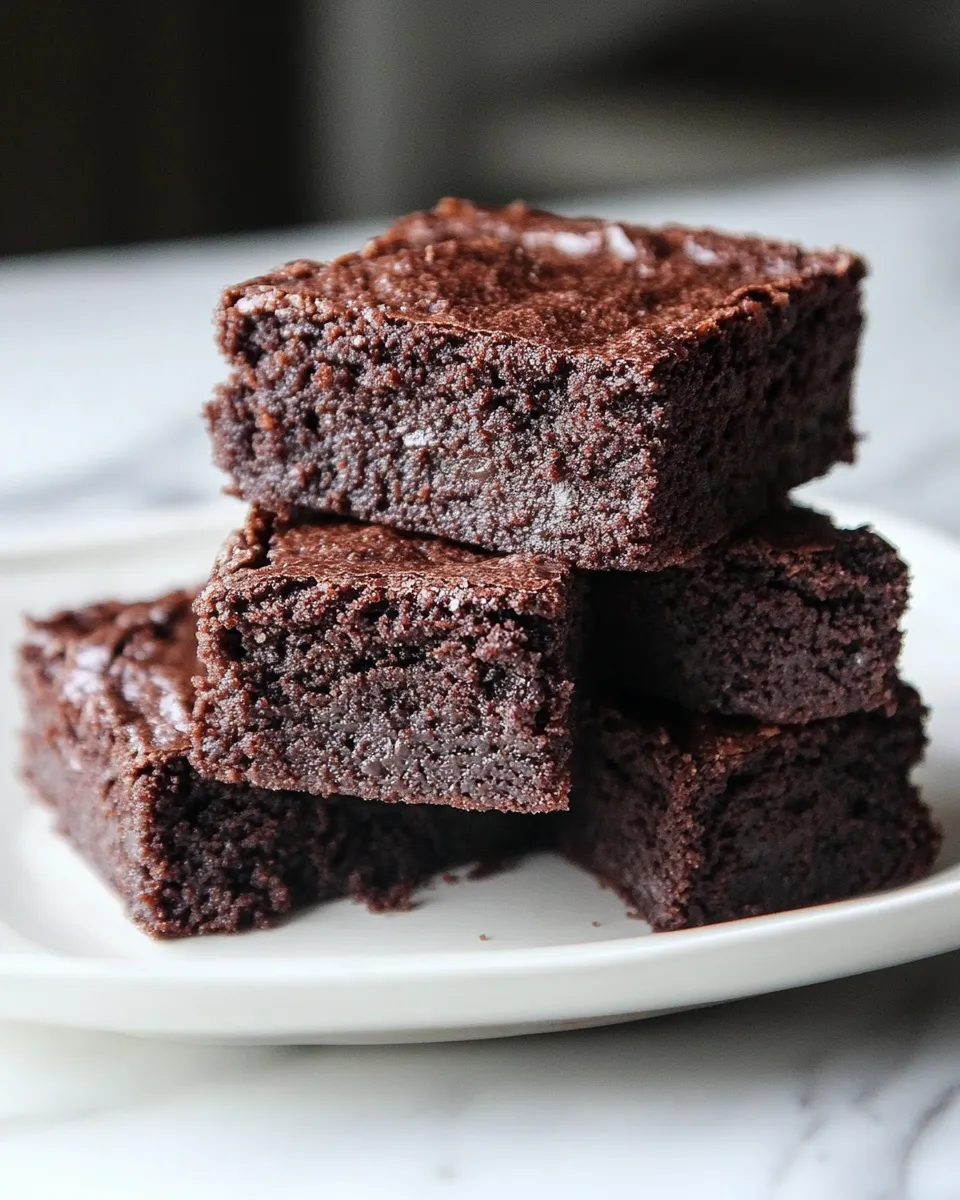
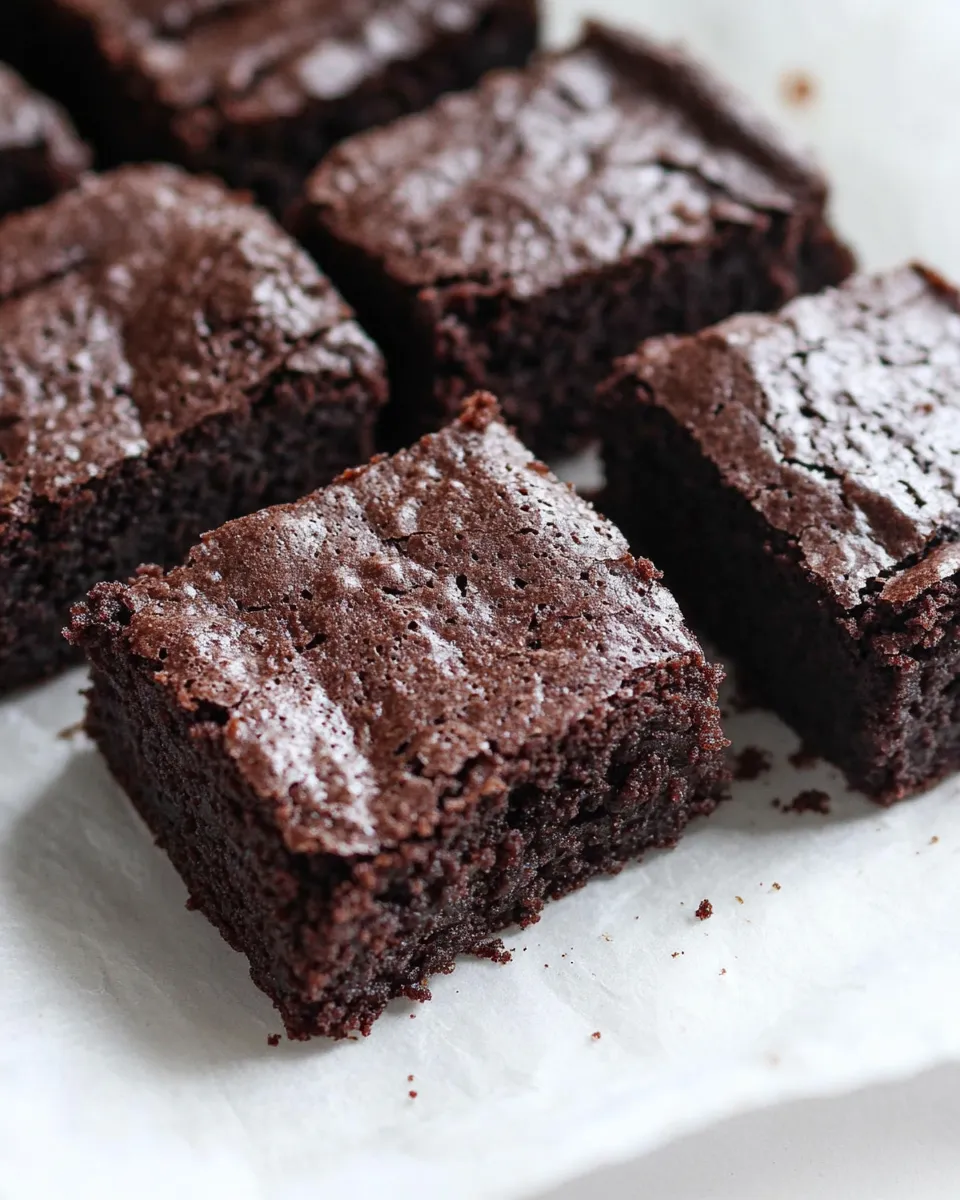
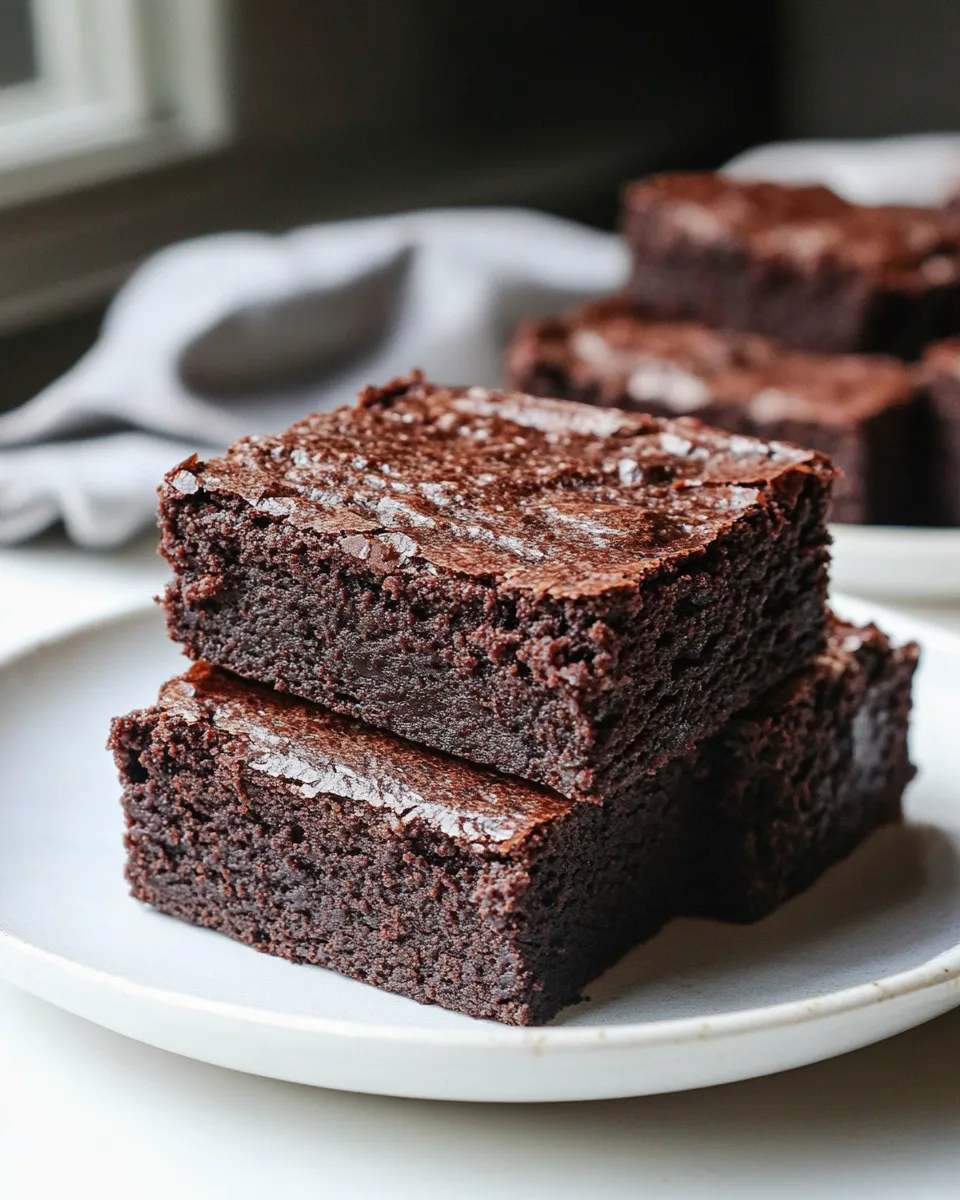
Gluten Free Brown Rice Flour Brownies
There’s something undeniably comforting about brownies. The rich, fudgy texture, the aroma of melted chocolate wafting through the kitchen, and that first bite that melts in your mouth—it’s pure bliss. If you’re on a gluten-free journey or simply looking for a delicious treat, these Gluten Free Brown Rice Flour Brownies are just for you. Made with wholesome ingredients and a touch of love, these brownies are sure to satisfy your chocolate cravings without compromising on taste or texture.
Why I Love This Recipe
What I adore about these Gluten Free Brown Rice Flour Brownies is their simplicity and the way they pack a chocolate punch. The brown rice flour gives them a unique texture without any of the grainy feel that sometimes comes with gluten-free baking. Plus, they’re sweetened naturally with pure maple syrup or brown sugar, allowing the chocolate flavor to shine through. And let’s not forget the instant coffee or ground cinnamon that adds a delightful depth to the taste, making these brownies a true crowd-pleaser.
What Goes Into Gluten Free Brown Rice Flour Brownies
To whip up these delightful brownies, you will need the following ingredients:
- 1 cup unsalted butter, melted (1.5 sticks) – This rich base is essential for that fudgy texture.
- 1/2 cup pure maple syrup or brown sugar – Choose maple syrup for a natural sweetness or brown sugar for a deeper, caramel-like flavor.
- 1 cup dark chocolate chips – For that gooey, chocolatey goodness. Feel free to add extra for mixing in!
- 3 large eggs – These provide structure and moisture to the brownies.
- 1 tbsp pure vanilla extract – A must for enhancing the flavors.
- 1/3 cup brown rice flour – The star ingredient that keeps these brownies gluten-free.
- 2/3 cup unsweetened cocoa powder – For a rich chocolate flavor.
- 1 teaspoon baking soda – Helps the brownies rise slightly.
- 2 teaspoons instant coffee or ground cinnamon – Optional, but it really elevates the chocolate taste!
Equipment Breakdown
Before you dive into the baking process, gather the following equipment:
- Mixing bowls – For combining ingredients.
- Whisk – To blend everything smoothly.
- Rubber spatula – Perfect for folding in those chocolate chips.
- 9×9 inch baking pan – The ideal size for these brownies.
- Parchment paper (optional) – For easy removal and cleanup.
Cook Gluten Free Brown Rice Flour Brownies Like This
Now, let’s get to the fun part: baking these Gluten Free Brown Rice Flour Brownies!
Step 1: Preheat the Oven
Preheat your oven to 350°F (175°C). This ensures that your brownies bake evenly.
Step 2: Prepare the Baking Pan
Grease your 9×9 inch baking pan or line it with parchment paper for easy removal later.
Step 3: Melt the Butter
In a microwave-safe bowl, melt the unsalted butter. Allow it to cool slightly before mixing in the sweetener.
Step 4: Combine Wet Ingredients
In a large mixing bowl, whisk together the melted butter, maple syrup or brown sugar, eggs, and vanilla extract until well combined.
Step 5: Mix the Dry Ingredients
In a separate bowl, sift together the brown rice flour, cocoa powder, baking soda, and optional coffee or cinnamon. This helps to avoid any lumps and ensures even distribution.
Step 6: Combine Wet and Dry Ingredients
Gradually add the dry ingredients to the wet mixture, stirring gently until just combined. Be careful not to overmix.
Step 7: Fold in the Chocolate Chips
Gently fold in the dark chocolate chips, reserving some for sprinkling on top if desired.
Step 8: Bake
Pour the batter into the prepared baking pan, spreading it evenly. Bake in the preheated oven for 25-30 minutes, or until a toothpick inserted into the center comes out with a few moist crumbs.
Step 9: Cool and Serve
Once baked, remove the brownies from the oven and let them cool in the pan for about 10 minutes. Transfer them to a wire rack to cool completely before cutting into squares.
Seasonal Serving Ideas
These brownies are versatile and can be served in various delightful ways:
- Top with a scoop of vanilla ice cream for a decadent dessert.
- Drizzle with caramel or chocolate sauce for an extra treat.
- Add a sprinkle of sea salt to enhance the chocolate flavor.
- Serve with fresh berries for a refreshing contrast.
Testing Timeline
To ensure that your brownies turn out perfectly, consider the following timeline:
- Prep Time: 15 minutes
- Bake Time: 25-30 minutes
- Cooling Time: 30 minutes
- Total Time: 1 hour 15 minutes
Save for Later: Storage Tips
These Gluten Free Brown Rice Flour Brownies can be stored for later enjoyment. Here are some tips:
- Store in an airtight container at room temperature for up to 3 days.
- For longer storage, refrigerate for up to a week.
- You can freeze the brownies for up to 3 months. Just wrap them tightly in plastic wrap and place in a freezer-safe container.
Gluten Free Brown Rice Flour Brownies FAQs
Can I substitute the brown rice flour with another gluten-free flour?
Yes! You can use almond flour or a gluten-free all-purpose flour blend, but the texture may vary slightly.
Are these brownies dairy-free?
They can be made dairy-free by substituting the unsalted butter with a dairy-free alternative such as coconut oil or vegan butter.
Can I make these brownies vegan?
Yes, you can replace the eggs with flax eggs (1 tablespoon of flaxseed meal mixed with 2.5 tablespoons of water per egg) and use a plant-based butter or oil.
How do I know when the brownies are done baking?
A toothpick inserted into the center should come out with a few moist crumbs, indicating that they are fudgy and delicious.
Keep Cooking
If you enjoyed these Gluten Free Brown Rice Flour Brownies, you might also love:
Next Steps
Now that you’ve mastered the art of making Gluten Free Brown Rice Flour Brownies, it’s time to get creative! Experiment with different mix-ins like nuts, dried fruits, or even a swirl of peanut butter for an added twist. The possibilities are endless, and each batch can be uniquely yours. Happy baking!
Gluten Free Brown Rice Flour Brownies
Ingredients
Equipment
Method
- Step 1: Preheat your oven to 350°F (175°C). This ensures that your brownies bake evenly.
- Step 2: Grease your 9x9 inch baking pan or line it with parchment paper for easy removal later.
- Step 3: In a microwave-safe bowl, melt the unsalted butter. Allow it to cool slightly before mixing in the sweetener.
- Step 4: In a large mixing bowl, whisk together the melted butter, maple syrup or brown sugar, eggs, and vanilla extract until well combined.
- Step 5: In a separate bowl, sift together the brown rice flour, cocoa powder, baking soda, and optional coffee or cinnamon.
- Step 6: Gradually add the dry ingredients to the wet mixture, stirring gently until just combined.
- Step 7: Gently fold in the dark chocolate chips, reserving some for sprinkling on top if desired.
- Step 8: Pour the batter into the prepared baking pan, spreading it evenly. Bake in the preheated oven for 25-30 minutes.
- Step 9: Once baked, remove the brownies from the oven and let them cool in the pan for about 10 minutes, then transfer to a wire rack to cool completely before cutting into squares.
Notes
- Top with vanilla ice cream for a decadent dessert.
- Drizzle with caramel or chocolate sauce for an extra treat.
- Add a sprinkle of sea salt to enhance the chocolate flavor.