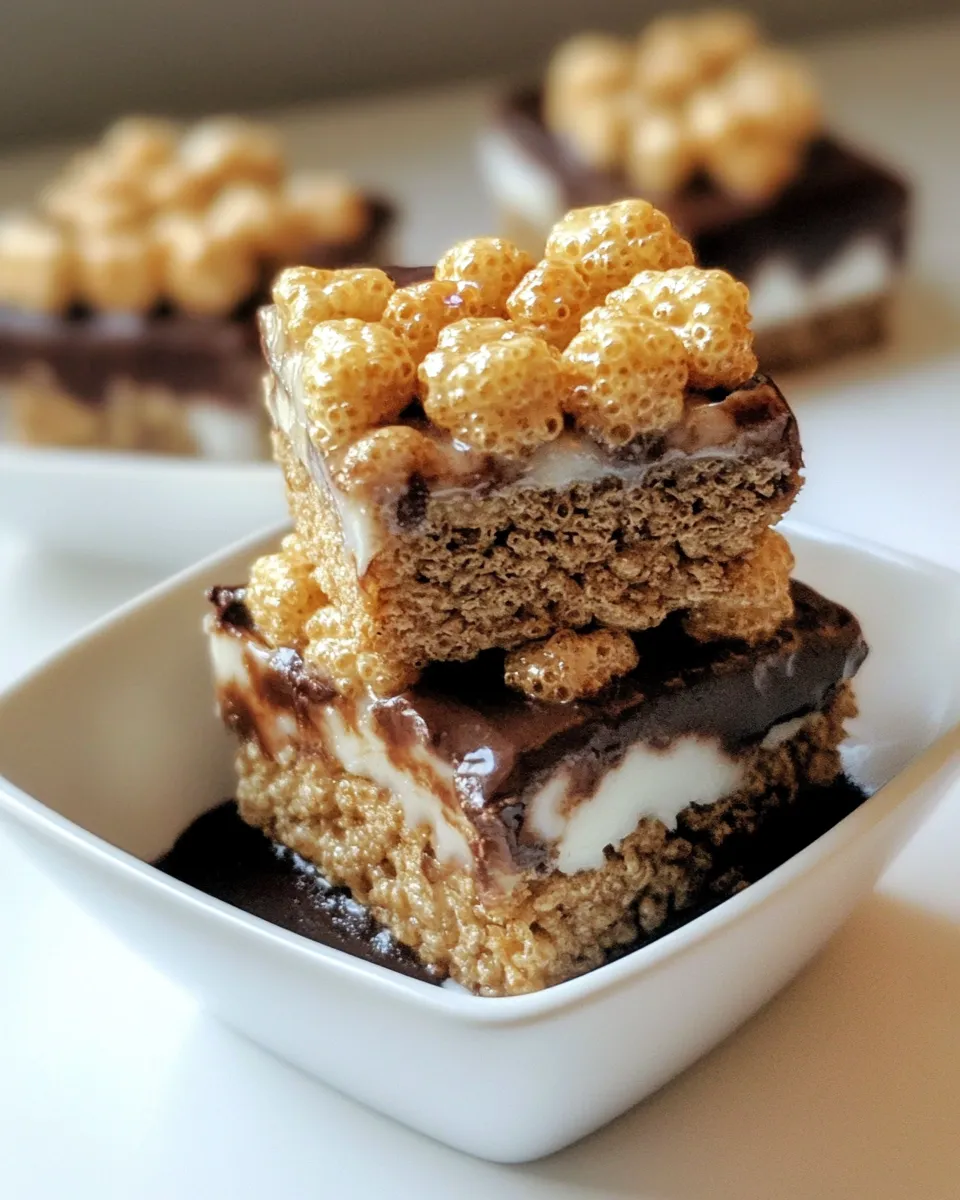
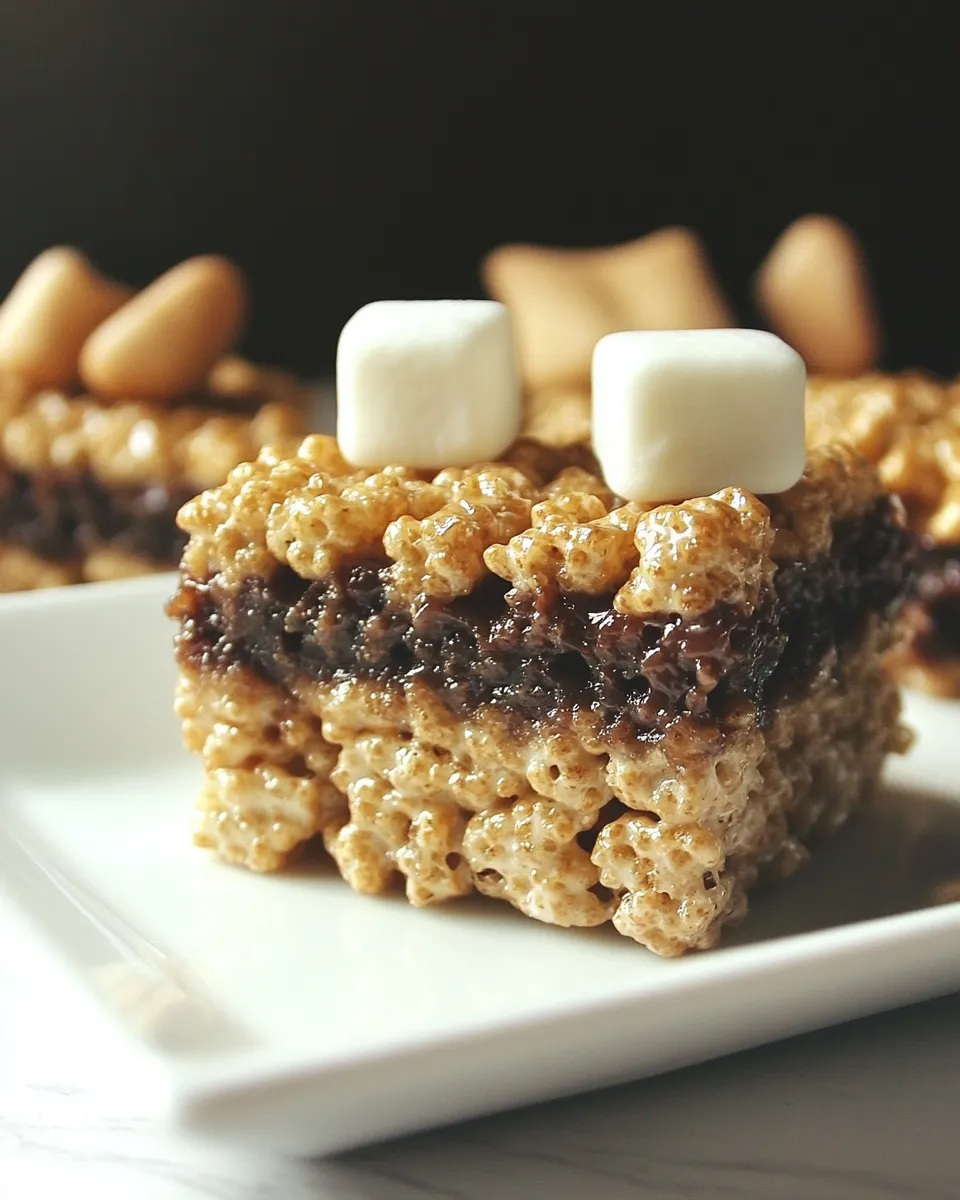
S’Mores Krispies Bars
There’s something magical about the combination of graham crackers, gooey marshmallows, and rich chocolate. When you transform this classic campfire treat into S’Mores Krispies Bars, you capture all that nostalgic flavor in a quick and easy dessert. Perfect for picnics, potlucks, or just a cozy night in, these bars are a deliciously fun twist on a beloved favorite. With just a few ingredients and minimal prep time, you’ll find yourself reaching for seconds—if not thirds!
Why I Love This Recipe
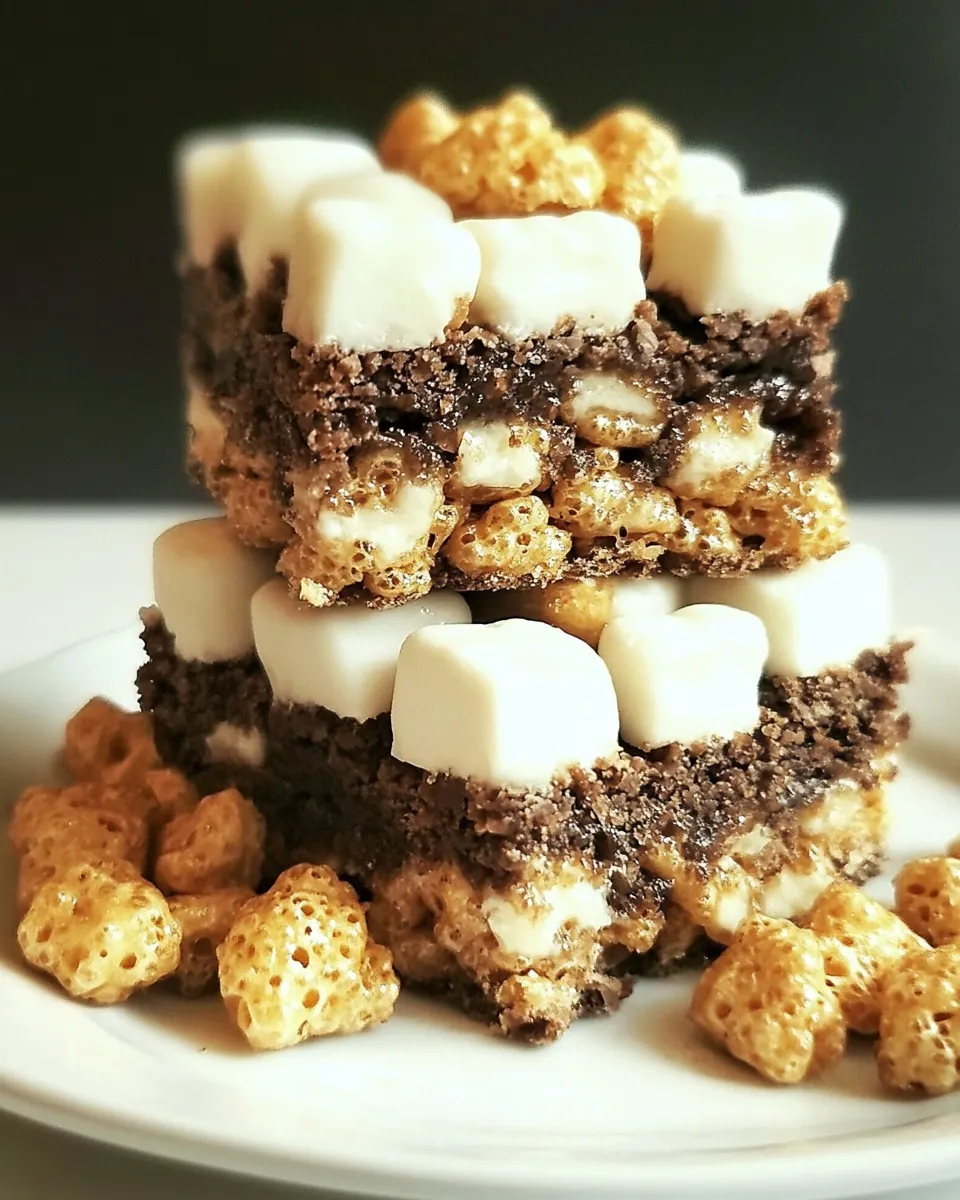
S’Mores Krispies Bars are not just easy to make, but they also bring back fond memories of summer nights spent around the campfire. The chewy texture of the marshmallows combined with the crispiness of the rice cereal creates a delightful contrast that’s hard to resist. Plus, these bars are incredibly versatile. You can customize them by adding different toppings or mix-ins, making them a hit for any occasion. Whether you’re entertaining guests or just indulging yourself, these bars are a guaranteed crowd-pleaser.
Ingredient Rundown
To make your own S’Mores Krispies Bars, you’ll need the following ingredients:
- 2 cups Rice Krispies cereal – This forms the base of your bars, giving them that delightful crunch.
- 2 cups mini marshmallows – These are the stars of the show, providing that signature gooeyness.
- 2 tablespoons butter – Butter adds richness and helps bind everything together.
- 1 cup semi-sweet chocolate chips – Chocolate is essential for the classic s’mores flavor.
- 2 tablespoons butter (for the chocolate layer) – This will help the chocolate remain smooth and glossy.
- 1-2 cups mini marshmallows (for topping) – More marshmallows on top for extra sweetness and texture.
Recommended Tools
To make your S’Mores Krispies Bars, gather these handy tools:
- Large mixing bowl – For combining all your ingredients.
- 9×13 inch baking pan – This is the perfect size for your bars.
- Spatula – To help spread the mixture evenly in the baking pan.
- Double boiler or microwave-safe bowl – For melting the chocolate and butter together.
- Parchment paper – For easy removal of the bars from the pan.
Mastering S’Mores Krispies Bars: How-To
Follow these simple steps to create your delicious S’Mores Krispies Bars:
Step 1: Prepare Your Baking Pan
Start by lining your 9×13 inch baking pan with parchment paper, leaving some overhang on the sides. This will make it easier to lift the bars out later.
Step 2: Melt the Butter and Marshmallows
In a large mixing bowl, melt 2 tablespoons of butter. Once melted, add 2 cups of mini marshmallows and stir until they are completely coated in butter. You can melt them in the microwave for about 30 seconds, then stir, or use a double boiler on the stove for a more controlled melt.
Step 3: Combine with Rice Krispies
Once the marshmallows are melted, quickly add 2 cups of Rice Krispies cereal to the bowl. Stir gently until all the cereal is evenly coated with the marshmallow mixture.
Step 4: Press into the Pan
Transfer the mixture into your prepared baking pan. Use a spatula or your hands (lightly greased) to press the mixture down firmly and evenly into the pan. This helps the bars hold their shape once they cool.
Step 5: Prepare the Chocolate Layer
In a microwave-safe bowl, combine 1 cup of semi-sweet chocolate chips with 2 tablespoons of butter. Melt together in 30-second increments, stirring until smooth and fully melted.
Step 6: Spread the Chocolate
Pour the melted chocolate over the pressed Rice Krispies layer. Use a spatula to spread it evenly across the top.
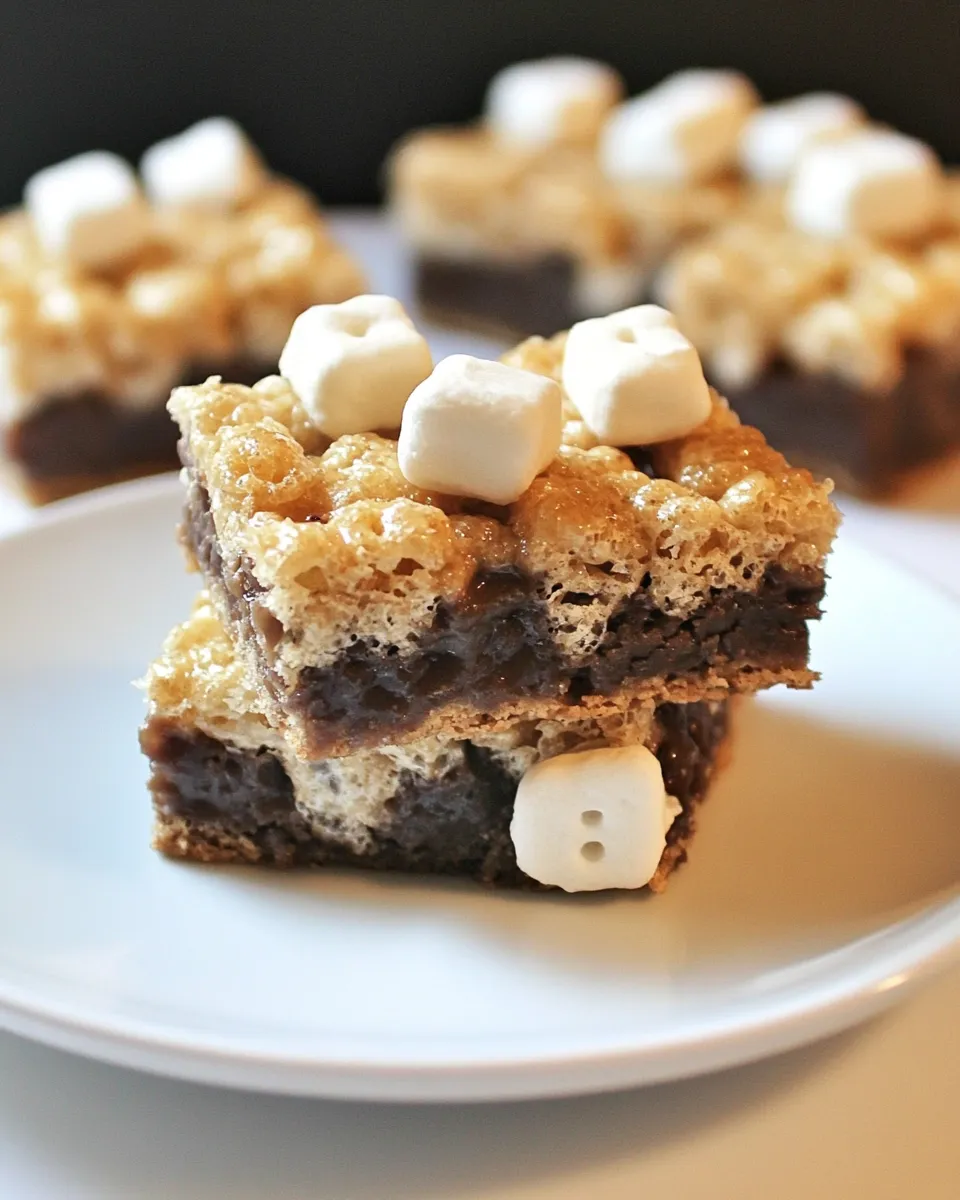
Step 7: Add More Marshmallows
Sprinkle 1-2 cups of mini marshmallows on top of the chocolate layer. Press them down slightly to ensure they stick.
Step 8: Allow to Cool
Let the bars cool completely at room temperature. For quicker results, you can place them in the refrigerator for about 30 minutes.
Step 9: Slice and Serve
Once cooled, lift the bars out of the pan using the parchment overhang. Cut into squares or rectangles and serve them up to family and friends!
Substitutions by Category
Feel free to customize your S’Mores Krispies Bars with these substitutions:
- Cereal – You can use any crispy cereal, such as Fruity Pebbles or Cocoa Krispies, for a fun twist.
- Chocolate – Swap semi-sweet chocolate chips for milk chocolate or dark chocolate according to your preference.
- Butter – Coconut oil can be used in place of butter for a dairy-free option.
- Marshmallows – Try using flavored marshmallows for an extra pop of flavor.
What Could Go Wrong
While S’Mores Krispies Bars are generally foolproof, here are a few potential hiccups to watch out for:
- Too Sticky – If your bars are too sticky, you may have used too many marshmallows. Stick to the recommended amount for the best texture.
- Not Firm Enough – If your bars fall apart, ensure you pressed the mixture firmly into the pan.
- Chocolate Separation – If your melted chocolate isn’t smooth, make sure to melt it in short intervals and stir well.
- Burnt Marshmallows – If you use the broiler to toast marshmallows on top, keep a close eye on them to prevent burning.
Leftovers & Meal Prep
S’Mores Krispies Bars are perfect for making ahead of time. Here’s how to store them:
- Storage – Keep the bars in an airtight container at room temperature for up to a week.
- Freezing – For longer storage, wrap individual bars in plastic wrap and place them in a freezer-safe bag. They can be frozen for up to 3 months.
- Thawing – When ready to enjoy, simply thaw at room temperature for a few hours before serving.
Troubleshooting Q&A
Why are my S’Mores Krispies Bars too hard?
If your bars are too hard, it’s likely that they were pressed too firmly into the pan or cooked for too long. Try using less pressure when pressing them down next time.
What if my chocolate layer isn’t melting properly?
If the chocolate isn’t melting smoothly, it could be due to overheating. Melt it in shorter intervals and stir until it’s creamy and smooth.
Can I make these bars gluten-free?
Yes! Simply use gluten-free Rice Krispies cereal. Double-check that all other ingredients are gluten-free as well.
How can I add more flavor to my bars?
You can enhance the flavor by adding a teaspoon of vanilla extract to the marshmallow mixture or including mix-ins like nuts or toffee bits.
More from the Kitchen
If you love S’Mores Krispies Bars, you might also enjoy these delicious recipes:
- Chocolate Chip Cookies – A classic favorite that never disappoints.
- Easy Vegetable Stir-Fry – A quick and healthy meal option.
- Vegan Chocolate Mousse – A rich and creamy dessert that’s completely plant-based.
Serve & Enjoy
Now that you have your S’Mores Krispies Bars ready, it’s time to serve and enjoy! These delightful treats are perfect for sharing with friends and family, or simply indulging in a sweet moment by yourself. Whether you bring them to a gathering or keep them all to yourself, one thing is for certain—every bite is a reminder of summer fun and delicious memories.
Indulge in the nostalgia and flavor of S’Mores Krispies Bars, and let the good times roll!
S'Mores Krispies Bars
Ingredients
Equipment
Method
- Step 1: Prepare Your Baking Pan - Start by lining your 9x13 inch baking pan with parchment paper, leaving some overhang on the sides.
- Step 2: Melt the Butter and Marshmallows - In a large mixing bowl, melt 2 tablespoons of butter. Add 2 cups of mini marshmallows and stir until completely coated.
- Step 3: Combine with Rice Krispies - Add 2 cups of Rice Krispies cereal to the melted marshmallow mixture and stir gently until evenly coated.
- Step 4: Press into the Pan - Transfer the mixture into your prepared baking pan, using a spatula to press down firmly and evenly.
- Step 5: Prepare the Chocolate Layer - In a microwave-safe bowl, combine 1 cup of semi-sweet chocolate chips with 2 tablespoons of butter. Melt together until smooth.
- Step 6: Spread the Chocolate - Pour the melted chocolate over the pressed Rice Krispies layer, spreading it evenly.
- Step 7: Add More Marshmallows - Sprinkle 1-2 cups of mini marshmallows on top of the chocolate layer and press down slightly.
- Step 8: Allow to Cool - Let the bars cool completely at room temperature or in the refrigerator for about 30 minutes.
- Step 9: Slice and Serve - Once cooled, lift the bars out of the pan and cut into squares or rectangles to serve.
Notes
- For a fun twist, try using flavored marshmallows or different types of crispy cereal.
- Store bars in an airtight container at room temperature for up to a week.
- Wrap individual bars in plastic wrap and freeze for up to 3 months.