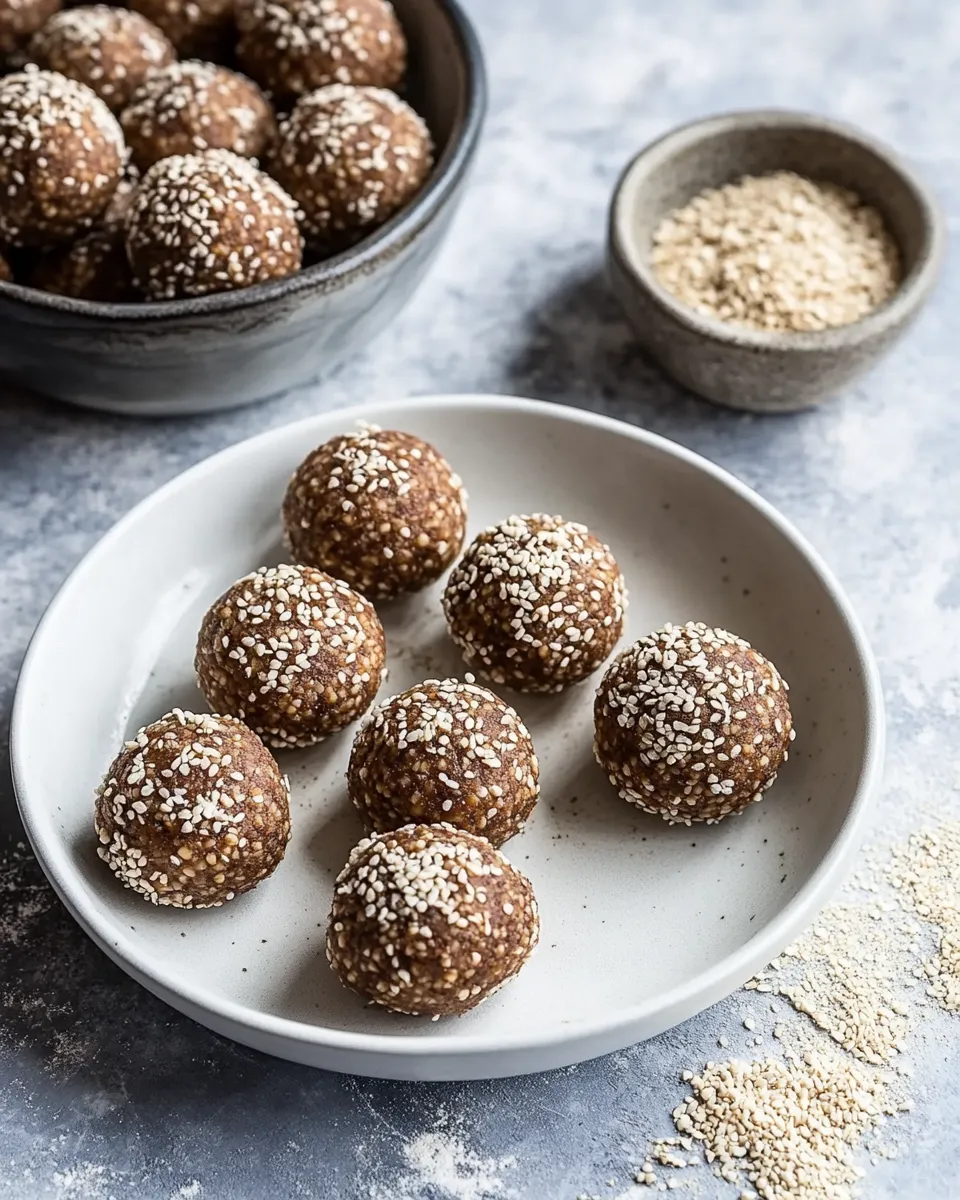
No Bake Protein Power Balls
If you’re searching for a quick, healthy snack that’s packed with protein and flavor, look no further than these No Bake Protein Power Balls! Perfect for a post-workout boost or a mid-afternoon pick-me-up, these little bites are brimming with wholesome ingredients that will keep you satisfied and energized. Plus, they come together in minutes with minimal fuss. Let’s dive into the delicious world of No Bake Protein Power Balls that you can whip up in your kitchen today!
Why It’s My Go-To
These No Bake Protein Power Balls have become a staple in my kitchen for several reasons. They are incredibly versatile, allowing you to customize the flavors to suit your taste preferences. Whether you’re a chocolate lover or prefer something fruity, these protein bites can adapt to your cravings. They’re also great for meal prep—simply make a batch at the beginning of the week, and you’ll have a healthy snack on hand whenever hunger strikes. Plus, they take less than 15 minutes to prepare, making them a perfect choice for busy schedules.
What’s in the Bowl
The ingredients for these No Bake Protein Power Balls are simple and wholesome. Here’s what you’ll need:
- 1 cup quick oats or rolled oats: Provides a hearty base and adds fiber.
- 1 cup protein powder of choice: Boosts the protein content; choose your favorite flavor!
- 3 Tbsp chia seeds or hemp seeds: Adds healthy omega-3 fatty acids and a nice crunch.
- 1 cup unsweetened almond butter or peanut butter: Provides healthy fats and gives the balls a creamy texture.
- 6 pitted medjool dates or 3 to 5 Tbsp pure maple syrup: Acts as a natural sweetener and binds the ingredients.
- Pinch sea salt: Enhances flavors and balances sweetness.
- 1 tsp ground cinnamon (optional): Adds warmth and depth of flavor.
- 2-6 Tbsp water (as needed): Helps in achieving the desired consistency.
- 1/2 cup mini chocolate chips (optional): For a touch of indulgence!
Before You Start: Equipment
Before jumping into the mixing bowl, gather these essential tools:
- Mixing bowl: A medium-sized bowl will work perfectly.
- Spatula or wooden spoon: For mixing all the ingredients together.
- Food processor (optional): This can make blending the dates easier.
- Measuring cups and spoons: Ensure accurate ingredient measurements.
- Baking sheet or plate: For chilling the protein balls before serving.
Directions: No Bake Protein Power Balls
Now that you have everything ready, let’s get to the fun part—making your No Bake Protein Power Balls!
Step 1: Prepare the Dates
If you’re using medjool dates, start by removing the pits. If your dates are a bit dry, soak them in warm water for about 10 minutes to soften them up. Drain and set aside.
Step 2: Combine Dry Ingredients
In a large mixing bowl, add the quick oats, protein powder, chia seeds (or hemp seeds), and ground cinnamon (if using). Give it a good stir to combine the dry ingredients evenly.
Step 3: Add Wet Ingredients
Next, add the almond butter or peanut butter, and the pitted dates or maple syrup to the bowl. If you’re using a food processor, this is the time to blend the dates into a smooth paste before adding.
Step 4: Mix It Up
Using your spatula or wooden spoon, mix the ingredients together until they are well combined. The mixture should be thick but sticky. If it’s too dry, add a tablespoon of water at a time until you reach the desired consistency.
Step 5: Fold in Chocolate Chips
If you’re feeling a bit indulgent, now is the time to fold in the mini chocolate chips. This step is optional but highly recommended for a sweet treat!
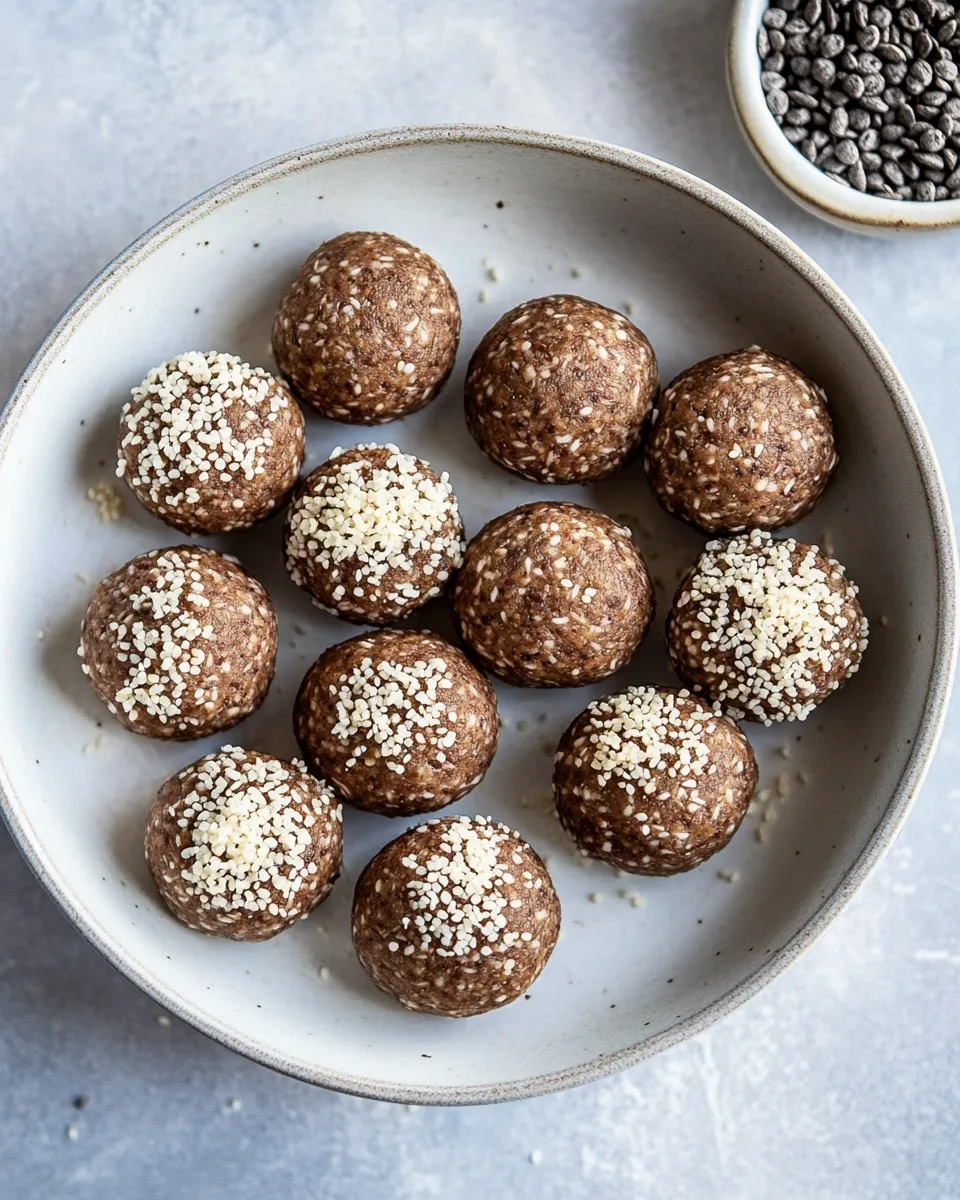
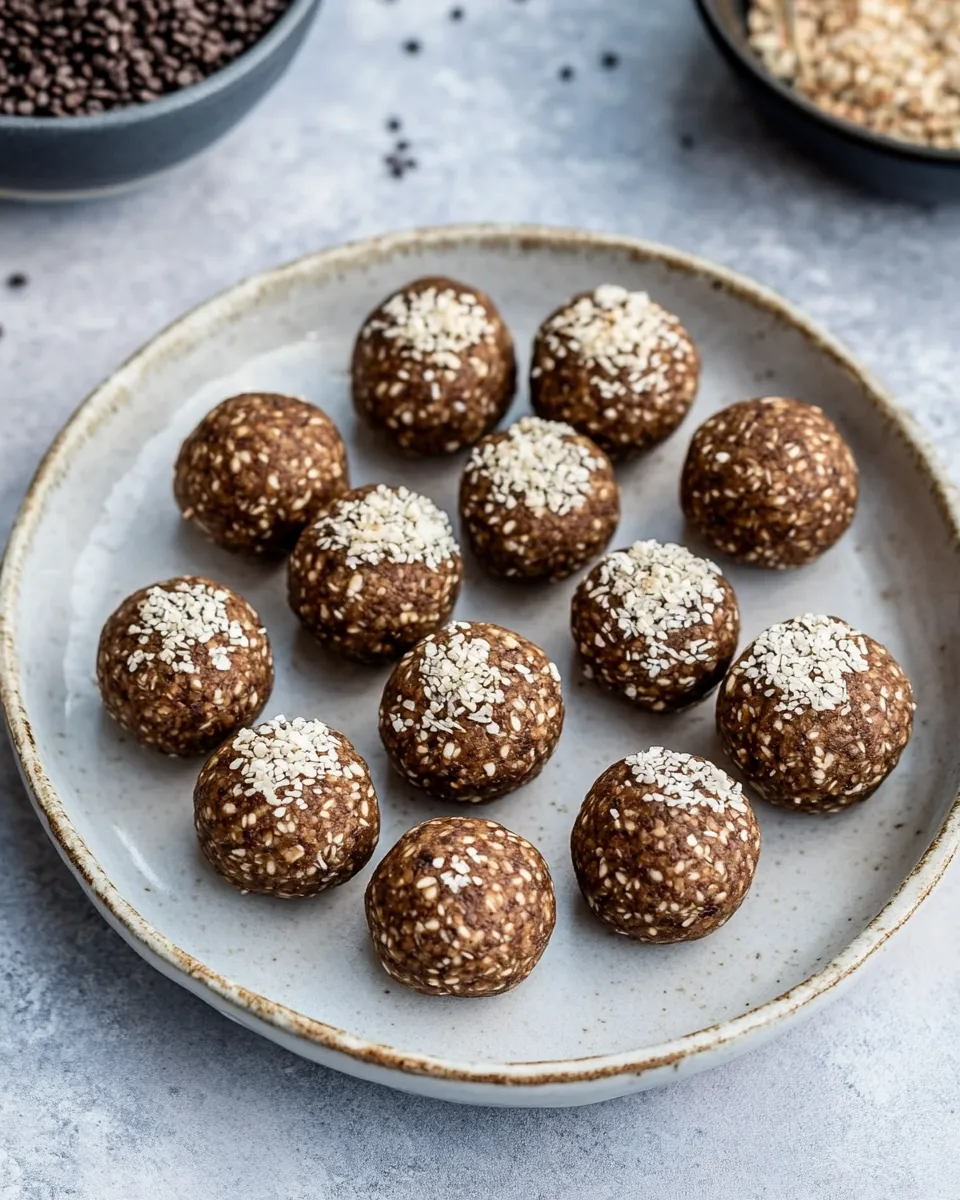
Step 6: Form the Balls
With clean hands, take about 1 tablespoon of the mixture and roll it into a ball. Repeat this process until all the mixture is formed into balls. You should yield about 12-15 protein balls depending on the size.
Step 7: Chill
Place the protein balls on a baking sheet or plate and pop them in the fridge for about 30 minutes to firm up. This step is crucial for achieving the perfect texture!
Allergy-Friendly Swaps
These No Bake Protein Power Balls can easily be customized to accommodate dietary restrictions. Here are some swaps you might consider:
- Nut-free: Replace almond or peanut butter with sunflower seed butter.
- Gluten-free: Ensure the oats are certified gluten-free.
- Vegan: Use maple syrup instead of honey and ensure the protein powder is plant-based.
- Low-carb: Substitute oats with ground nuts or seeds and reduce the sweetener.
If You’re Curious
If you’re wondering about the nutritional benefits of these No Bake Protein Power Balls, here are a few highlights:
- High in protein, which is essential for muscle recovery and growth.
- Rich in fiber from oats and seeds, promoting digestive health.
- Natural sweeteners like dates and maple syrup offer vitamins and minerals, unlike refined sugars.
- Versatile and easy to modify based on dietary needs or personal taste preferences.
Keep-It-Fresh Plan
To maintain the freshness of your No Bake Protein Power Balls, consider the following tips:
- Refrigerate: Store them in an airtight container in the fridge for up to one week.
- Freeze: For longer storage, freeze the protein balls. They will keep well for up to three months.
- Thawing: When ready to enjoy, simply thaw in the fridge overnight or at room temperature for a few hours.
Handy Q&A
Can I use any type of protein powder for this recipe?
Absolutely! You can use whey, casein, or plant-based protein powders. Just keep in mind that the flavor may differ slightly based on the type of powder you choose.
What can I substitute for the oats if I’m gluten-free?
For a gluten-free option, you can use ground nuts, seeds, or gluten-free oats. This will still provide a great texture while accommodating dietary restrictions.
How can I make these protein balls lower in sugar?
You can reduce or omit the sweetener by using unsweetened nut butter and adding more spices like cinnamon to enhance flavor without the extra sugar.
Can I add other ingredients like dried fruit or nuts?
Definitely! Feel free to customize your protein balls with dried fruits, nuts, or even seeds to suit your taste. Just make sure to adjust the consistency with a little extra water if needed.
Don’t Miss These
If you enjoyed making these No Bake Protein Power Balls, here are some other delicious recipes to try:
Make It Tonight
Now that you have the recipe and all the tips, it’s time to roll up your sleeves and make these No Bake Protein Power Balls! They’re not just a delicious snack; they’re an opportunity to infuse your day with energy and nutrition. Whether you’re hitting the gym, fueling up for a busy day, or simply need a sweet treat, these protein balls are perfect for any occasion. Enjoy the process, and savor every bite of your homemade goodness!

No Bake Protein Power Balls
Ingredients
Equipment
Method
- Step 1: Prepare the Dates. If you're using medjool dates, start by removing the pits. If your dates are a bit dry, soak them in warm water for about 10 minutes to soften them up. Drain and set aside.
- Step 2: Combine Dry Ingredients. In a large mixing bowl, add the quick oats, protein powder, chia seeds (or hemp seeds), and ground cinnamon (if using). Give it a good stir to combine the dry ingredients evenly.
- Step 3: Add Wet Ingredients. Next, add the almond butter or peanut butter, and the pitted dates or maple syrup to the bowl. If you’re using a food processor, this is the time to blend the dates into a smooth paste before adding.
- Step 4: Mix It Up. Using your spatula or wooden spoon, mix the ingredients together until they are well combined. The mixture should be thick but sticky. If it’s too dry, add a tablespoon of water at a time until you reach the desired consistency.
- Step 5: Fold in Chocolate Chips. If you’re feeling a bit indulgent, now is the time to fold in the mini chocolate chips. This step is optional but highly recommended for a sweet treat!
- Step 6: Form the Balls. With clean hands, take about 1 tablespoon of the mixture and roll it into a ball. Repeat this process until all the mixture is formed into balls. You should yield about 12-15 protein balls depending on the size.
- Step 7: Chill. Place the protein balls on a baking sheet or plate and pop them in the fridge for about 30 minutes to firm up. This step is crucial for achieving the perfect texture!
Notes
- Store in an airtight container in the fridge for up to one week.
- For longer storage, freeze the protein balls for up to three months.
- Thaw in the fridge overnight or at room temperature for a few hours when ready to enjoy.