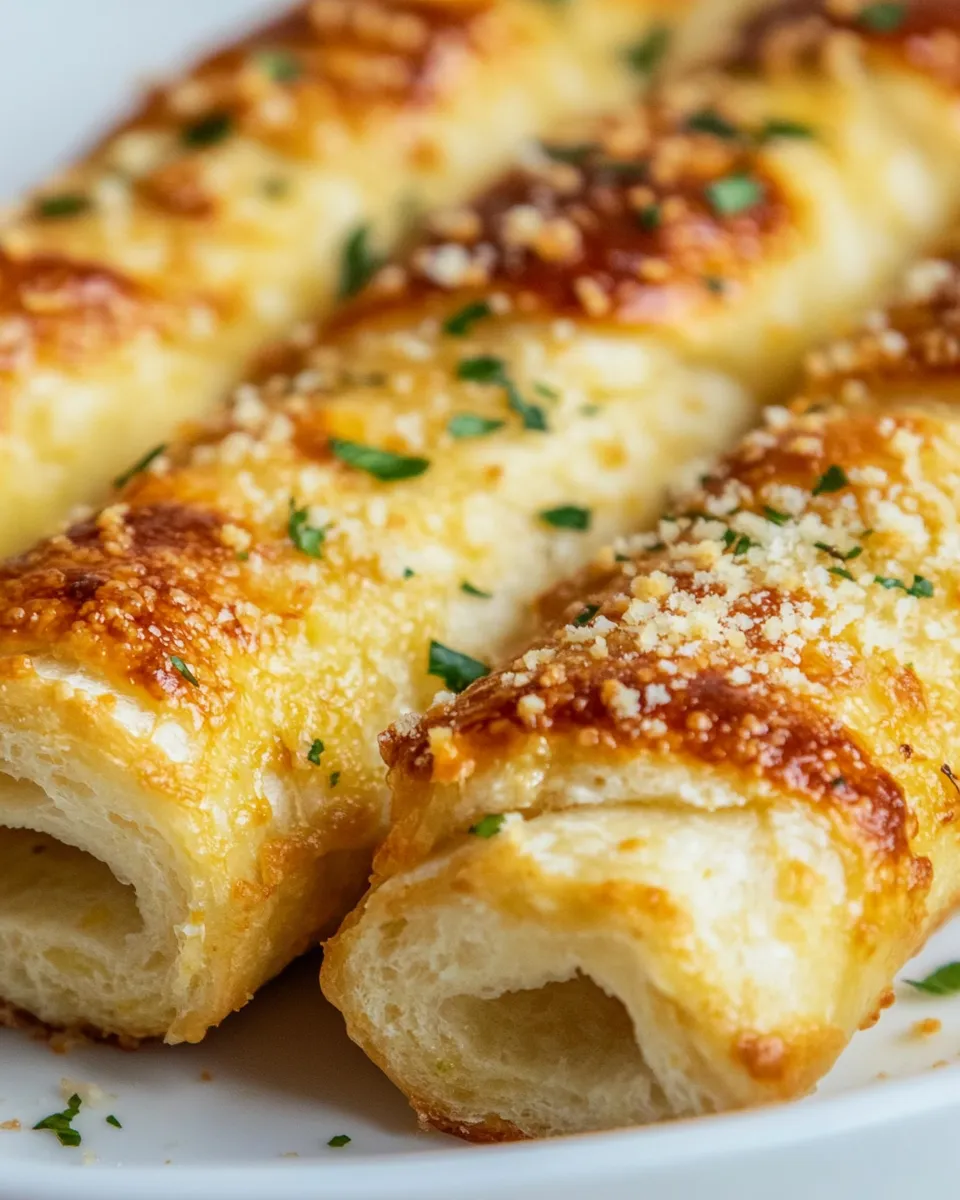
Garlic Cheese Breadsticks
There’s something utterly irresistible about the aroma of freshly baked breadsticks wafting through your kitchen. These Garlic Cheese Breadsticks are a delightful blend of savory garlic, warm bread, and gooey cheese, making them the perfect accompaniment to any meal or a delicious snack on their own. With a soft, chewy texture and an easy-to-follow recipe, you’ll find yourself reaching for these breadsticks time and time again. Let’s dive into the details and make your kitchen smell heavenly!
Why It Works Every Time
The secret to perfect Garlic Cheese Breadsticks lies in the dough. The combination of bread flour and warm water creates a strong gluten structure, ensuring soft yet chewy breadsticks. The addition of minced garlic and dried oregano infuses the dough with flavor, while the melted butter and cheese filling brings everything together. By following this recipe closely, you’ll achieve that perfect balance of flavor and texture that will have everyone begging for more.
The Essentials
- Bread Flour: 2.5 cups to give a chewy texture.
- Salt: A pinch to enhance flavor.
- Olive Oil: 3 tablespoons for richness in the dough.
- Warm Water: 1 cup activates the yeast.
- Minced Garlic: 2 teaspoons to give that garlicky punch.
- Dried Oregano: 1.5 teaspoons for an aromatic touch.
- Active Dry Yeast: 1 teaspoon to help the dough rise.
- Honey: 2 teaspoons to nourish the yeast and add subtle sweetness.
Filling:
- Salted Butter: 2 tablespoons, melted for brushing.
- Shredded Mozzarella Cheese: 1 cup for that gooey goodness.
- Grated Parmesan Cheese: 2-3 tablespoons for a salty kick.
- Garlic Salt: To sprinkle on top for added flavor.
Setup & Equipment
- Mixing Bowl: For combining your ingredients.
- Measuring Cups and Spoons: To ensure accurate measurements.
- Plastic Wrap: For covering the dough while it rises.
- Baking Sheet: To hold your breadsticks while baking.
- Oven: Preheated to ensure even baking.
Garlic Cheese Breadsticks Made Stepwise
Step 1: Prepare the Dough
In a mixing bowl, combine the warm water, honey, and active dry yeast. Let it sit for about 5 minutes until it becomes frothy. This indicates the yeast is active.
Step 2: Mix the Ingredients
Add the bread flour, salt, olive oil, minced garlic, and dried oregano to the yeast mixture. Stir until a dough begins to form.
Step 3: Knead the Dough
Transfer the dough to a lightly floured surface and knead for about 5-7 minutes until it becomes smooth and elastic.
Step 4: Let It Rise
Place the dough in a greased bowl, cover it with plastic wrap, and let it rise in a warm place for about 1 hour, or until it doubles in size.
Step 5: Preheat the Oven
While the dough is rising, preheat your oven to 425°F (220°C).
Step 6: Shape the Breadsticks
Once the dough has risen, punch it down and turn it out onto a floured surface. Roll it out into a rectangle about 1/2 inch thick. Cut into strips using a pizza cutter or knife.
Step 7: Add the Filling
Brush the melted butter over the dough strips, then sprinkle the shredded mozzarella and grated parmesan cheese evenly across the surface.
Step 8: Bake the Breadsticks
Place the dough strips on a greased baking sheet. Sprinkle with garlic salt and any additional herbs if desired. Bake for 12-15 minutes or until golden brown and the cheese is bubbly.
Step 9: Serve and Enjoy
Remove the breadsticks from the oven and let them cool slightly before serving. Enjoy warm with your favorite marinara sauce or on their own!
Make It Your Way
- Add Herbs: Experiment with different herbs like basil or thyme for a unique flavor.
- Cheese Variations: Substitute mozzarella with cheddar or gouda for a different cheese profile.
- Spicy Kick: Add red pepper flakes to the filling for an extra kick.
- Garlic Lovers: Increase the minced garlic for a more pronounced garlic flavor.
Errors to Dodge
- Not Activating Yeast: Always ensure your yeast is active before adding other ingredients.
- Over-Kneading: Knead just enough to develop gluten, but don’t overdo it.
- Too Much Flour: Be cautious with flour amounts; dough should be slightly sticky but manageable.
- Skipping the Rise: Don’t rush the rising process; it’s crucial for texture.
Storage Pro Tips
To keep your Garlic Cheese Breadsticks fresh, store them in an airtight container at room temperature for up to 2 days. If you want to keep them longer, freeze them in a freezer-safe bag or container for up to 3 months. Reheat in the oven or microwave before serving for that fresh-out-of-the-oven taste.
Ask & Learn
Can I use all-purpose flour instead of bread flour?
Yes, you can use all-purpose flour, but the texture may be slightly less chewy compared to using bread flour.
How can I make these breadsticks vegan?
To make them vegan, substitute the butter with a plant-based alternative and use a dairy-free cheese for the filling.
What if my dough doesn’t rise?
If your dough doesn’t rise, it may be due to inactive yeast. Ensure your yeast is fresh, and the water temperature is warm (not hot) when activating.
Can I make the dough ahead of time?
Absolutely! You can prepare the dough, let it rise, and then refrigerate it overnight. Bring it back to room temperature before shaping and baking.
Quick Weeknight Wins
- Easy Pizza Dough – Perfect for a quick pizza night!
- 30-Minute Pasta – A delicious meal ready in no time.
- Simple Vegan Tacos – A quick and tasty dinner option.
- Best Chocolate Chip Cookies – A sweet treat to finish off the meal.
Before You Go
These Garlic Cheese Breadsticks are not just a recipe; they’re an experience. The combination of flavors and textures will elevate your meal and bring joy to your table. Whether you’re serving them at a family gathering, a cozy dinner, or just indulging in a snack, they are sure to impress. So gather your ingredients, roll up your sleeves, and get ready to create something magical in your kitchen! With this guide, you’ll master the art of making Garlic Cheese Breadsticks that everyone will love. Happy baking!
Garlic Cheese Breadsticks
Ingredients
Equipment
Method
- In a mixing bowl, combine the warm water, honey, and active dry yeast. Let it sit for about 5 minutes until it becomes frothy.
- Add the bread flour, salt, olive oil, minced garlic, and dried oregano to the yeast mixture. Stir until a dough begins to form.
- Transfer the dough to a lightly floured surface and knead for about 5-7 minutes until it becomes smooth and elastic.
- Place the dough in a greased bowl, cover it with plastic wrap, and let it rise in a warm place for about 1 hour, or until it doubles in size.
- While the dough is rising, preheat your oven to 425°F (220°C).
- Once the dough has risen, punch it down and turn it out onto a floured surface. Roll it out into a rectangle about 1/2 inch thick. Cut into strips.
- Brush the melted butter over the dough strips, then sprinkle the shredded mozzarella and grated parmesan cheese evenly across the surface.
- Place the dough strips on a greased baking sheet. Sprinkle with garlic salt and bake for 12-15 minutes or until golden brown and the cheese is bubbly.
- Remove the breadsticks from the oven and let them cool slightly before serving. Enjoy warm!
Notes
- Store leftovers in an airtight container at room temperature for up to 2 days.
- Freeze for up to 3 months in a freezer-safe bag.
- Reheat in the oven or microwave before serving for fresh taste.