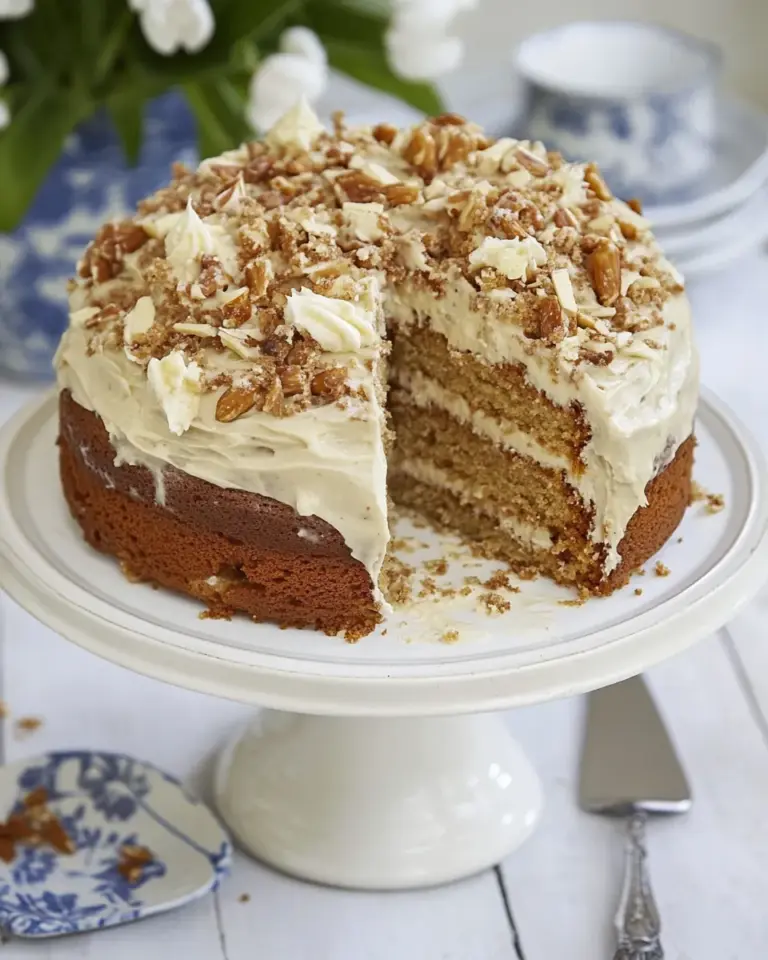
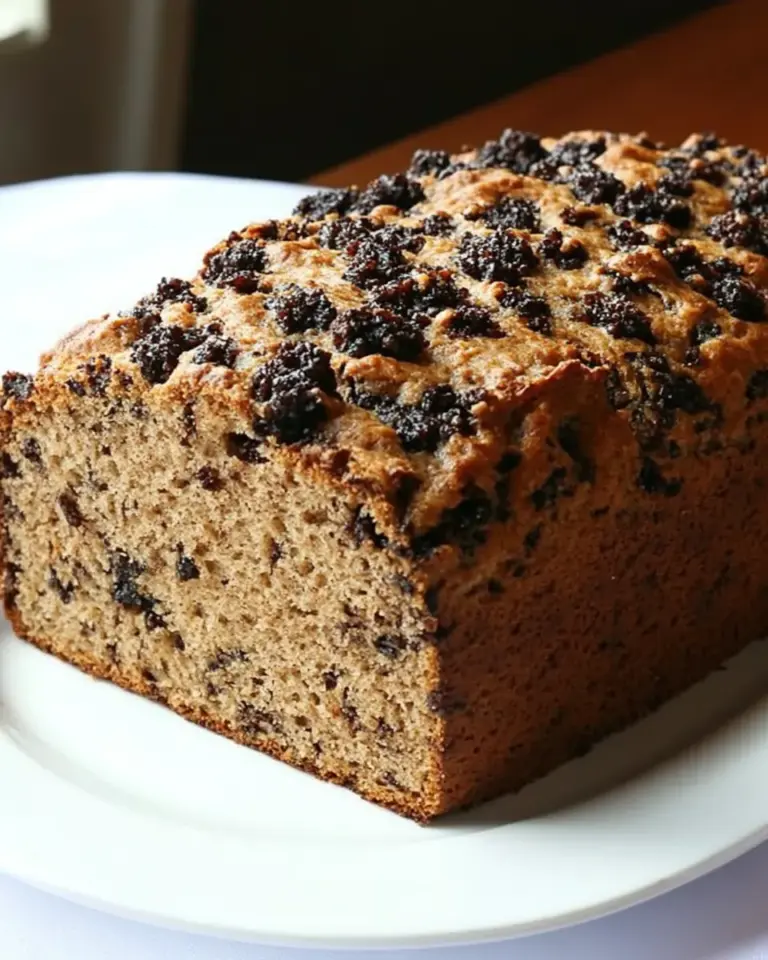
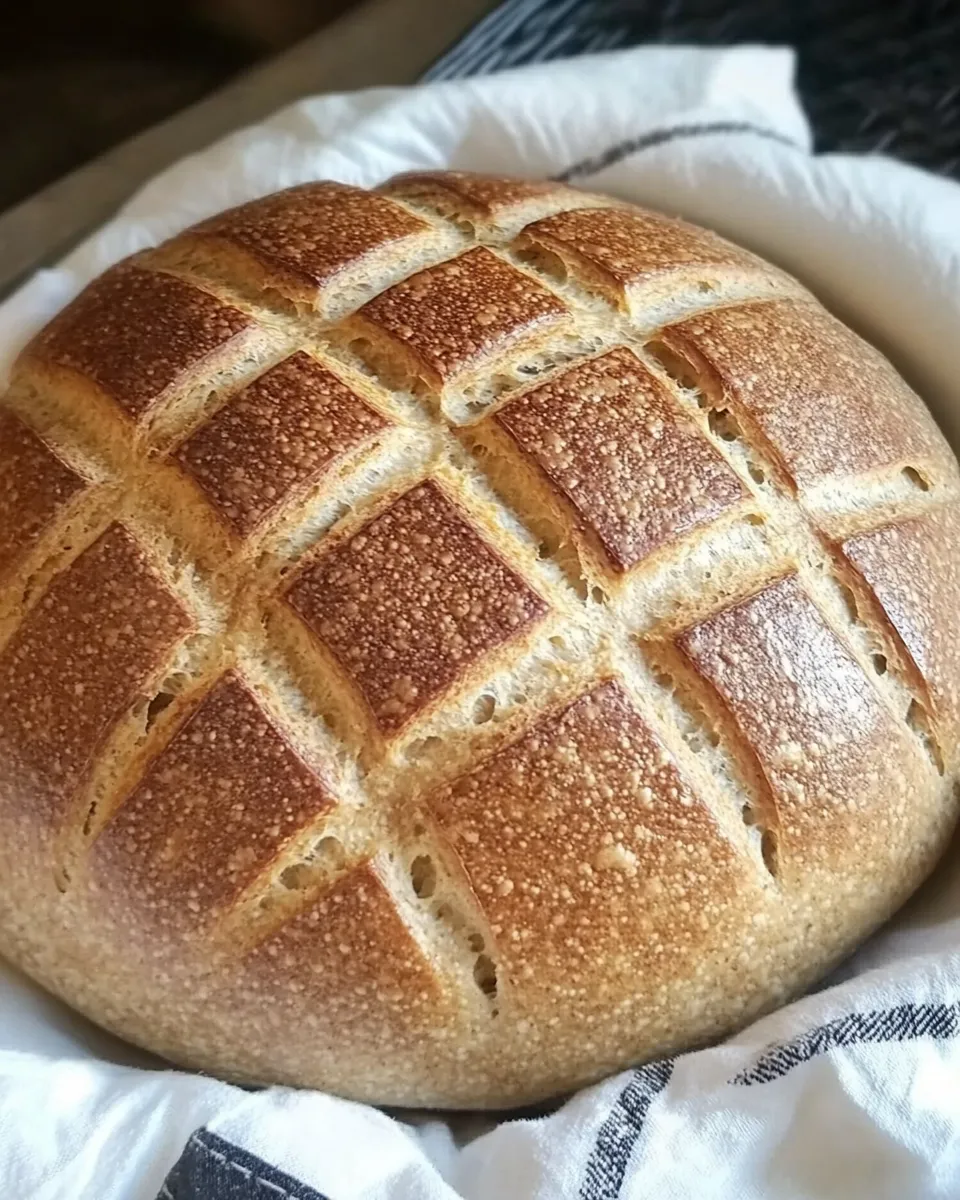
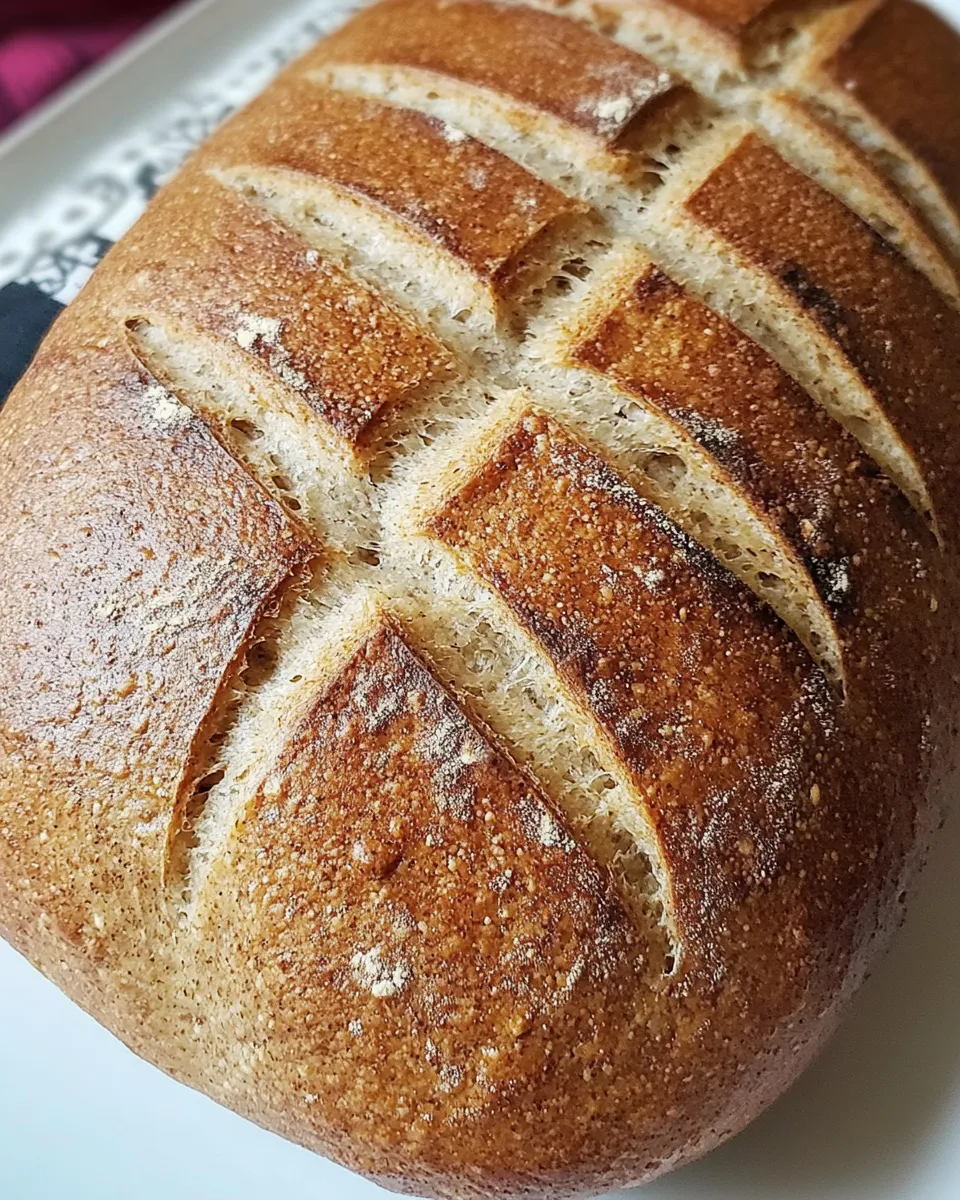
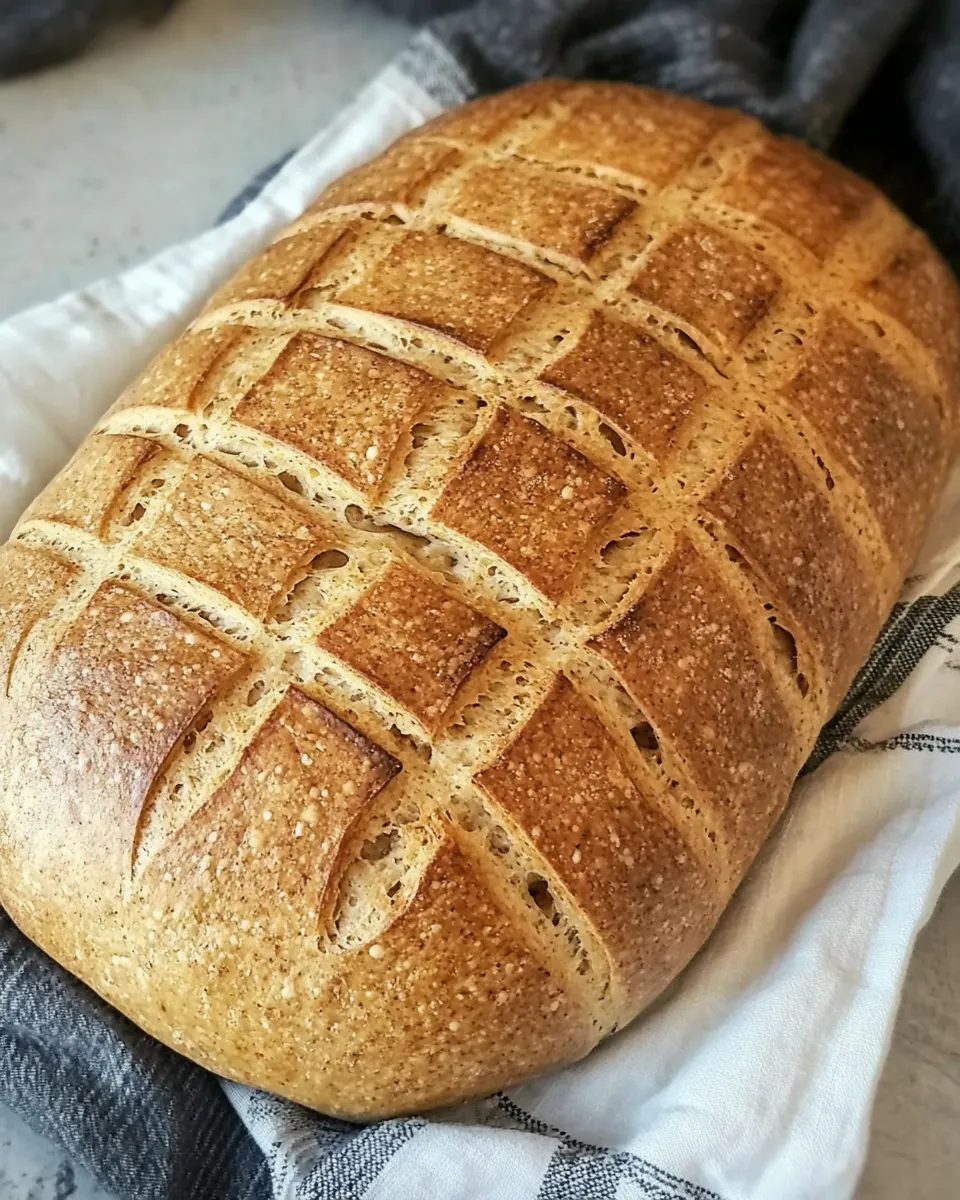
Whole Wheat Country Bread
There’s something magical about the aroma of freshly baked bread wafting through your kitchen. It has the power to evoke memories, create warmth, and bring loved ones together. Whole Wheat Country Bread is a perfect example of this. With a crunchy crust and a soft, nutty interior, this bread is not just a staple; it’s a reason to gather around the table. Whether slathered with butter or used to make a hearty sandwich, this bread deserves a spot in your weekly baking routine.
Why It Deserves a Spot

Whole Wheat Country Bread is more than just a loaf; it’s a celebration of wholesome ingredients. The combination of whole wheat flour, rye flour, and all-purpose flour gives this bread a unique flavor profile that’s both rich and satisfying. The texture is perfect for toasting and pairs beautifully with a variety of toppings, from creamy avocado to sweet jams. Plus, making bread at home allows you to control the ingredients and avoid preservatives often found in store-bought options. Simply put, this bread is nourishing, delicious, and a joy to make.
Ingredients at a Glance
To get started on your Whole Wheat Country Bread, gather the following ingredients:
- 1 1 cups water (105 to 115 degrees F) plus more to warm the mixing bowl
- 2 2 teaspoons active dry yeast (1 full packet)
- 1 cup all-purpose unbleached flour
- 1 cup rye flour
- 1 1/2 cups whole wheat flour
- 1 tablespoon honey or maple syrup
- 1 teaspoon salt
- 2 tablespoons olive oil (optional)
Tools & Equipment Needed
Before diving into the baking process, make sure you have the following tools:
- Mixing bowl – A large bowl is ideal for mixing and kneading the dough.
- Measuring cups and spoons – Accurate measurements are key to perfect bread.
- Wooden spoon or dough scraper – For mixing and shaping the dough.
- Loaf pan or baking stone – Depending on how you want to shape your bread.
- Kitchen towel – To cover the dough while it rises, retaining moisture.
- Oven thermometer – To ensure your oven is at the right temperature for baking.
Mastering Whole Wheat Country Bread: How-To
Ready to bake? Follow these simple steps to create your very own Whole Wheat Country Bread.
Step 1: Prepare the Dough
Start by warming your mixing bowl with hot water. Discard the water and add 1 1 cups of warm water (105 to 115 degrees F) to the bowl. Sprinkle in the active dry yeast and let it sit for about 5-10 minutes until frothy. This step is crucial as it activates the yeast, ensuring a good rise.
Step 2: Mix in the Dry Ingredients
Once your yeast is frothy, add the honey (or maple syrup) and olive oil (if using). Mix gently. In another bowl, combine the all-purpose flour, rye flour, whole wheat flour, and salt. Gradually add the dry ingredients to the wet mixture, stirring until a shaggy dough forms.
Step 3: Knead the Dough
Transfer the dough onto a lightly floured surface. Knead for about 8-10 minutes until the dough is smooth and elastic. If the dough is too sticky, sprinkle a little more flour as needed.
Step 4: First Rise
Shape the dough into a ball and place it in a lightly oiled bowl, turning to coat. Cover with a damp kitchen towel and let it rise in a warm place for about 1-2 hours, or until it has doubled in size.
Step 5: Shape the Loaf
Once risen, gently deflate the dough. Transfer it back to your floured surface and shape it into a loaf. Place it in a greased loaf pan, seam side down. Cover again with the kitchen towel and let it rise for another 30-45 minutes.
Step 6: Preheat the Oven
While the dough is rising for the second time, preheat your oven to 375 degrees F. This ensures that the bread bakes evenly and develops that delightful crust.
Step 7: Bake the Bread
Once the dough has risen, bake it in the preheated oven for about 30-35 minutes. The bread is done when it sounds hollow when tapped on the bottom and has a golden-brown crust.
Step 8: Cool and Enjoy
Remove the bread from the oven and let it cool in the pan for 5 minutes. Then transfer it to a wire rack to cool completely. Slice and enjoy your homemade Whole Wheat Country Bread!
Adaptations for Special Diets
If you’re looking to modify this recipe for specific dietary needs, consider the following adaptations:
- Gluten-Free: Substitute with a gluten-free all-purpose flour blend and add a binder like xanthan gum.
- Vegan: Replace honey with agave syrup or maple syrup.
- Lower Carb: Use almond flour or coconut flour, adjusting liquid ratios accordingly.
- Extra Fiber: Add seeds like flaxseed or chia seeds for added nutrition.
Troubles You Can Avoid
Baking can sometimes come with its challenges, but being aware of common pitfalls can help you succeed:
- Using water that’s too hot can kill the yeast. Always stick to the recommended temperature.
- Not letting the dough rise long enough can result in a dense loaf.
- Over-kneading can lead to tough bread, while under-kneading can result in a loaf that doesn’t hold its shape.
- Skipping the cooling step can cause your bread to become gummy instead of fluffy.
Storage Pro Tips
To keep your Whole Wheat Country Bread fresh for as long as possible, consider these storage tips:
- Wrap the bread in plastic wrap or aluminum foil to maintain moisture.
- Store at room temperature for up to 3-4 days, or refrigerate for a week.
- For longer storage, slice the bread and freeze it. It can last up to 3 months.
- Reheat slices in the toaster or toaster oven for a warm, fresh experience.
Whole Wheat Country Bread Q&A
Can I use other types of flour?
Absolutely! You can experiment with different flours like spelt, oat, or even a gluten-free blend, but you may need to adjust the liquid content accordingly.
What can I add to the dough for extra flavor?
Feel free to add seeds, nuts, dried herbs, or spices to the dough for added flavor and texture.
How can I tell if my bread is fully baked?
The best way to check is by tapping the bottom of the loaf; if it sounds hollow, it’s done. Additionally, the crust should be a deep golden brown.
Is it possible to make this bread without a stand mixer?
Yes! You can easily make this bread by hand using a wooden spoon for mixing and your hands for kneading.
Weekend Projects
Looking for more baking inspiration? Check out these fantastic weekend projects:
- Sally’s Baking Addiction – Explore a variety of bread and dessert recipes!
- Pinch of Yum – Discover delicious meals and baking ideas perfect for any occasion.
- Minimalist Baker – Find simple, quick recipes that are full of flavor.
- King Arthur Baking – A resource for baking tips and a plethora of recipes.
Make It Tonight
Whole Wheat Country Bread is an inviting project that can easily become part of your evening routine. The process of mixing, kneading, and watching your dough rise is not only therapeutic but rewarding, as you await the moment you can slice into that warm, homemade loaf.
So gather your ingredients, put on your apron, and let’s create something wonderful together. Baking this Whole Wheat Country Bread is not just about the end result; it’s about the joy of creating and sharing. Once you take that first bite, you’ll understand why this bread deserves a permanent place in your kitchen!
Whole Wheat Country Bread
Ingredients
Equipment
Method
- Warm your mixing bowl with hot water. Discard the water and add 1 cup of warm water (105 to 115 degrees F) to the bowl. Sprinkle in the active dry yeast and let it sit for about 5-10 minutes until frothy.
- Add the honey (or maple syrup) and olive oil (if using) to the frothy yeast. In another bowl, combine the all-purpose flour, rye flour, whole wheat flour, and salt. Gradually add the dry ingredients to the wet mixture, stirring until a shaggy dough forms.
- Transfer the dough onto a lightly floured surface. Knead for about 8-10 minutes until the dough is smooth and elastic. If the dough is too sticky, sprinkle a little more flour as needed.
- Shape the dough into a ball and place it in a lightly oiled bowl, turning to coat. Cover with a damp kitchen towel and let it rise in a warm place for about 1-2 hours, or until it has doubled in size.
- Once risen, gently deflate the dough. Transfer it back to your floured surface and shape it into a loaf. Place it in a greased loaf pan, seam side down. Cover again with the kitchen towel and let it rise for another 30-45 minutes.
- Preheat your oven to 375 degrees F while the dough is rising for the second time.
- Once the dough has risen, bake it in the preheated oven for about 30-35 minutes. The bread is done when it sounds hollow when tapped on the bottom and has a golden-brown crust.
- Remove the bread from the oven and let it cool in the pan for 5 minutes. Then transfer it to a wire rack to cool completely. Slice and enjoy your homemade Whole Wheat Country Bread!
Notes
- Wrap the bread in plastic wrap or aluminum foil to maintain moisture.
- Store at room temperature for up to 3-4 days, or refrigerate for a week.
- For longer storage, slice the bread and freeze it. It can last up to 3 months.