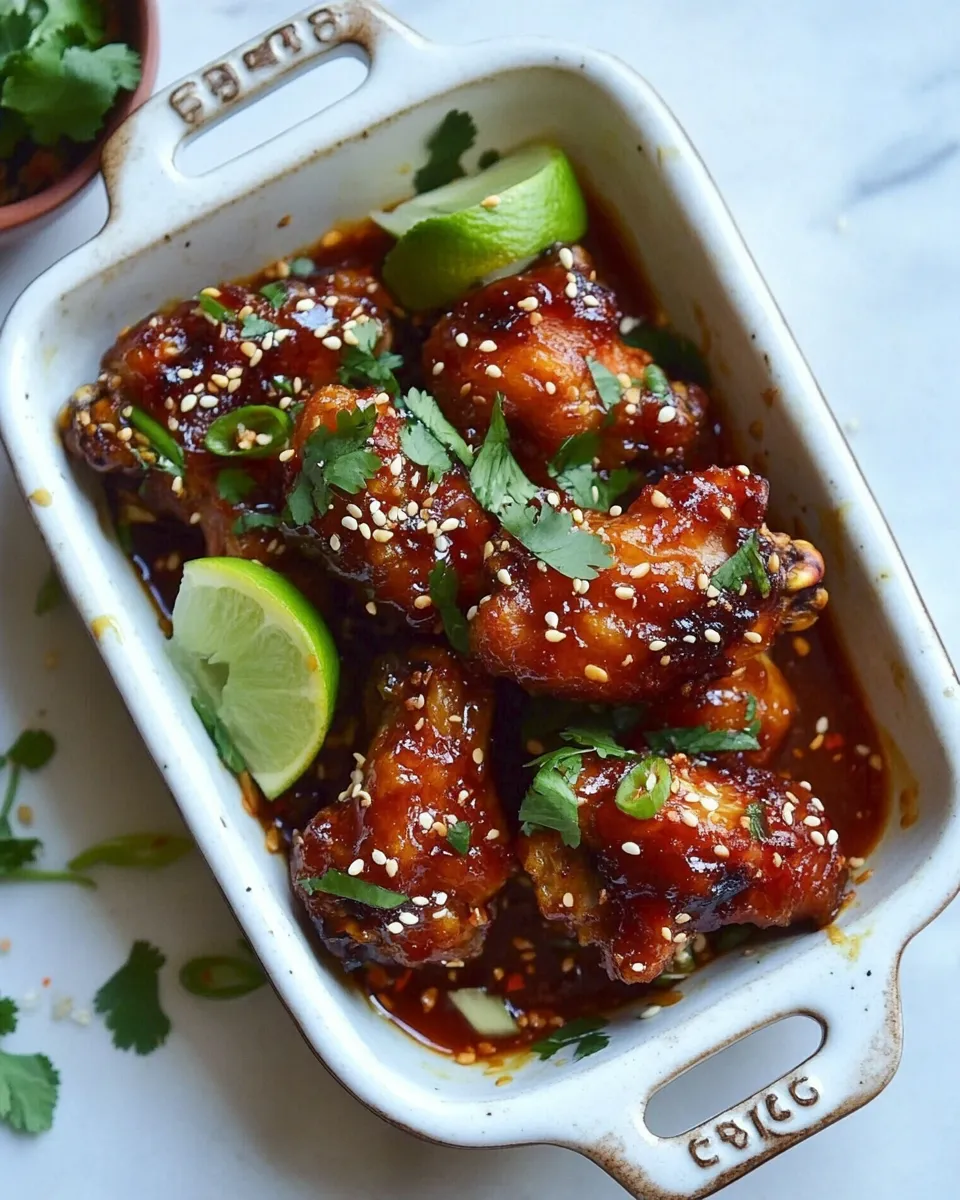
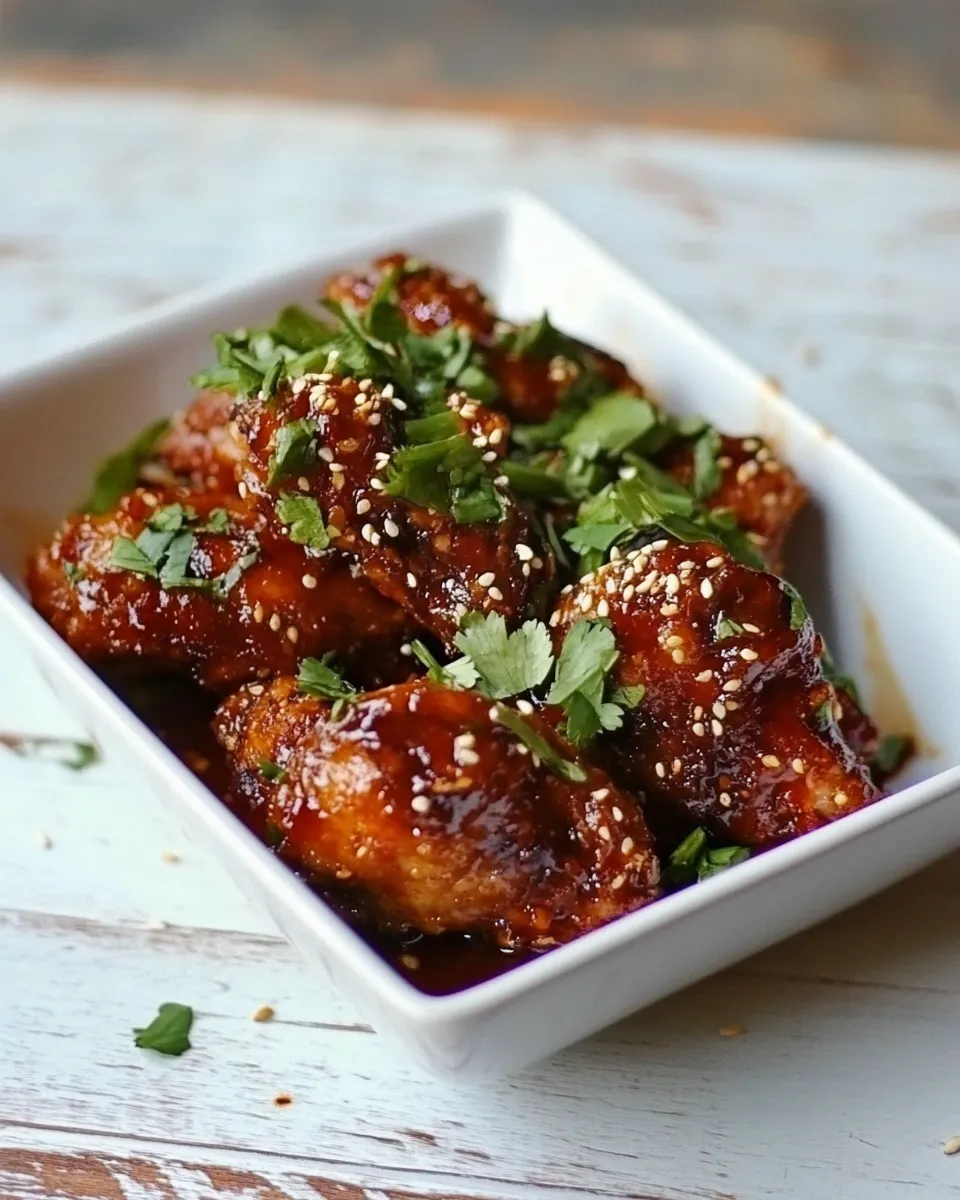
Sweet and Sour Sticky Thai Boneless Oven Baked Chicken Wings
When you’re searching for a dish that delivers on flavor and satisfaction, look no further than Sweet and Sour Sticky Thai Boneless Oven Baked Chicken Wings. These wings are not your typical party fare; they are a delightful blend of sweet, spicy, and savory that will make your taste buds dance. The best part? They are baked to perfection, resulting in a crispy exterior and juicy interior without the mess of frying. Perfect for game day, a cozy dinner, or a fun gathering with friends, these chicken wings are sure to impress everyone at the table.
Why It Deserves a Spot
These Sweet and Sour Sticky Thai Boneless Oven Baked Chicken Wings deserve a spot in your recipe repertoire because they are incredibly versatile, easy to make, and can be enjoyed by everyone—from picky eaters to adventurous foodies. The combination of sweet Thai chili sauce, soy sauce, and a hint of lime creates an irresistible glaze that clings to each bite, ensuring maximum flavor. Plus, the use of boneless chicken tenderloins or breasts makes them easy to eat, perfect for parties or family dinners.
What’s in the Bowl
To create these tantalizing wings, gather the following ingredients:
- 1 pound boneless chicken tenderloins or breasts (cut into nugget-sized pieces)
- 3/4 cup buttermilk
- 1 1/2 cups panko (Japanese breadcrumbs for extra crunch)
- 2 tablespoons whole wheat flour or cornmeal
- 1 cup sweet Thai chili sauce
- 1/3 cup soy sauce
- 1/4 cup dark brown sugar
- 1 tablespoon peanut butter
- 1 tablespoon tomato paste
- 1/2 cup apple juice
- 1/4 cup rice vinegar
- 1 lime, juiced
- 1 teaspoon fish sauce (optional for enhanced flavor)
- 2 cloves garlic (minced or grated)
- 1 tablespoon fresh ginger (grated)
- 1/4 teaspoon crushed red pepper (for a spicy kick)
- 1/4 teaspoon pepper
- 1 tablespoon cornstarch (mixed with 1 tablespoon cold water, optional for thickening)
- 1/4 cup fresh cilantro (chopped, plus more for garnish)
- Chopped cashews (for garnish)
What’s in the Gear List
Before you start cooking, make sure you have the following kitchen tools on hand:
- Baking Sheet – A large, rimmed baking sheet to hold the wings while they bake.
- Parchment Paper – To line the baking sheet for easy cleanup.
- Bowl – For marinating the chicken in buttermilk.
- Whisk – For mixing sauces and batter.
- Measuring Cups and Spoons – To ensure accurate ingredient quantities.
- Mixing Spoon – For mixing the sauce and coating the chicken.
Build Sweet and Sour Sticky Thai Boneless Oven Baked Chicken Wings Step by Step
Step 1: Marinate the Chicken
Start by placing your nugget-sized pieces of chicken in a bowl. Pour in the buttermilk and mix well to coat. Cover the bowl and let it marinate in the refrigerator for at least 30 minutes. This step is crucial for tender, juicy chicken.
Step 2: Preheat the Oven
Preheat your oven to 400°F (200°C). This high temperature will help achieve that desirable crispy texture.
Step 3: Prepare the Breading
In a separate bowl, combine the panko, whole wheat flour (or cornmeal), and a pinch of salt and pepper. Mix well to ensure an even coating.
Step 4: Coat the Chicken
Once the chicken has marinated, remove it from the refrigerator. Take each piece and allow the excess buttermilk to drip off before rolling it in the panko mixture. Ensure each piece is fully coated and place it on the prepared baking sheet.
Step 5: Bake the Chicken
Place the baking sheet in the preheated oven and bake for about 20-25 minutes, or until the chicken is golden brown and cooked through, flipping them halfway through for even cooking.
Step 6: Make the Sauce
While the chicken is baking, prepare the sticky sauce. In a saucepan, combine the sweet Thai chili sauce, soy sauce, dark brown sugar, peanut butter, tomato paste, apple juice, rice vinegar, lime juice, minced garlic, grated ginger, and crushed red pepper. Stir over medium heat until the sugar dissolves and the mixture thickens slightly, about 5-7 minutes. If you want a thicker sauce, add the cornstarch mixture and stir until combined.
Step 7: Toss and Serve
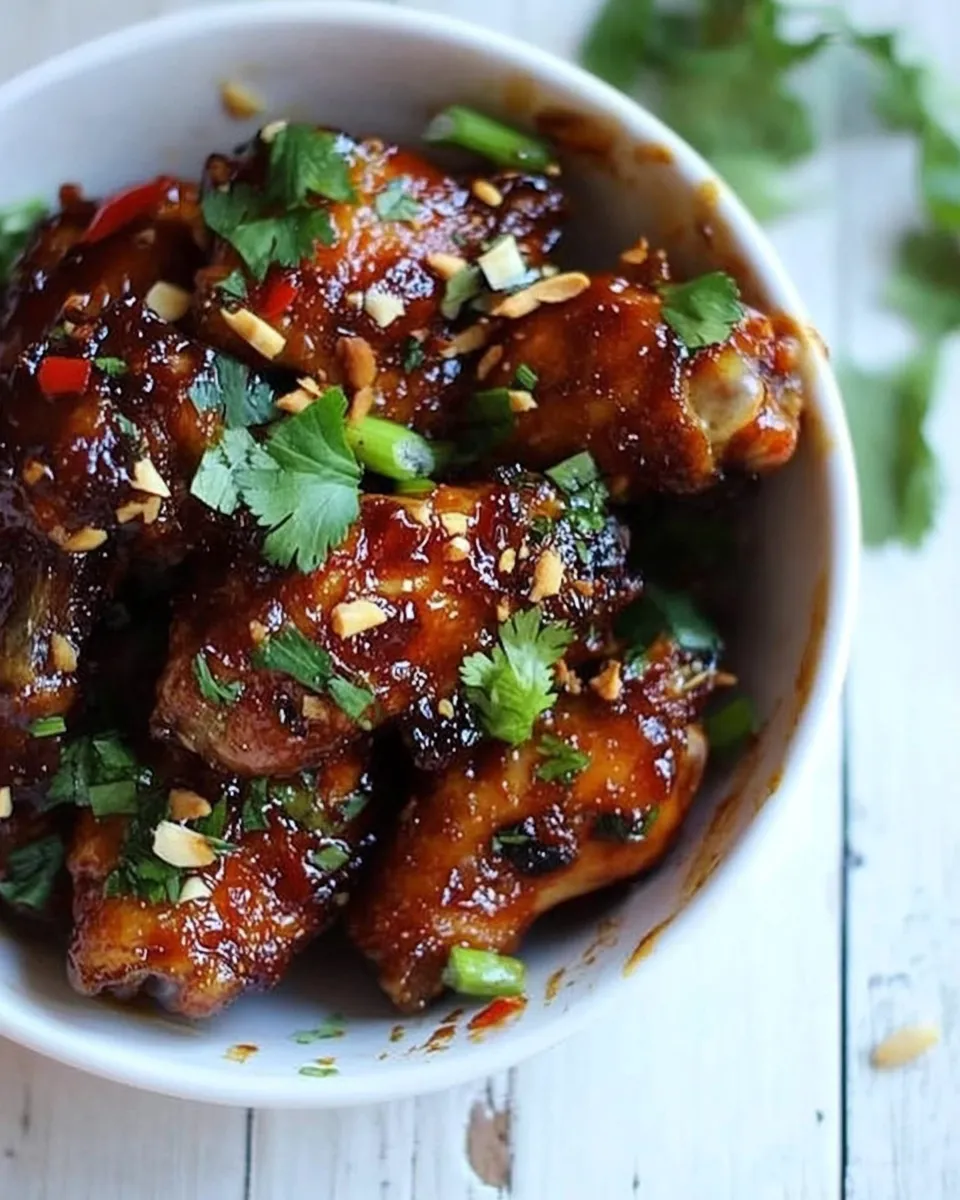
Once the chicken is done baking, remove it from the oven and transfer it to a large bowl. Pour the sticky sauce over the baked chicken and toss to coat evenly. Garnish with fresh cilantro and chopped cashews before serving.
Texture-Safe Substitutions
If you’re looking to customize your Sweet and Sour Sticky Thai Boneless Oven Baked Chicken Wings, consider the following substitutions:
- Chicken Alternatives: You can use boneless turkey breast or even tofu for a vegetarian option.
- Buttermilk: Substitute with dairy-free milk mixed with a tablespoon of vinegar for a vegan version.
- Panko: Regular breadcrumbs can be used, but keep in mind they may not be as crispy.
- Sweet Thai Chili Sauce: You can make a homemade version using sugar, vinegar, and chili flakes.
What Could Go Wrong
Even the best cooks run into hiccups now and then. Here are some common issues and how to avoid them:
- Chicken Too Dry: Ensure you marinate the chicken long enough and don’t over-bake it. Keep a close eye on the cooking time.
- Coating Not Crispy: Make sure your oven is fully preheated and consider adding a light spray of cooking oil to the coated chicken before baking.
- Sauce Too Thick: If the sauce thickens too much, you can always add a splash of apple juice or water to thin it out.
- Flavor Lacking: Adjust the seasoning to your taste. Add more soy sauce or lime juice for a bolder flavor.
Keep It Fresh: Storage Guide
To keep your Sweet and Sour Sticky Thai Boneless Oven Baked Chicken Wings fresh, follow these guidelines:
Store any leftovers in an airtight container in the refrigerator for up to 3 days. To reheat, place them in the oven at 350°F (175°C) until heated through. If you want to freeze them, place the cooled wings in a freezer-safe bag and store them for up to 3 months. Thaw in the refrigerator before reheating.
Your Top Questions
Can I use regular chicken wings instead of boneless chicken?
Absolutely! You can use regular chicken wings, just adjust the cooking time as they may take longer to cook through.
Is the fish sauce necessary for the recipe?
Fish sauce adds depth to the flavor, but if you prefer not to use it, you can omit it without affecting the overall taste too much.
Can I make the sauce in advance?
Yes! The sauce can be made ahead of time and stored in the refrigerator for up to a week. Just reheat it on the stove before tossing with the chicken.
What can I serve with these chicken wings?
These wings pair beautifully with steamed rice, a fresh salad, or even some crunchy vegetable sticks for a complete meal.
Quick Weeknight Wins
For more delicious weeknight meals, check out these links:
- Sally’s Baking Addiction for sweet treats and easy dinners.
- Pinch of Yum for simple recipes that are bursting with flavor.
- Minimalist Baker for quick, plant-based meals that are full of goodness.
Wrap-Up
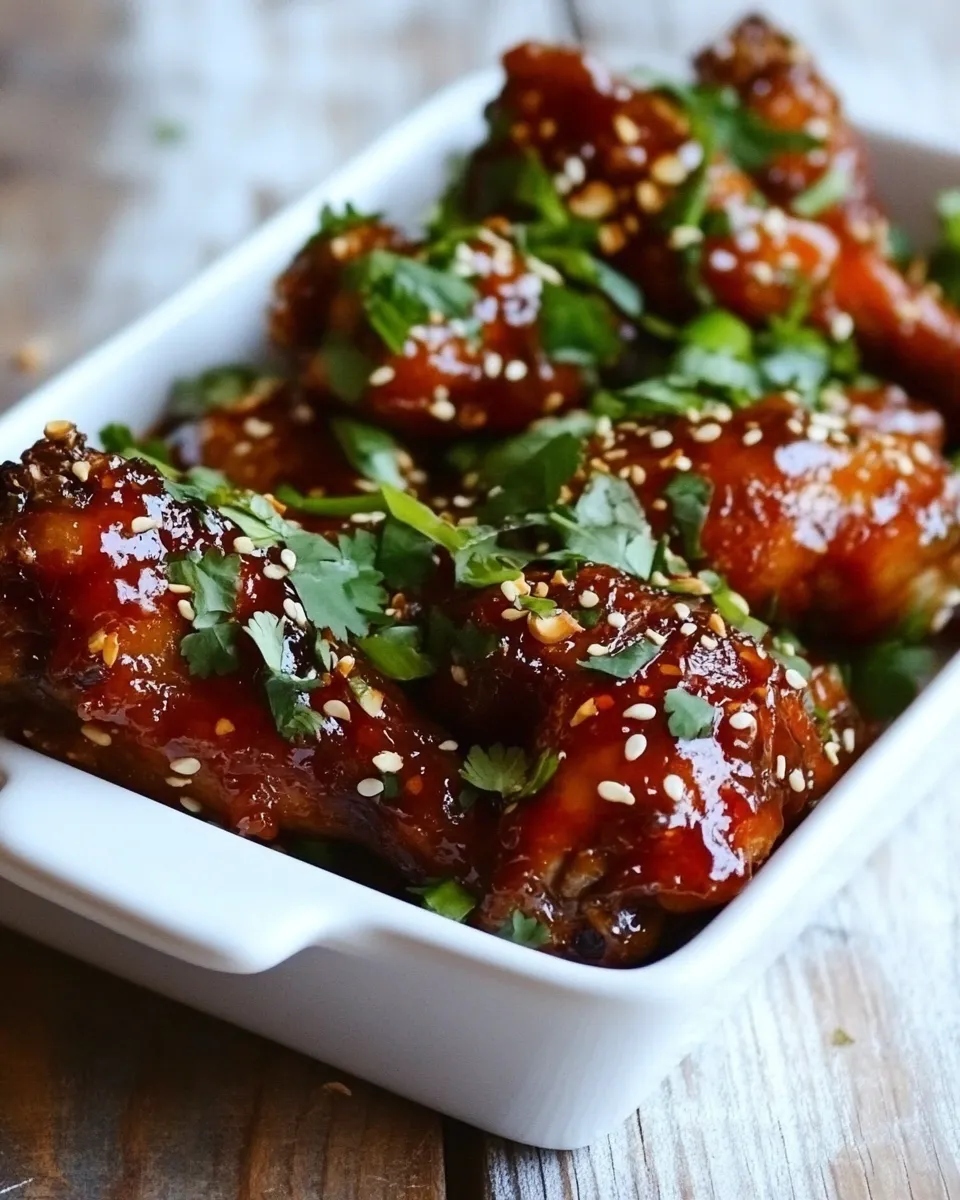
These Sweet and Sour Sticky Thai Boneless Oven Baked Chicken Wings are a delightful way to elevate your dinner or party spread. With their irresistible flavor profile and easy preparation, they are sure to become a family favorite. Whether you’re serving them at a gathering or enjoying them at home, these wings are a guaranteed hit.
So, roll up your sleeves and get ready to dive into a plate of these sticky, sweet, and sour delights. Trust me; your taste buds will thank you!
Sweet and Sour Sticky Thai Boneless Oven Baked Chicken Wings
Ingredients
Equipment
Method
- Start by placing your nugget-sized pieces of chicken in a bowl. Pour in the buttermilk and mix well to coat. Cover the bowl and let it marinate in the refrigerator for at least 30 minutes.
- Preheat your oven to 400°F (200°C).
- In a separate bowl, combine the panko, whole wheat flour (or cornmeal), and a pinch of salt and pepper. Mix well to ensure an even coating.
- Once the chicken has marinated, remove it from the refrigerator. Take each piece and allow the excess buttermilk to drip off before rolling it in the panko mixture.
- Place the baking sheet in the preheated oven and bake for about 20-25 minutes, or until the chicken is golden brown and cooked through, flipping them halfway through for even cooking.
- While the chicken is baking, prepare the sticky sauce. In a saucepan, combine the sweet Thai chili sauce, soy sauce, dark brown sugar, peanut butter, tomato paste, apple juice, rice vinegar, lime juice, minced garlic, grated ginger, and crushed red pepper. Stir over medium heat until the sugar dissolves and the mixture thickens slightly, about 5-7 minutes.
- Once the chicken is done baking, remove it from the oven and transfer it to a large bowl. Pour the sticky sauce over the baked chicken and toss to coat evenly. Garnish with fresh cilantro and chopped cashews before serving.
Notes
- For a spicier kick, add more crushed red pepper to the sauce.
- These wings can be made ahead of time and reheated for easy serving.
- Experiment with different sauces for varied flavors.