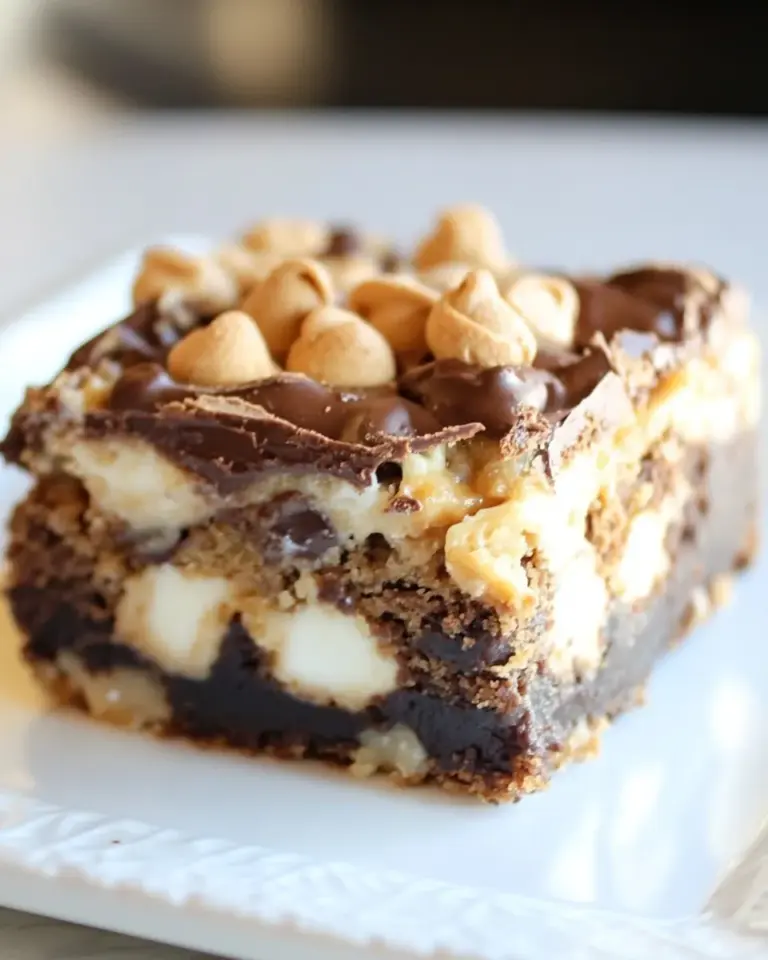
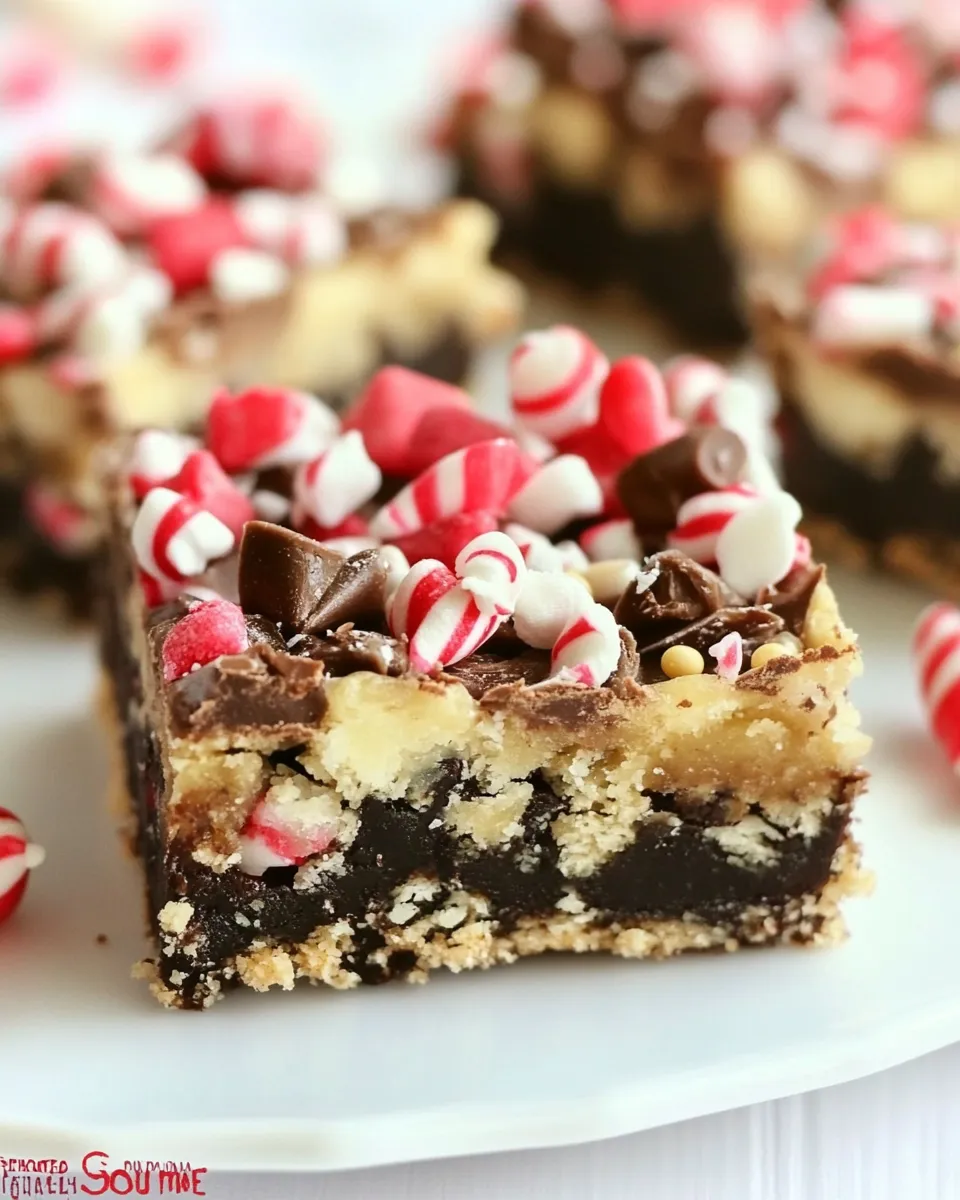
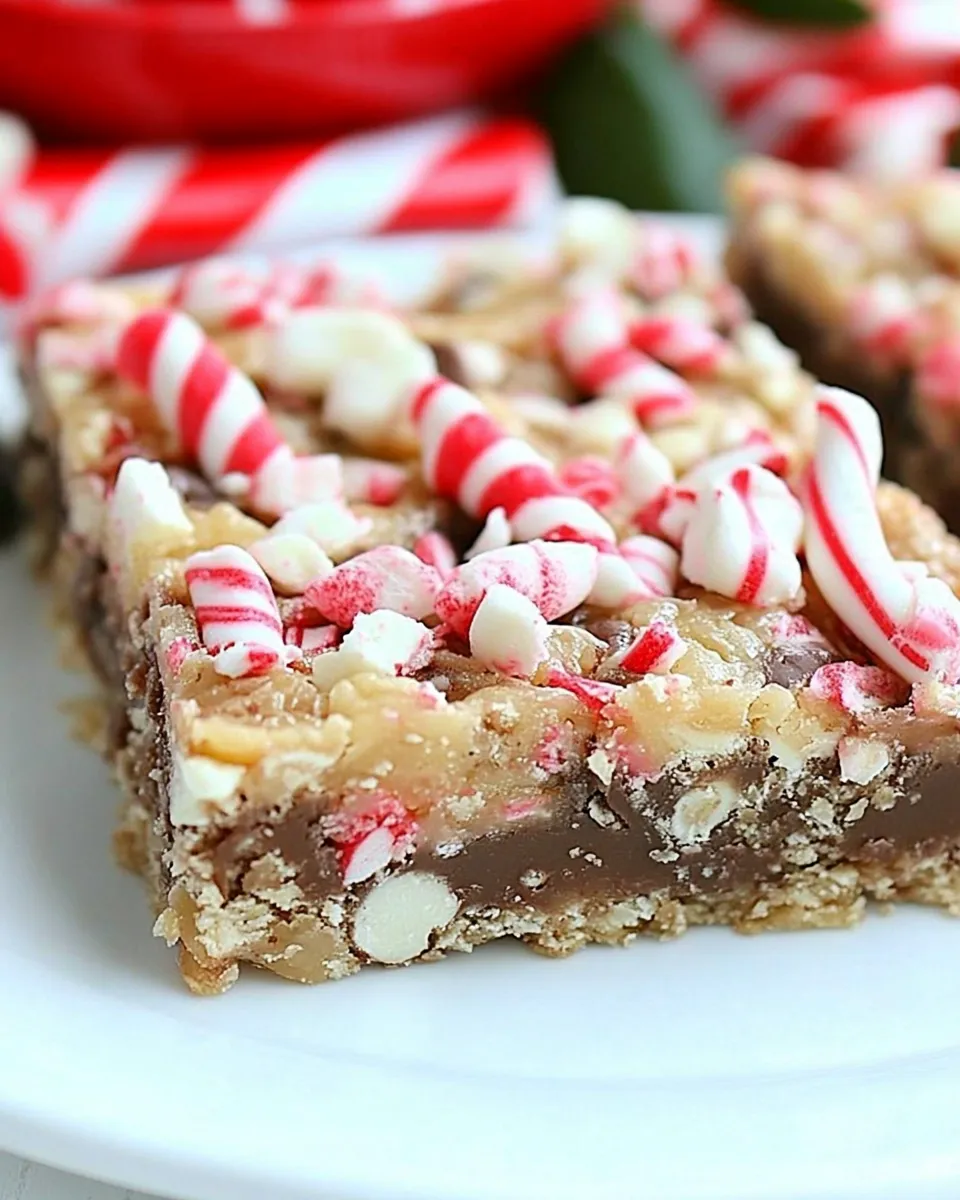
Peppermint Magic Bars
There’s something incredibly enchanting about the holidays, and nothing captures that spirit quite like Peppermint Magic Bars. These delightful treats are layered with a medley of flavors and textures, making them a perfect addition to your festive dessert table. With a buttery graham cracker crust, sweetened condensed milk, and a mix of chocolate and peppermint chips, every bite is a celebration of the season. Whether you’re hosting a holiday gathering or simply indulging yourself, these bars are sure to impress.
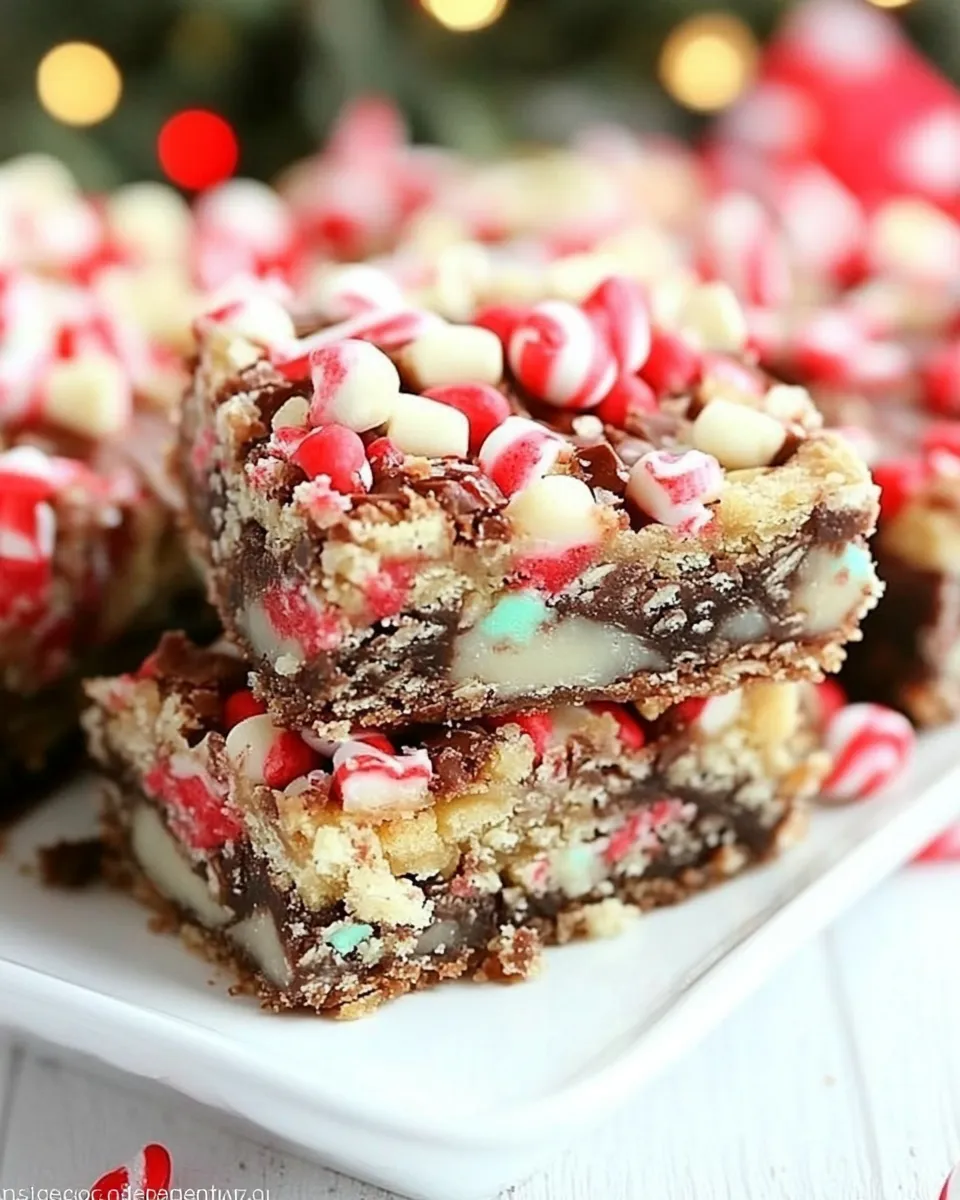
Imagine biting into a rich, creamy layer that melts in your mouth, followed by the satisfying crunch of peppermint. These bars are not only a feast for the taste buds but also a visual delight, with their vibrant layers and festive colors. Let’s dive into this delectable recipe that will become a holiday staple in your kitchen.
Why This Recipe Works
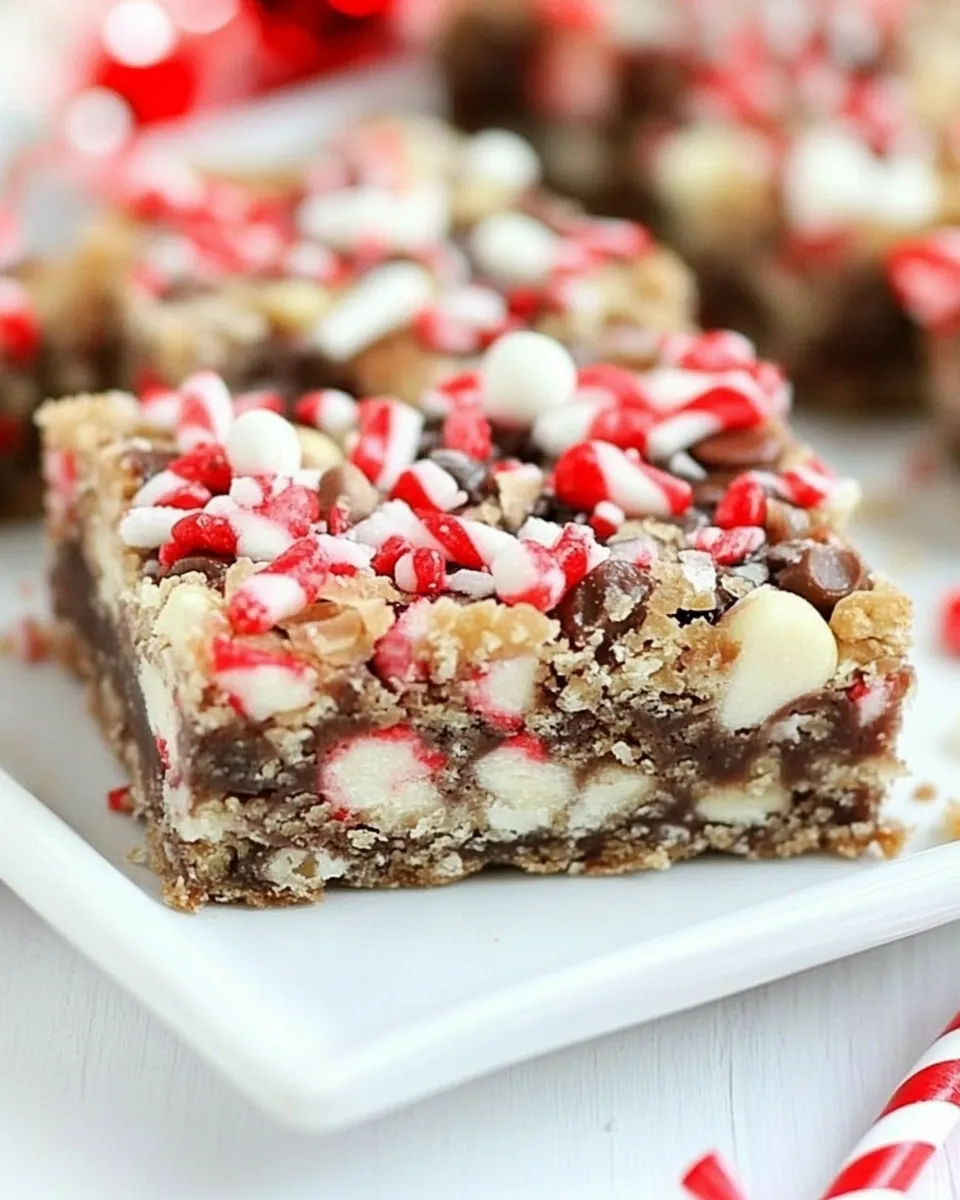
This recipe balances flavors and textures beautifully. The graham cracker crust provides a sturdy, buttery base that contrasts perfectly with the sweet, gooey layers above. The combination of white chocolate and semi-sweet chocolate chips creates a rich chocolate flavor that is complemented by the refreshing taste of peppermint from the Andes Peppermint Crunch Baking Chips. The sweetened condensed milk binds everything together, ensuring that every bite is moist and satisfying. Plus, these bars come together quickly and easily, making them a go-to recipe for any occasion.
What to Buy
To make these delightful Peppermint Magic Bars, you will need the following ingredients:
- 1/2 cup unsalted butter, melted
- 1 1/2 cups graham cracker crumbs
- 2 tablespoons granulated sugar
- 1 1/2 cups sweetened, flaked coconut
- 1 can (14 oz) sweetened condensed milk
- 1 cup white chocolate chips
- 1 cup semi-sweet chocolate chips
- 1 cup Andes Peppermint Crunch Baking Chips
Make sure to check your pantry before shopping to ensure you have everything you need to whip up these festive treats!
Toolbox for This Recipe
Before you start baking, gather the following tools:
- 9×13 inch baking pan: This is perfect for baking and cutting your magic bars.
- Mixing bowls: For combining your ingredients.
- Rubber spatula: Ideal for spreading the layers evenly.
- Measuring cups and spoons: Accuracy is key in baking!
- Aluminum foil or parchment paper: To line your baking pan for easy removal.
Having these tools ready will make the baking process smooth and enjoyable.
Peppermint Magic Bars Made Stepwise
Step 1: Preheat the Oven
Preheat your oven to 350°F (175°C). This ensures that your bars bake evenly and develop that delicious golden color.
Step 2: Prepare the Baking Pan
Line your 9×13 inch baking pan with aluminum foil or parchment paper, leaving some overhang for easy removal later. Grease lightly to prevent sticking.
Step 3: Make the Crust
In a mixing bowl, combine the melted butter, graham cracker crumbs, and granulated sugar. Stir until the mixture resembles wet sand. Press this mixture firmly into the bottom of the prepared baking pan to form an even crust.
Step 4: Add the Coconut
Sprinkle the sweetened, flaked coconut evenly over the crust. This layer adds a wonderful chewiness and enhances the flavor profile.
Step 5: Pour the Sweetened Condensed Milk
Drizzle the sweetened condensed milk over the coconut layer, ensuring even coverage. This will bind all the ingredients together and create a luscious texture.
Step 6: Add the Chocolate Chips
Evenly distribute the white chocolate chips and semi-sweet chocolate chips over the condensed milk layer. Then, sprinkle the Andes Peppermint Crunch Baking Chips on top for that refreshing minty flavor.
Step 7: Bake
Bake in your preheated oven for about 25-30 minutes, or until the edges are golden brown and the center is set. The aroma wafting through your kitchen will be irresistible!
Step 8: Cool and Cut
Allow the bars to cool in the pan for at least 30 minutes before lifting them out using the overhang. Transfer to a cutting board and slice into squares or rectangles.
Customize for Your Needs
These Peppermint Magic Bars are incredibly versatile. Here are some ways you can customize them to suit your taste:
- Replace the white chocolate chips with milk chocolate chips for a sweeter option.
- Add chopped nuts, such as walnuts or pecans, for an extra crunch.
- Use crushed candy canes instead of Andes Peppermint Crunch for a more intense peppermint flavor.
- Experiment with different flavored chips, such as dark chocolate or butterscotch.
Feel free to make this recipe your own and let your creativity shine!
Avoid These Traps
When making your Peppermint Magic Bars, be mindful of these common pitfalls:
- Avoid overbaking: Keep an eye on the bars as they bake. They should still be slightly soft in the center when you remove them from the oven.
- Don’t skip the lining: Lining your pan with foil or parchment paper makes it much easier to lift out the bars for cutting.
- Use room temperature ingredients: This helps everything mix together evenly and ensures the best texture.
- Be cautious with the layering: Make sure each layer is spread evenly for consistent flavor in every bite.
By steering clear of these traps, you’ll ensure your Peppermint Magic Bars turn out perfectly every time.
Make Ahead Like a Pro
Want to prepare these bars in advance? Here are some tips to make ahead like a pro:
- Assemble the layers and bake the bars, then cool completely. Wrap them tightly in plastic wrap and store them in the refrigerator for up to a week.
- You can also freeze the baked bars! Cut them into squares, place them in an airtight container, and freeze for up to three months. Just thaw them in the fridge before serving.
- Prepare the graham cracker crust in advance. Store it in the refrigerator until you’re ready to add the layers.
These tips will help you enjoy your Peppermint Magic Bars even on the busiest of days!
Quick Q&A
Can I use unsweetened coconut instead of sweetened?
Yes, you can use unsweetened coconut, but you may want to increase the sugar in the recipe slightly to balance the flavors.
How do I store leftover bars?
Store leftover Peppermint Magic Bars in an airtight container at room temperature for up to three days, or in the refrigerator for up to a week.
Can I make these bars gluten-free?
Absolutely! Simply use gluten-free graham cracker crumbs to make the crust, and ensure all other ingredients are gluten-free.
What other flavors can I add to these bars?
You can experiment with various flavors by adding extracts, such as almond or vanilla, or incorporating different types of chips, like butterscotch or peanut butter.
What to Make After This
Once you’ve mastered these Peppermint Magic Bars, try your hand at some of these delicious recipes for more festive fun:
These recipes will keep the holiday spirit alive and bring joy to your kitchen!
The Last Word
Peppermint Magic Bars are a delightful treat that encapsulates the essence of the holiday season. With their sweet layers, crunchy texture, and refreshing mint flavor, they’re sure to become a favorite for gatherings and celebrations. Whether you enjoy them fresh out of the oven or chilled from the fridge, each bite is a little piece of magic. So gather your ingredients, don your apron, and whip up a batch of these delicious bars that are sure to spread joy this season. Happy baking!
Share on Pinterest

Peppermint Magic Bars
Ingredients
Equipment
Method
- Preheat your oven to 350°F (175°C) for even baking.
- Line your 9x13 inch baking pan with aluminum foil or parchment paper and grease lightly.
- Combine melted butter, graham cracker crumbs, and granulated sugar in a mixing bowl. Press into the bottom of the prepared baking pan.
- Sprinkle sweetened, flaked coconut over the crust.
- Drizzle sweetened condensed milk over the coconut layer evenly.
- Distribute white chocolate chips and semi-sweet chocolate chips over the condensed milk layer, then sprinkle Andes Peppermint Crunch Chips on top.
- Bake for 25-30 minutes until edges are golden brown and center is set.
- Cool in the pan for at least 30 minutes before lifting out and cutting into squares.
Notes
- These bars can be made ahead and stored in an airtight container.
- For added crunch, consider adding chopped nuts.
- Experiment with different flavored chips for variety.