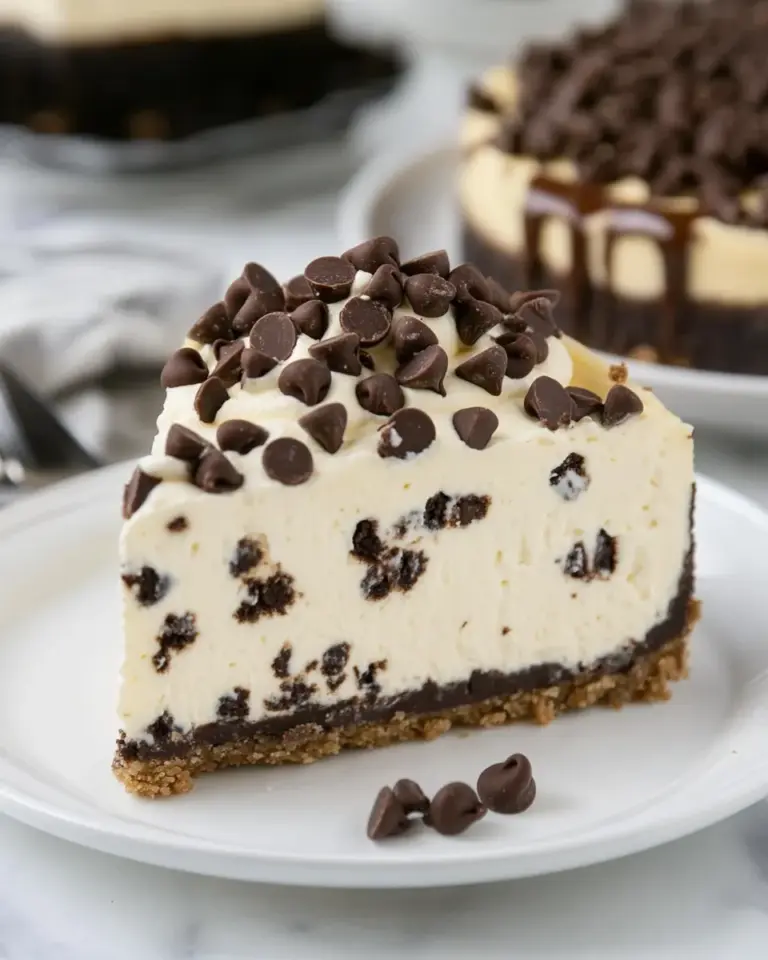
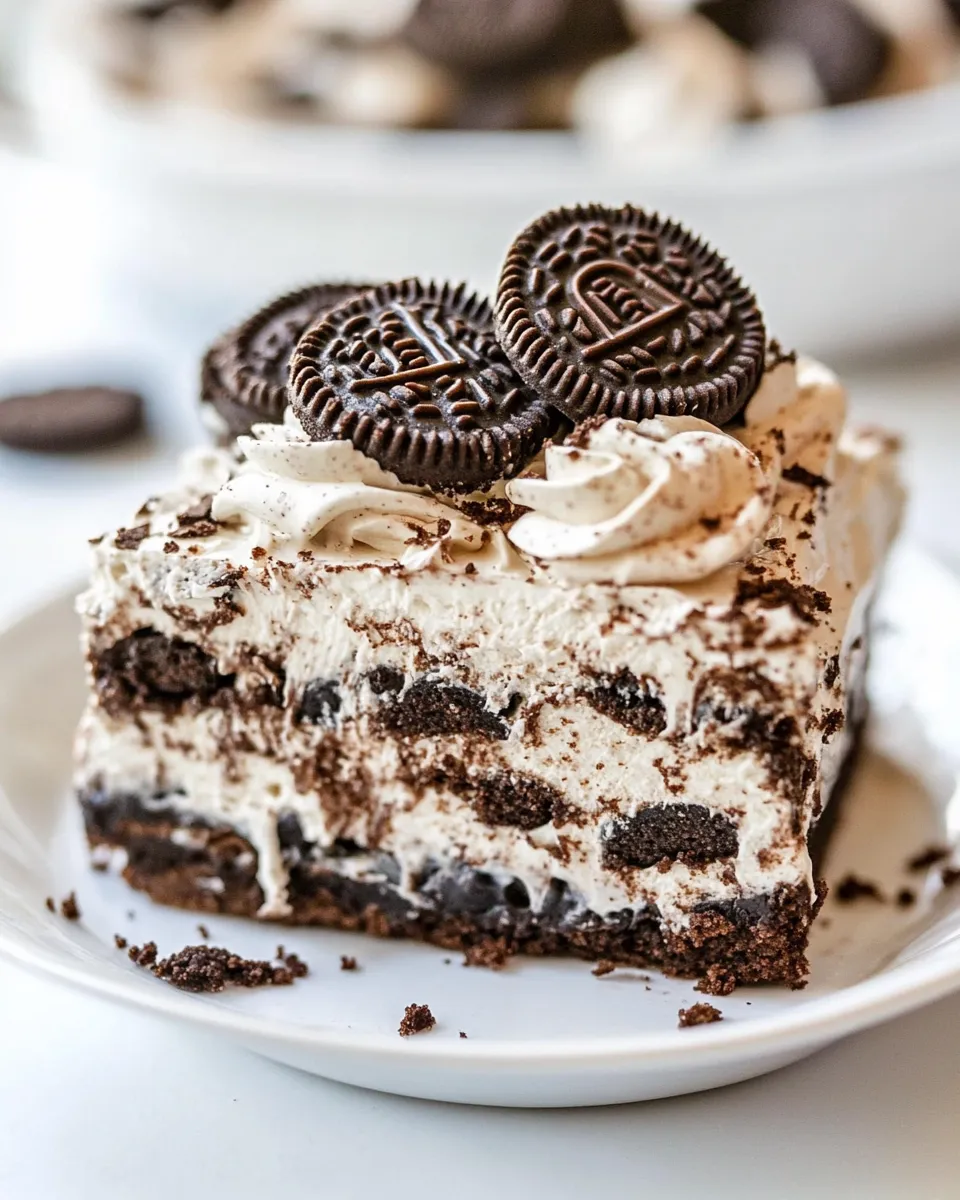
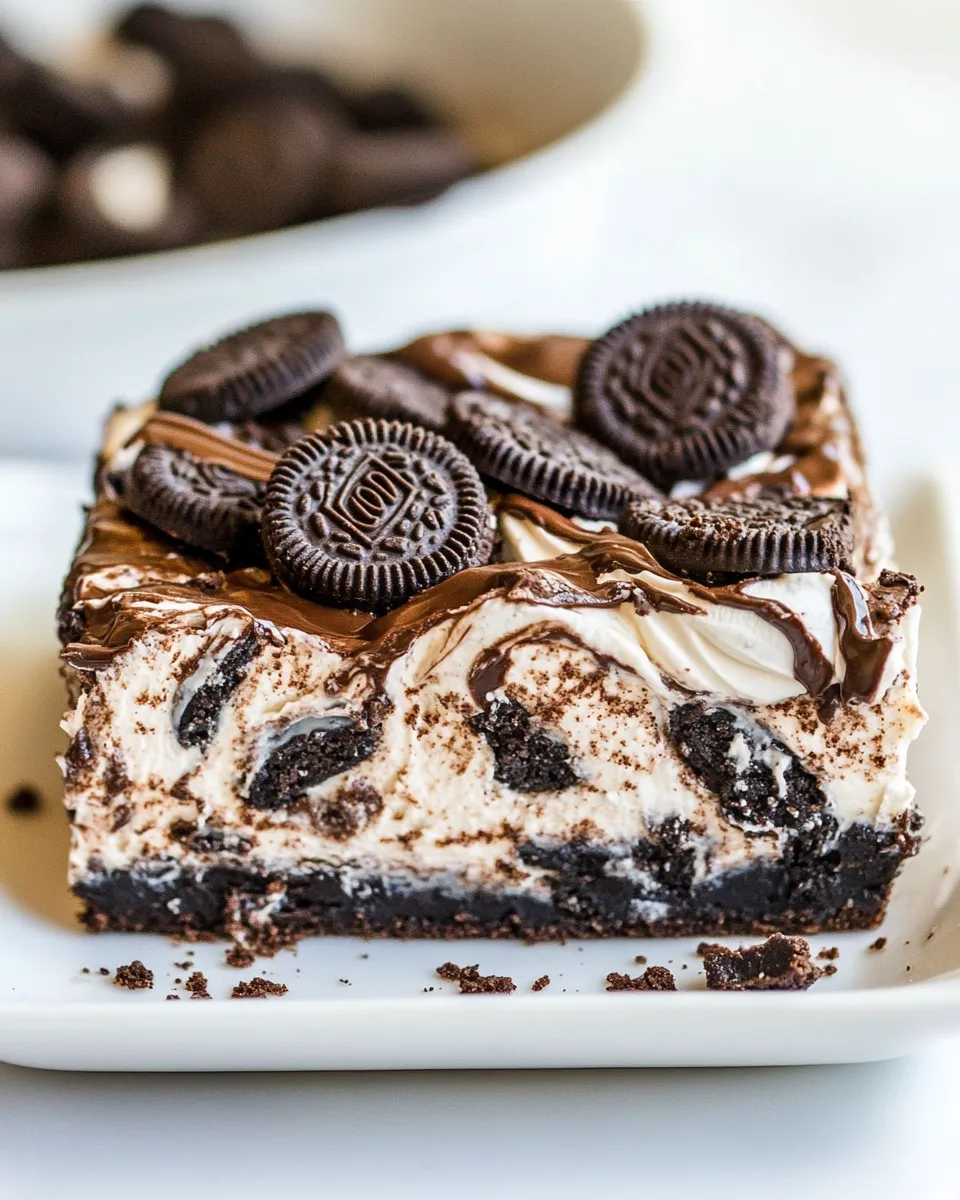
Oreo Brownie Lush
Indulging in a rich, velvety dessert can brighten any day, and there’s something special about layering flavors and textures that elevates a simple treat into a showstopper. Enter Oreo Brownie Lush, a delightful concoction that combines fudgy brownies, creamy layers, and the irresistible crunch of Oreo cookies. This dessert is sure to impress your family and friends, whether you’re hosting a gathering or simply treating yourself. With a few easy steps, you can create this luscious dessert that promises to be a crowd-pleaser.
What Sets This Recipe Apart

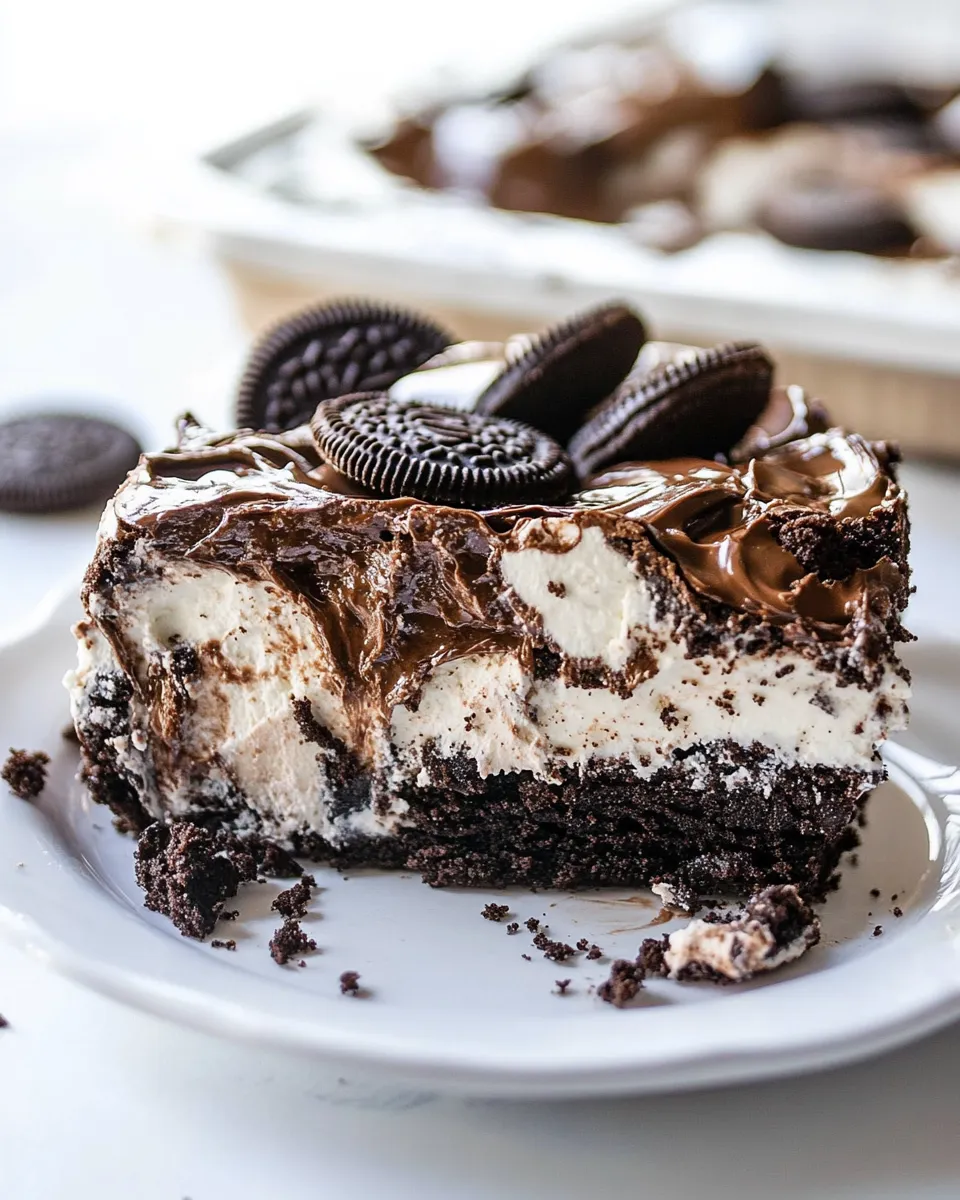
Oreo Brownie Lush stands out because it’s a harmonious blend of different textures and flavors. The dense brownie base is complemented by a creamy cheesecake layer made with whipped topping and cream cheese, while the chocolate pudding adds another dimension of flavor. The coarsely chopped Oreos sprinkled throughout give a satisfying crunch that contrasts beautifully with the smooth layers. This dessert is not only visually stunning but also an explosion of taste that will have everyone coming back for seconds.
Gather These Ingredients
To create your own Oreo Brownie Lush masterpiece, gather the following ingredients:
- 1 (20-ounce) box brownie mix, plus ingredients called for to make the brownies
- 1 (8-ounce) block cream cheese, softened (lite works well)
- 1 cup confectioners’ sugar
- 1 (12-ounce) tub whipped topping, thawed (fat-free is a great option)
- 30 Oreo cookies, coarsely chopped (plus more for garnish if desired)
- 2 (3.9-ounce) boxes instant chocolate pudding mix
- 3 cups cold milk (real milk is essential; 2% works best)
Before You Start: Equipment
Make sure you have the following equipment ready to make the process smoother:
- 9×13-inch baking dish – perfect for layering your Oreo Brownie Lush
- Mixing bowls – for combining your ingredients
- Electric mixer – makes it easier to blend the cream cheese and sugar
- Spatula – for folding in the whipped topping and scooping out the layers
- Measuring cups and spoons – accuracy is key for baking!
Mastering Oreo Brownie Lush: How-To
Now that you have everything ready, let’s dive into the step-by-step process of creating this delicious dessert.
Step 1: Bake the Brownies
Preheat your oven according to the instructions on the brownie mix box. Prepare the brownie batter as directed, using the ingredients specified on the box. Pour the batter into your greased 9×13-inch baking dish and bake until a toothpick inserted in the center comes out with a few moist crumbs. Allow the brownies to cool completely in the pan.
Step 2: Prepare the Cream Cheese Layer
While the brownies are cooling, take your softened cream cheese and mix it with the confectioners’ sugar in a medium bowl. Use an electric mixer to blend until smooth and creamy. Gently fold in half of the thawed whipped topping until fully combined. This will create a luscious, creamy layer that pairs perfectly with the brownies.
Step 3: Assemble the Layers
Once the brownies have cooled, it’s time to assemble your Oreo Brownie Lush. Spread the cream cheese mixture evenly over the cooled brownies. Next, sprinkle half of the coarsely chopped Oreo cookies over the cream cheese layer for added texture and flavor.
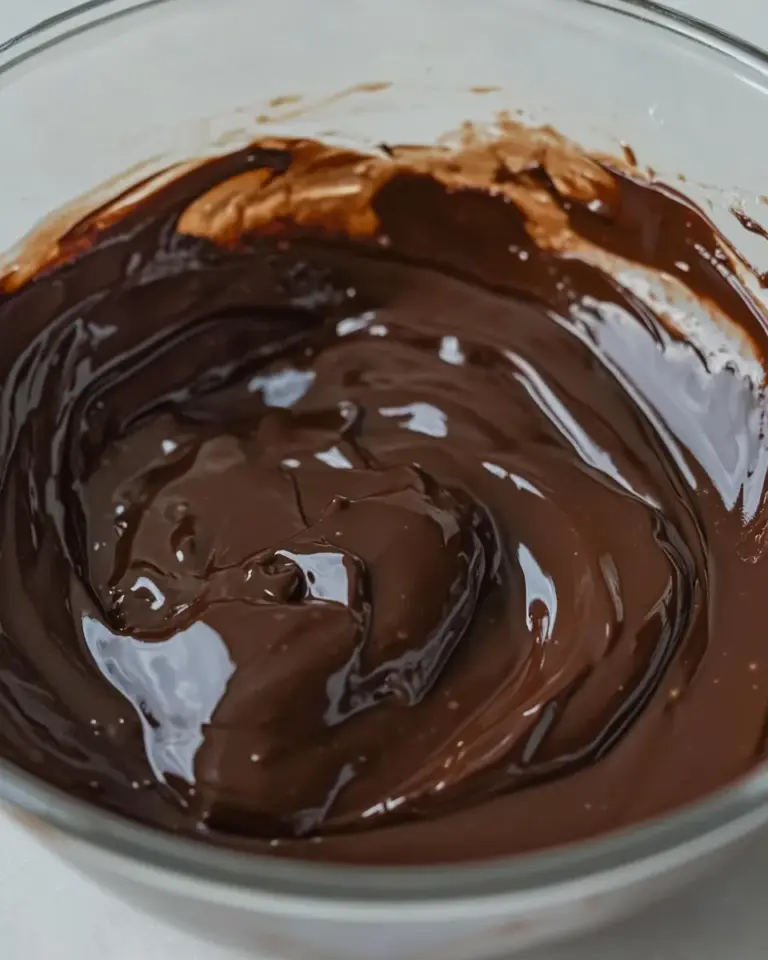
Step 4: Make the Pudding Layer
In another bowl, whisk together the instant chocolate pudding mix and cold milk. It’s important to use real milk here, as non-dairy alternatives won’t set properly. Continue whisking for about 2 minutes until the pudding thickens. Pour the pudding over the Oreo layer, spreading it evenly.
Step 5: Final Touches
Top the pudding layer with the remaining whipped topping, smoothing it out with a spatula. Finally, sprinkle the last of the coarsely chopped Oreo cookies on top as a garnish, giving your Oreo Brownie Lush a beautiful finish.
Step 6: Chill and Serve
Cover the dish with plastic wrap and refrigerate for at least 4 hours or overnight to allow the layers to set properly. When you’re ready to serve, slice into squares and enjoy the delightful layers of this Oreo Brownie Lush!
Dairy-Free/Gluten-Free Swaps
If you need to make this dessert suitable for dietary restrictions, consider the following swaps:
- For a dairy-free option, use dairy-free cream cheese and a plant-based whipped topping.
- To make the pudding layer dairy-free, look for a dairy-free chocolate pudding mix and substitute the milk with a suitable non-dairy alternative.
- For gluten-free, make sure to use gluten-free brownie mix and gluten-free Oreo cookies.
Recipe Notes & Chef’s Commentary
Creating the perfect Oreo Brownie Lush is all about patience and layering. Allowing each layer to set properly makes a significant difference in texture and presentation. If you’d like to add a twist, consider incorporating different flavors of pudding or adding in some crushed nuts for extra crunch. The beauty of this recipe is its versatility, so feel free to get creative!
Prep Ahead & Store
This Oreo Brownie Lush can be prepared a day in advance, making it an excellent choice for gatherings or potlucks. To store, cover it tightly with plastic wrap or foil to keep it fresh in the refrigerator. It’s best enjoyed within 3 to 4 days, but good luck keeping it around that long—it’s that delicious!
Reader Q&A
Can I use a different type of cookie instead of Oreos?
Absolutely! While Oreos are a classic choice, you can experiment with other cookies like chocolate sandwich cookies or even flavored cookies to add your unique twist to the dessert.
How do I know when the brownies are done baking?
A toothpick inserted into the center of the brownies should come out with a few moist crumbs attached. If it comes out clean, they may be overbaked. Keep an eye on them to ensure they stay fudgy!
Can I freeze Oreo Brownie Lush?
Yes! You can freeze this dessert for up to 2 months. Just make sure to wrap it tightly in plastic wrap and foil. Thaw it in the refrigerator overnight before serving.
What can I serve with Oreo Brownie Lush?
This dessert pairs wonderfully with a scoop of vanilla ice cream or a drizzle of chocolate sauce for added decadence. A dollop of whipped cream can also enhance the experience!
Desserts to Finish
If you enjoyed making Oreo Brownie Lush, you might also love these delightful desserts:
See You at the Table
As you gather around the table to enjoy your Oreo Brownie Lush, prepare for compliments and requests for the recipe. This dessert brings a smile to faces and joy to hearts with its delicious layers and satisfying crunch. No matter the occasion, Oreo Brownie Lush is the perfect way to celebrate life’s sweet moments. So, dig in and relish every luscious bite!
Oreo Brownie Lush
Ingredients
Equipment
Method
- Preheat your oven according to the instructions on the brownie mix box. Prepare the brownie batter as directed, using the ingredients specified on the box. Pour the batter into your greased 9x13-inch baking dish and bake until a toothpick inserted in the center comes out with a few moist crumbs. Allow the brownies to cool completely in the pan.
- While the brownies are cooling, take your softened cream cheese and mix it with the confectioners' sugar in a medium bowl. Use an electric mixer to blend until smooth and creamy. Gently fold in half of the thawed whipped topping until fully combined.
- Once the brownies have cooled, spread the cream cheese mixture evenly over the cooled brownies. Next, sprinkle half of the coarsely chopped Oreo cookies over the cream cheese layer.
- In another bowl, whisk together the instant chocolate pudding mix and cold milk until thickened. Pour the pudding over the Oreo layer, spreading it evenly.
- Top the pudding layer with the remaining whipped topping, smoothing it out with a spatula. Finally, sprinkle the last of the coarsely chopped Oreo cookies on top.
- Cover the dish with plastic wrap and refrigerate for at least 4 hours or overnight to allow the layers to set properly. When you’re ready to serve, slice into squares and enjoy!
Notes
- Make sure to let each layer set properly for the best texture.
- Consider using different flavors of pudding for a unique twist.
- This dessert can be prepared a day in advance for convenience.