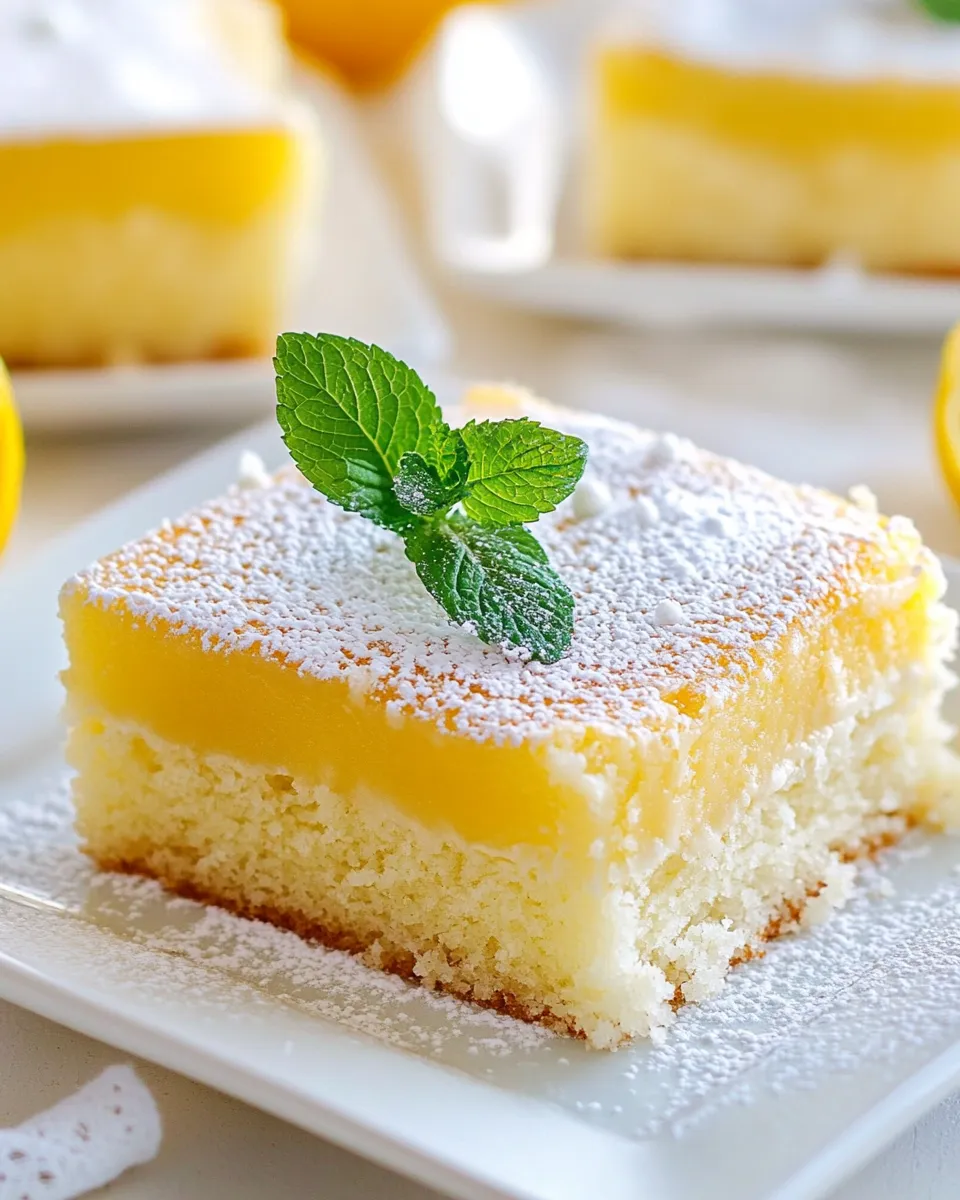
Lemon Magic Cake
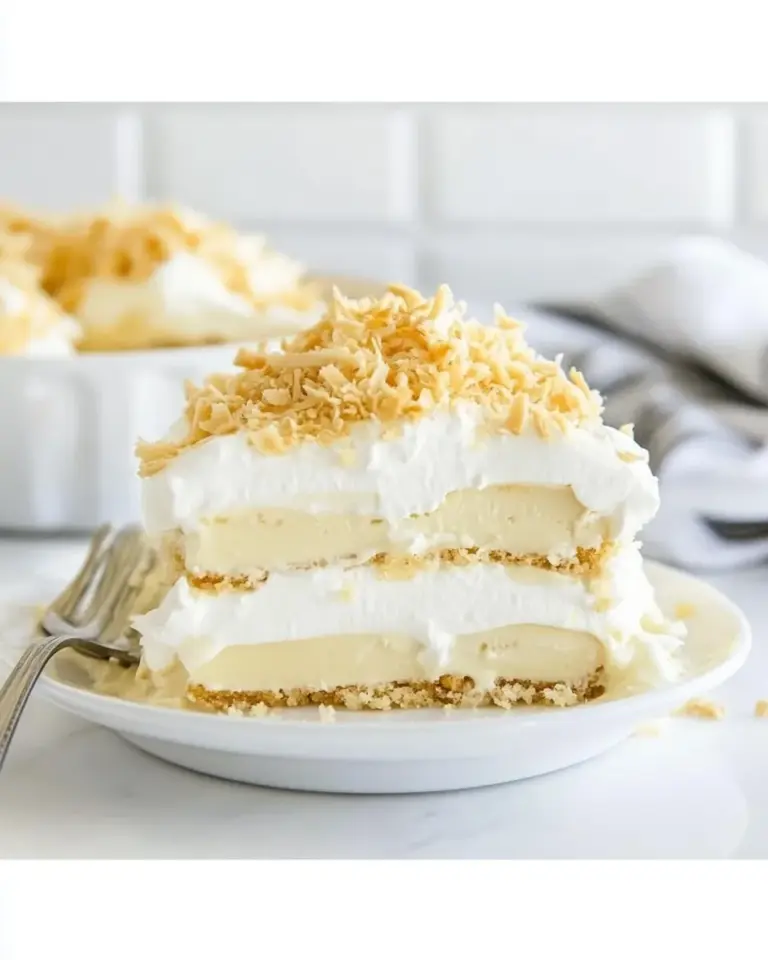
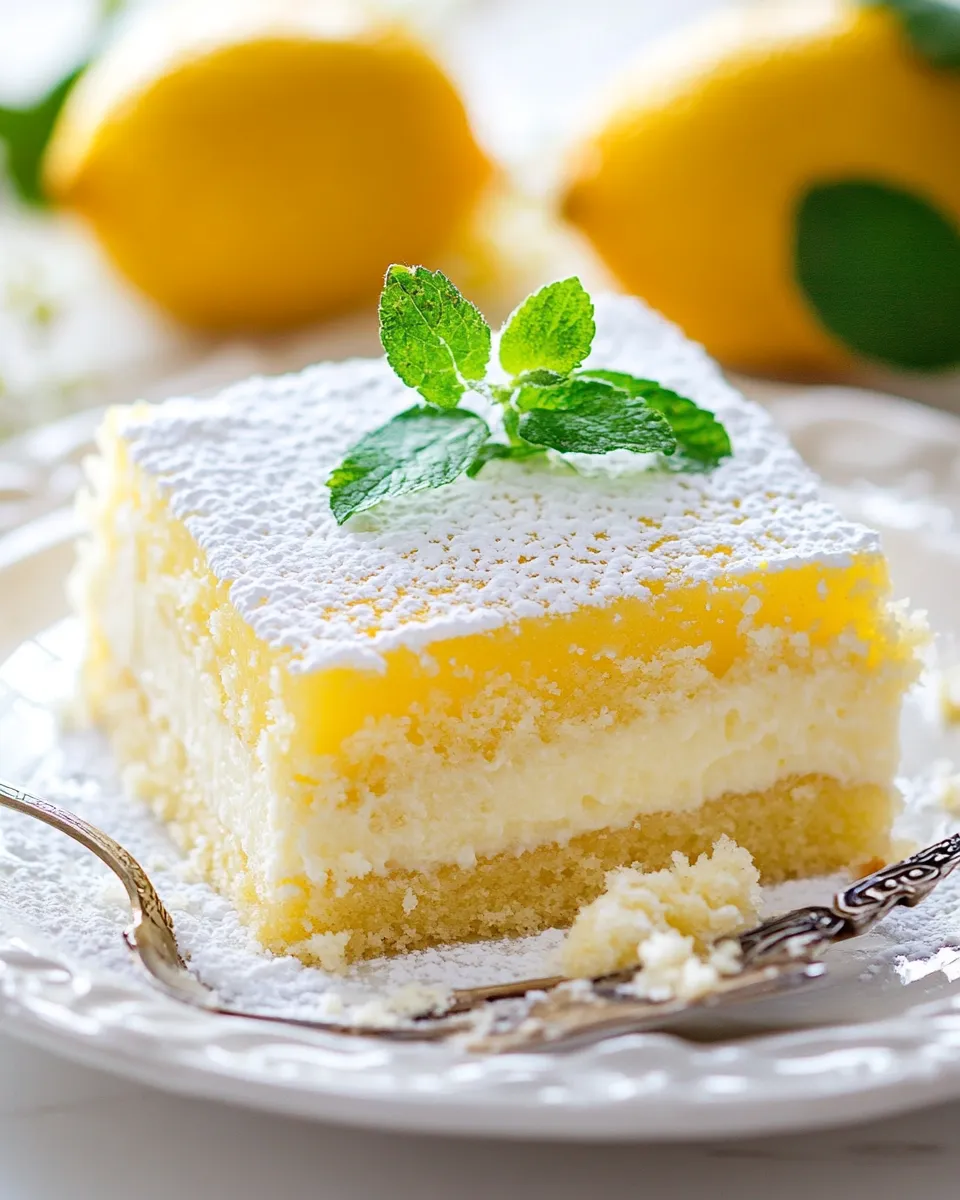
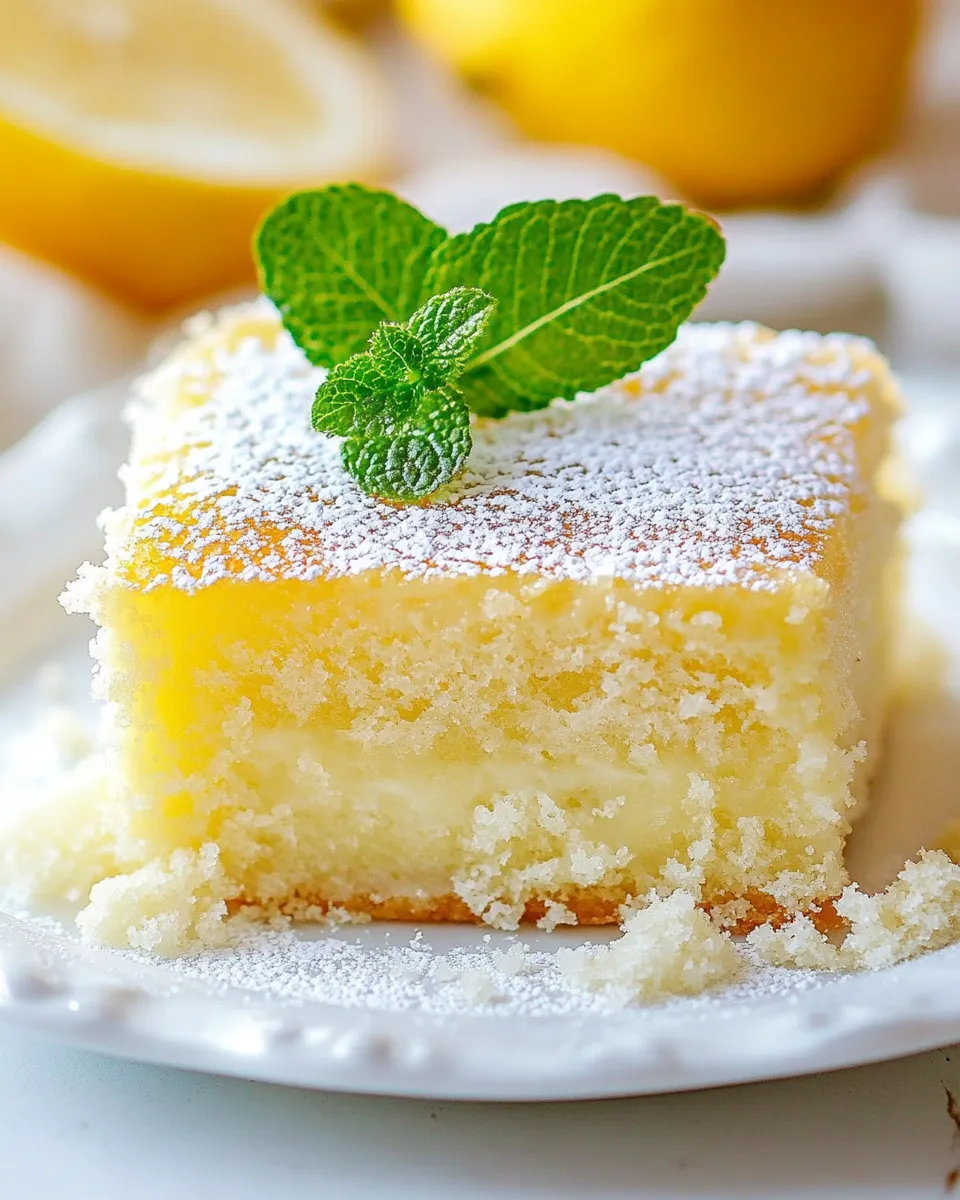
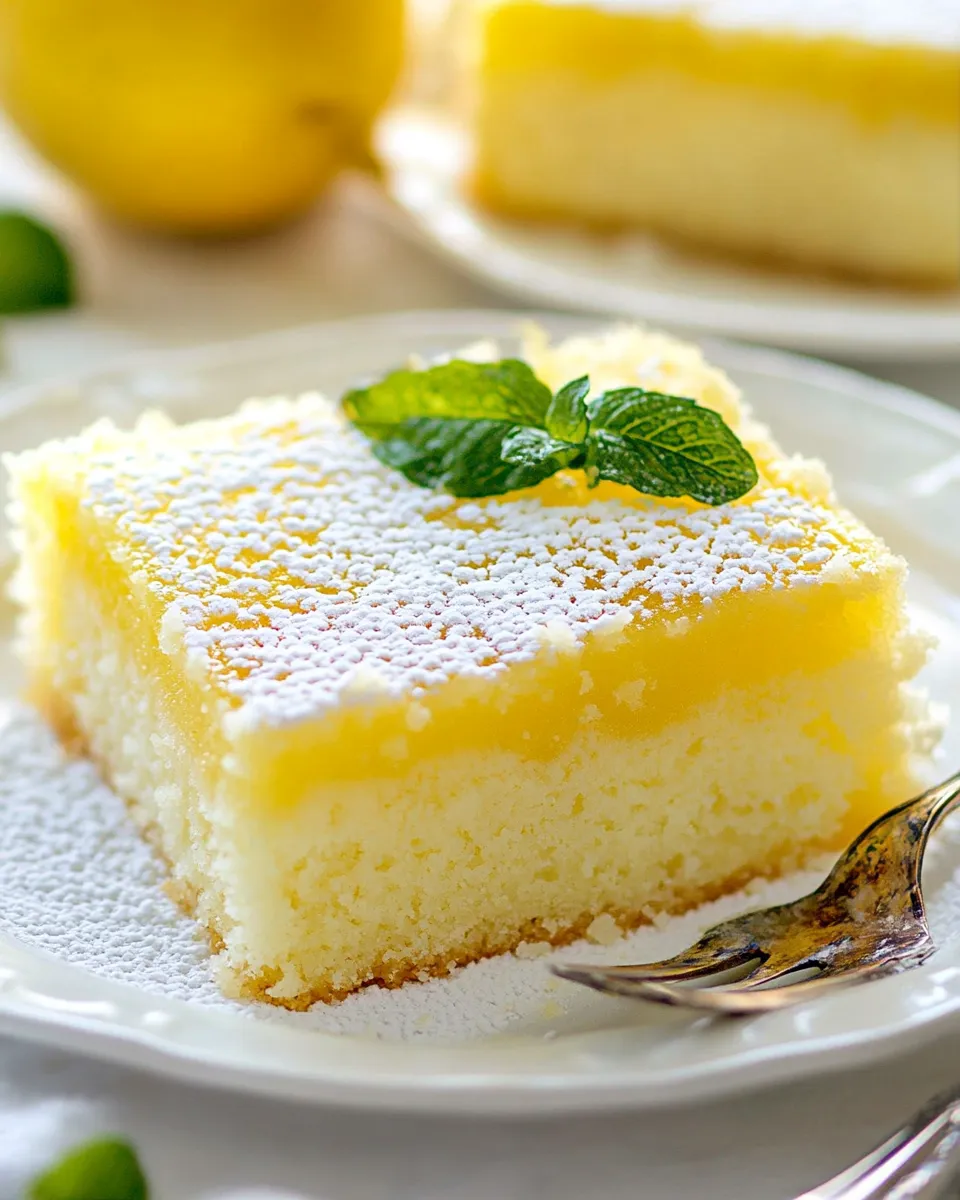
Lemon Magic Cake is a delightful dessert that brings a burst of sunshine to your table. This uniquely layered cake is not only visually stunning but also a treat for the taste buds. With its light, airy texture and zesty lemon flavor, it’s perfect for any occasion—be it a summer gathering, a cozy family dinner, or a simple afternoon indulgence. Each slice reveals three distinct layers: a creamy custard, a soft sponge, and a delicate crust, all harmonizing beautifully to create a cake that truly feels like magic.
Why It Works Every Time
What makes Lemon Magic Cake so special is its ability to create layers without any complicated techniques. The process is straightforward, allowing the ingredients to work together effortlessly. The key lies in the separation of egg yolks and whites, which helps achieve that light, airy texture. The addition of freshly squeezed lemon juice and zest infuses the cake with a bright, refreshing flavor that’s hard to resist. Each bite is a perfect balance of sweetness and tartness, making it a beloved choice for dessert lovers.
What Goes Into Lemon Magic Cake
To create this magical dessert, you’ll need the following ingredients:
- 4 eggs (at room temperature, separated into yolks and whites)
- 1 cup sugar
- 1/2 cup unsalted butter (melted)
- 1 teaspoon vanilla extract
- 1/2 cup all-purpose flour
- 1 cup freshly squeezed lemon juice
- 2 tablespoons lemon zest
- 1 cup lukewarm milk
- Powdered sugar (for dusting the cake)
This combination of ingredients ensures that your Lemon Magic Cake will be rich in flavor and perfectly textured.
What You’ll Need (Gear)
Before you get started, gather these kitchen essentials:
- Mixing bowls – For combining ingredients.
- Whisk – To beat the egg whites until fluffy.
- Spatula – For folding the mixture gently.
- 9-inch square baking pan – To bake the cake.
- Oven – Preheated for the best results.
- Sifter – To dust the cake with powdered sugar.
Having these tools at hand will make the process smooth and enjoyable.
Lemon Magic Cake Made Stepwise
Step 1: Preheat Your Oven
Begin by preheating your oven to 350°F (175°C). Proper temperature is key to achieving that perfect bake.
Step 2: Prepare the Baking Pan
Grease your 9-inch square baking pan with butter or line it with parchment paper for easy removal later.
Step 3: Beat the Egg Yolks
In a large mixing bowl, whisk the egg yolks and sugar together until the mixture is pale and creamy. This step adds air and lightness to your batter.
Step 4: Add Melted Butter and Vanilla
Pour in the melted butter and vanilla extract, mixing until well combined.
Step 5: Incorporate Flour and Lemon
Sift the flour over the yolk mixture, then add the lemon juice and lemon zest. Stir gently until just combined.
Step 6: Add Lukewarm Milk
Gradually pour in the lukewarm milk, stirring continuously until the batter is smooth and well incorporated.
Step 7: Whip the Egg Whites
In a clean bowl, beat the egg whites until stiff peaks form. This step is crucial for achieving that light, fluffy texture.
Step 8: Fold the Mixture
Gently fold the whipped egg whites into the batter in three additions. Be careful not to deflate the egg whites; this is what gives your cake its magic.
Step 9: Pour into the Pan
Pour the batter into the prepared baking pan, spreading it evenly.
Step 10: Bake
Place the pan in the preheated oven and bake for 40-50 minutes or until the top is golden brown and a toothpick inserted into the center comes out clean.
Step 11: Cool and Dust
Allow the cake to cool completely in the pan before removing it. Once cooled, dust the top with powdered sugar for a beautiful finish.
Better Choices & Swaps
If you’re looking to customize your Lemon Magic Cake, consider these options:
- Use coconut milk instead of regular milk for a dairy-free version.
- Substitute whole wheat flour for all-purpose flour for a healthier twist.
- Replace granulated sugar with coconut sugar for a more natural sweetness.
- Experiment with lime juice and zest if you want a citrus twist.
These substitutions can add a unique flair to your cake while keeping the magic alive.
Behind the Recipe
Lemon Magic Cake has become a favorite among bakers for its simplicity and impressive results. The recipe highlights the beauty of basic ingredients coming together to create something extraordinary. The science behind the layering is fascinating; the batter separates during baking due to the different densities of the components, resulting in the signature three layers. This cake not only satisfies your sweet tooth but also showcases the magic that happens in the kitchen.
Freezer-Friendly Notes
If you want to make Lemon Magic Cake ahead of time, here are some helpful tips:
- Allow the cake to cool completely before wrapping it tightly in plastic wrap.
- Store in an airtight container or freezer bag to prevent freezer burn.
- The cake can be frozen for up to three months. When ready to enjoy, thaw it in the refrigerator overnight.
- Dust with powdered sugar just before serving for the best presentation.
This makes it a great option for meal prep or special occasions where you want to save time.
FAQ
Can I make Lemon Magic Cake ahead of time?
Yes! The cake can be made a day in advance and stored in the refrigerator. It can also be frozen for longer storage.
Why is my cake not layering properly?
The layering effect relies on the proper folding of the egg whites into the batter. Make sure to gently fold without deflating the mixture to allow for the separation during baking.
Can I use bottled lemon juice instead of fresh?
While fresh lemon juice is recommended for the best flavor, bottled lemon juice can be used in a pinch. However, the taste may not be as vibrant.
What can I serve with Lemon Magic Cake?
This cake pairs wonderfully with fresh berries, whipped cream, or a scoop of vanilla ice cream for an extra treat.
Desserts to Finish
If you love Lemon Magic Cake, you might also enjoy these delightful desserts:
These recipes will surely satisfy your sweet cravings!
Let’s Eat
Now that you have mastered the art of making Lemon Magic Cake, it’s time to gather your loved ones and enjoy this delightful dessert together. Each slice is not just a treat but a slice of joy, perfect for sharing or savoring on your own. Embrace the zesty goodness and let the magic of this cake brighten your day. Happy baking!
Lemon Magic Cake
Ingredients
Equipment
Method
- Step 1: Preheat Your Oven - Begin by preheating your oven to 350°F (175°C). Proper temperature is key to achieving that perfect bake.
- Step 2: Prepare the Baking Pan - Grease your 9-inch square baking pan with butter or line it with parchment paper for easy removal later.
- Step 3: Beat the Egg Yolks - In a large mixing bowl, whisk the egg yolks and sugar together until the mixture is pale and creamy. This step adds air and lightness to your batter.
- Step 4: Add Melted Butter and Vanilla - Pour in the melted butter and vanilla extract, mixing until well combined.
- Step 5: Incorporate Flour and Lemon - Sift the flour over the yolk mixture, then add the lemon juice and lemon zest. Stir gently until just combined.
- Step 6: Add Lukewarm Milk - Gradually pour in the lukewarm milk, stirring continuously until the batter is smooth and well incorporated.
- Step 7: Whip the Egg Whites - In a clean bowl, beat the egg whites until stiff peaks form. This step is crucial for achieving that light, fluffy texture.
- Step 8: Fold the Mixture - Gently fold the whipped egg whites into the batter in three additions. Be careful not to deflate the egg whites; this is what gives your cake its magic.
- Step 9: Pour into the Pan - Pour the batter into the prepared baking pan, spreading it evenly.
- Step 10: Bake - Place the pan in the preheated oven and bake for 40-50 minutes or until the top is golden brown and a toothpick inserted into the center comes out clean.
- Step 11: Cool and Dust - Allow the cake to cool completely in the pan before removing it. Once cooled, dust the top with powdered sugar for a beautiful finish.
Notes
- Use coconut milk instead of regular milk for a dairy-free version.
- Substitute whole wheat flour for all-purpose flour for a healthier twist.
- Replace granulated sugar with coconut sugar for a more natural sweetness.