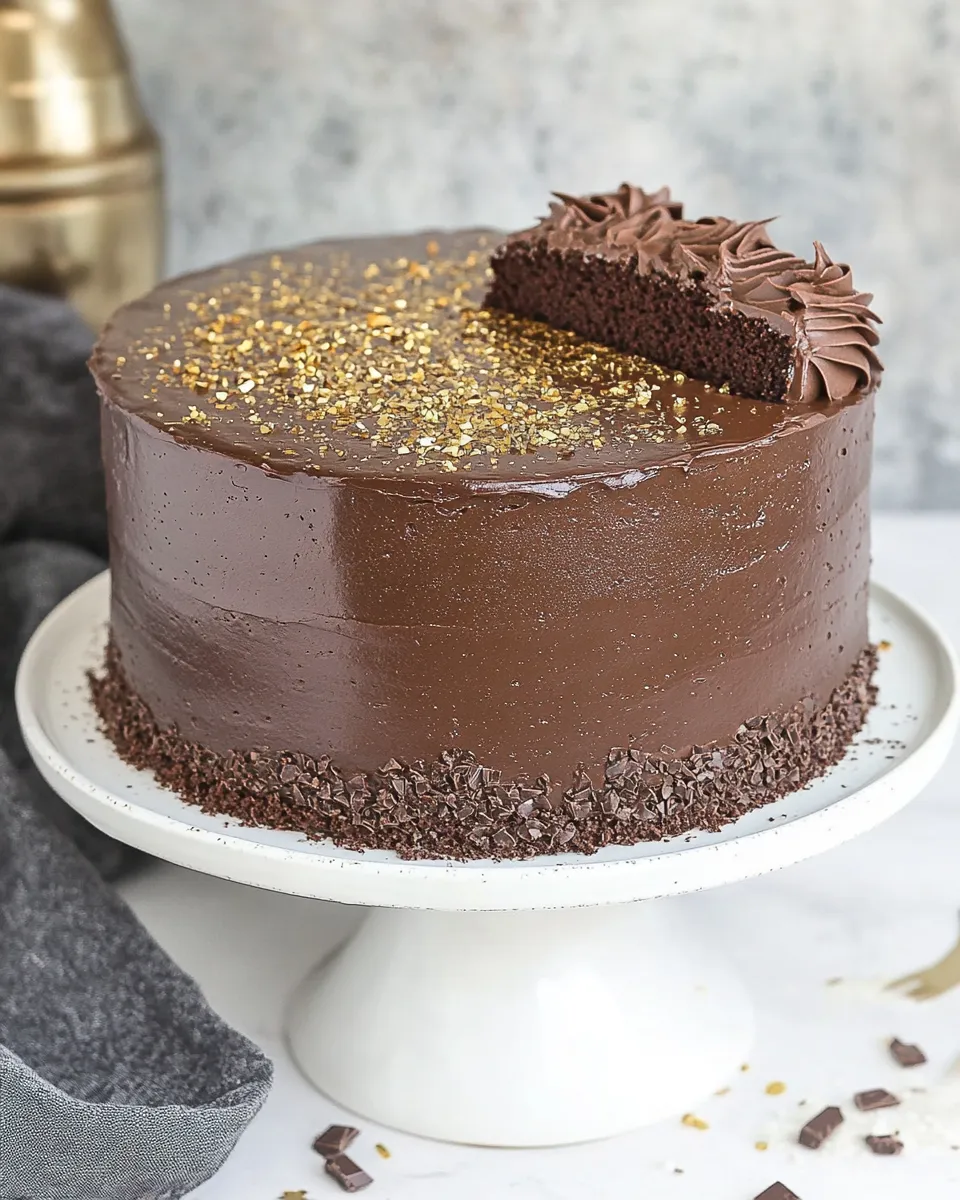
Layered Chocolate Mirror Cake
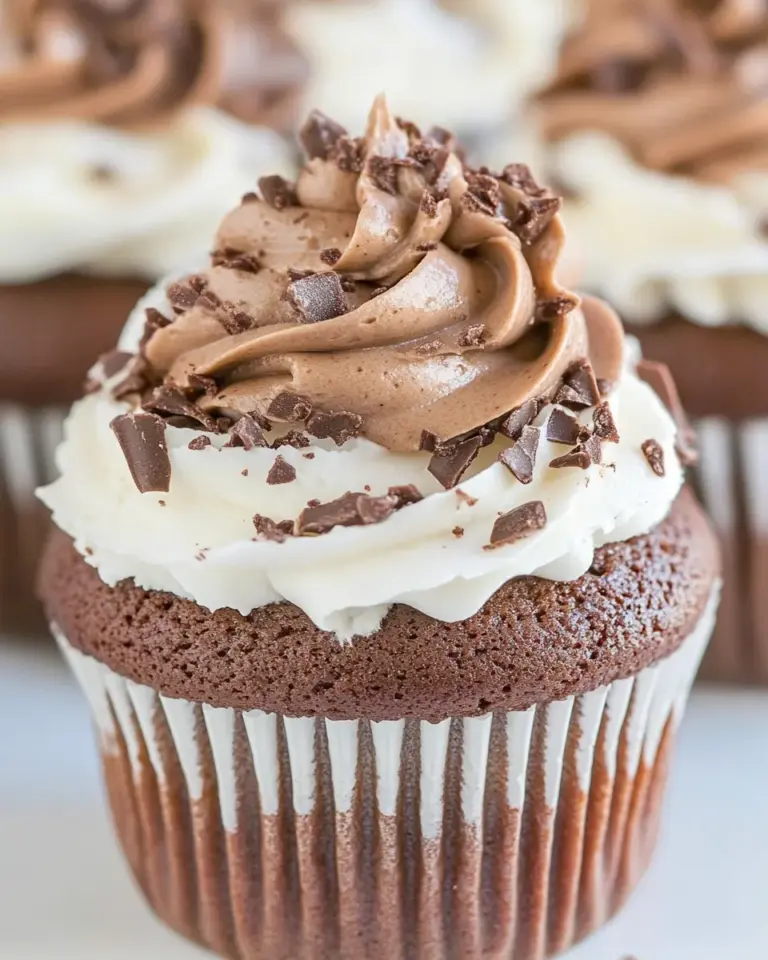
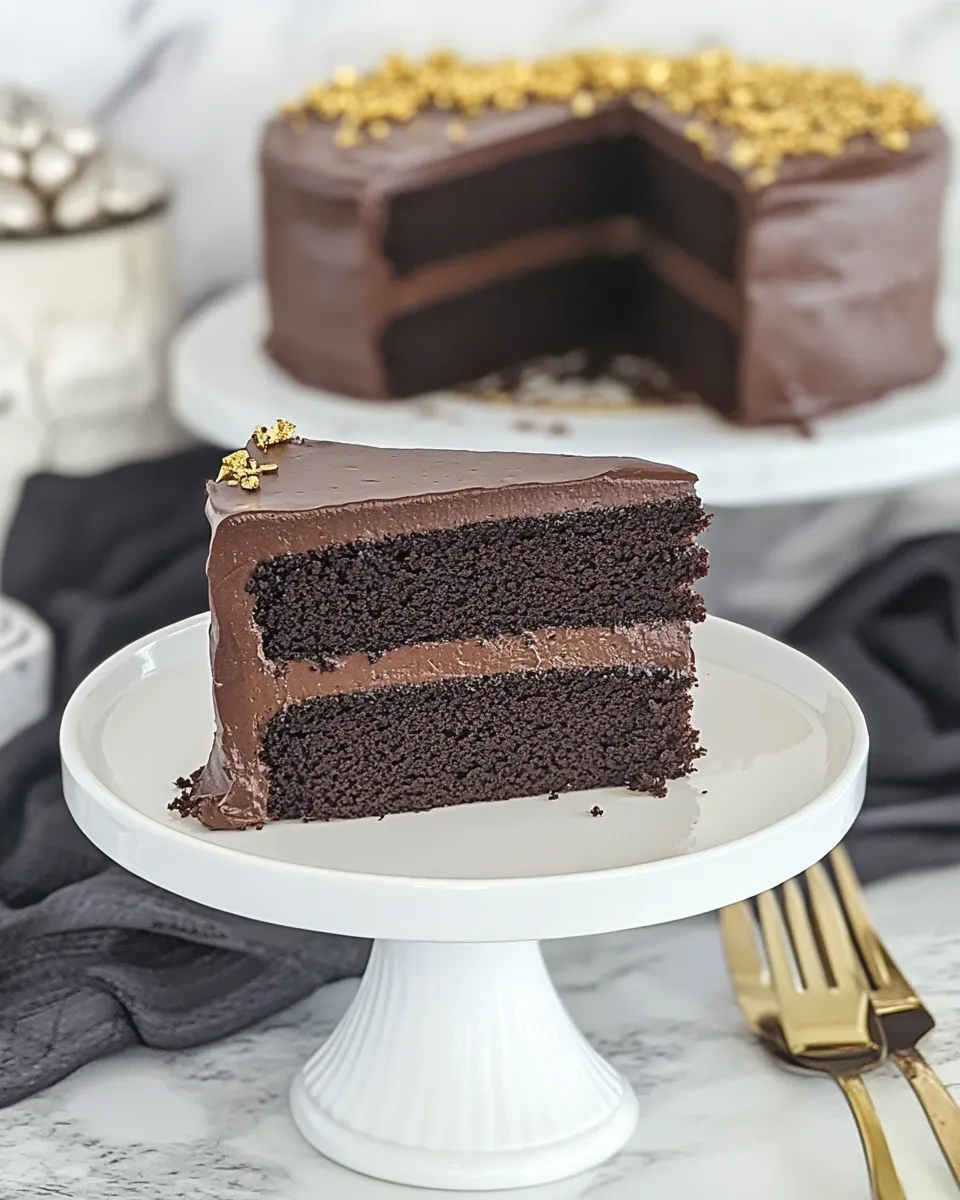
There’s something utterly enchanting about a cake that looks as good as it tastes, and the Layered Chocolate Mirror Cake is the perfect example of this delightful contradiction. With its glossy mirror glaze and rich chocolate layers, this cake is not just a dessert; it’s a showstopper, perfect for celebrations or simply to indulge your sweet tooth. The satisfaction of slicing into this cake reveals its moist layers, each bite a blend of deep chocolate flavor and velvety texture. Trust me, once you make this cake, it will become a cherished recipe in your baking repertoire.
What Makes This Recipe Special
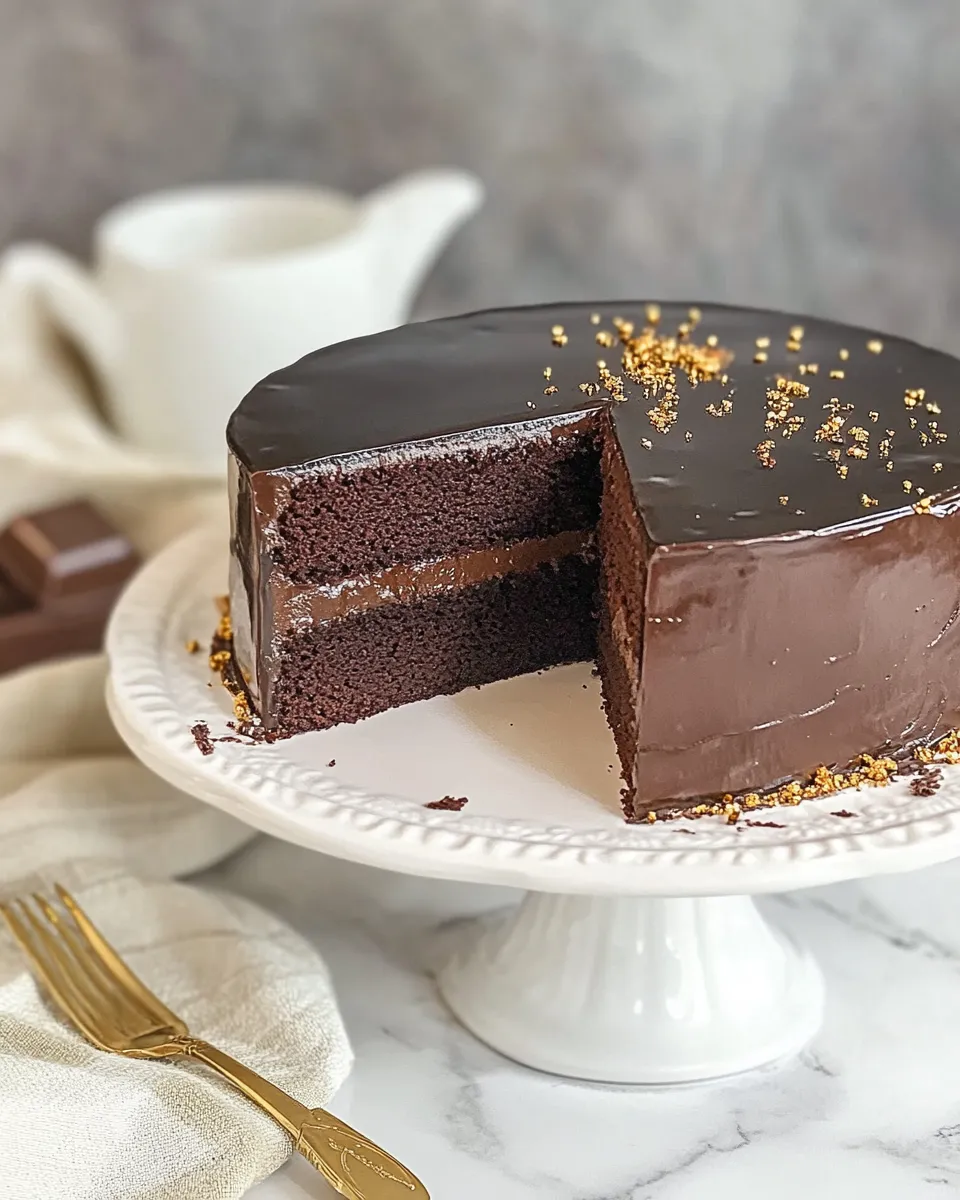
The Layered Chocolate Mirror Cake is a feast for the eyes and the palate. Its stunning mirror glaze creates a visual allure that makes it a centerpiece for any occasion. What sets this cake apart is not only its appearance but also the balance of flavors and textures. The moist chocolate cake layers are complemented by a silky, reflective glaze that captures light and attention. This cake is a labor of love, and the results are well worth it.
What We’re Using
To create this decadent dessert, we will be using the following ingredients:
- 1 ¾ cups flour – The foundation of our cake, providing structure.
- ¾ cup unsweetened cocoa powder – For that rich chocolate flavor.
- 1 ½ teaspoons baking powder – To help the cake rise beautifully.
- 1 ½ teaspoons baking soda – Works alongside baking powder for a fluffy texture.
- 2 cups sugar – Sweetness that balances the cocoa’s bitterness.
- 1 teaspoon salt – Enhances all the flavors.
- 2 eggs – Acts as a binder and adds richness.
- 1 cup milk – Moistens the batter.
- ½ cup canola oil – Keeps the cake tender and moist.
- 2 teaspoons vanilla extract – Adds warmth and depth to the flavor.
- 1 cup boiling water – Enhances the cocoa flavor and creates a smooth batter.
Toolbox for This Recipe
Before diving into the baking process, here’s a quick list of tools you’ll need:
- Measuring cups and spoons – For accurate ingredient measurements.
- Mixing bowls – To combine your dry and wet ingredients.
- Whisk – For blending ingredients smoothly.
- Spatula – To fold in ingredients gently.
- Round cake pans – Essential for baking the cake layers evenly.
- Cooling rack – Allows the cake to cool properly.
- Microwave or stovetop – For boiling water and melting chocolate.
Layered Chocolate Mirror Cake: How It’s Done
Now, let’s get into the step-by-step process of creating this stunning Layered Chocolate Mirror Cake!
Step 1: Preheat the Oven
Begin by preheating your oven to 350°F (175°C). This ensures that your cake bakes evenly.
Step 2: Prepare the Cake Pans
Grease and flour two round 9-inch cake pans. This will help prevent the cake from sticking.
Step 3: Combine Dry Ingredients
In a large mixing bowl, whisk together the flour, cocoa powder, baking powder, baking soda, sugar, and salt until well combined.
Step 4: Mix in Wet Ingredients
Add the eggs, milk, canola oil, and vanilla extract to the dry ingredients. Mix until just combined. The batter will be thick at this point.
Step 5: Add Boiling Water
Carefully stir in the boiling water. This step will thin out the batter, making it pourable. It also intensifies the chocolate flavor.
Step 6: Bake the Cake Layers
Divide the batter evenly between the prepared cake pans. Bake in the preheated oven for about 30-35 minutes or until a toothpick inserted in the center comes out clean.
Step 7: Cool the Cakes
Once baked, remove the cakes from the oven and let them cool in the pans for 10 minutes. Then, carefully turn them out onto a cooling rack to cool completely.
Step 8: Prepare the Mirror Glaze
While the cakes cool, you can prepare the mirror glaze. This typically involves melting chocolate and combining it with cream and gelatin. Follow a trusted mirror glaze recipe to achieve that stunning finish.
Step 9: Assemble the Cake
Once the cakes are completely cool, place one layer on a serving plate. Spread a layer of frosting or ganache on top, then place the second layer on top. Repeat if you have more layers.
Step 10: Glaze the Cake
Pour the mirror glaze over the top of the cake, allowing it to drip down the sides for that beautiful glossy finish.
Step 11: Chill and Serve
Refrigerate the cake for at least 30 minutes to set the glaze. Once set, slice and enjoy your stunning Layered Chocolate Mirror Cake!
Adaptations for Special Diets
If you’re looking to adapt this recipe for specific dietary needs, consider the following options:
- Gluten-free: Substitute all-purpose flour with a gluten-free flour blend.
- Dairy-free: Use plant-based milk and dairy-free chocolate for the glaze.
- Egg-free: Replace eggs with flax eggs (1 tablespoon ground flaxseed + 2.5 tablespoons water = 1 egg).
- Reduced sugar: Use a sugar substitute that measures like sugar.
Problems & Prevention
Even the best bakers encounter issues from time to time. Here are some common problems and how to prevent them:
- Dry cake: Ensure not to overmix the batter and keep an eye on baking time.
- Sunken center: This can happen if the cake is underbaked; always test with a toothpick.
- Glaze not shiny: Ensure the glaze ingredients are at the correct temperature when combining.
- Cake layers sticking: Make sure to grease and flour your pans thoroughly.
Meal Prep & Storage Notes
To keep your Layered Chocolate Mirror Cake fresh and delicious, consider the following tips:
- Storage: Store the cake in an airtight container in the refrigerator for up to 5 days.
- Freezing: Freeze individual layers wrapped in plastic wrap for up to 3 months. Thaw in the fridge before assembling.
- Make ahead: You can bake the layers a day in advance; just glaze before serving.
Your Questions, Answered
Can I use chocolate cake mix instead of making it from scratch?
Yes, you can use a chocolate cake mix as a shortcut, but the flavor and texture may differ from a homemade version.
How can I make the mirror glaze shiny?
The key to a shiny glaze is the right ratio of ingredients, especially gelatin and cream. Ensure everything is melted and mixed thoroughly.
What can I use instead of canola oil?
Vegetable oil or melted coconut oil work well as substitutes for canola oil in this recipe.
How do I know when the cake is done baking?
Insert a toothpick into the center of the cake; if it comes out clean or with a few moist crumbs, the cake is done.
Weekend Projects
If you’re inspired to take your baking to the next level, check out these links for more weekend projects:
- Classic Vanilla Bean Cheesecake
- Lemon Blueberry Layer Cake
- Red Velvet Cupcakes with Cream Cheese Frosting
- Salted Caramel Chocolate Tart
The Last Word
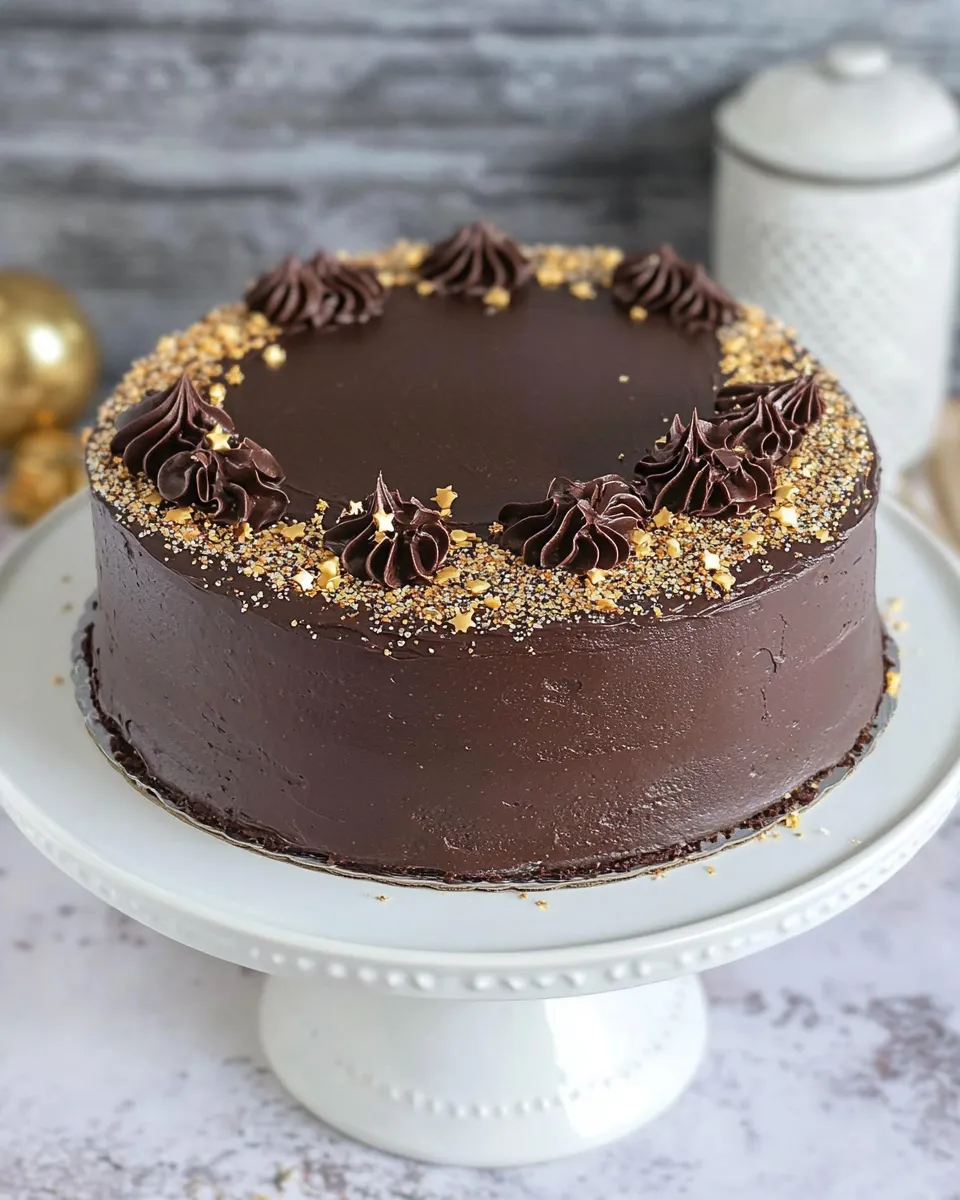
The Layered Chocolate Mirror Cake is not just a dessert; it’s an experience that brings joy and indulgence to the table. With its striking appearance and rich flavors, this cake will undoubtedly become a favorite among family and friends. Whether you’re celebrating a special occasion or simply treating yourself, this cake is guaranteed to impress. So gather your ingredients, roll up your sleeves, and let the magic of baking unfold. Happy baking!
Layered Chocolate Mirror Cake
Ingredients
Equipment
Method
- 1. Preheat your oven to 350°F (175°C).
- 2. Grease and flour two round 9-inch cake pans.
- 3. In a large mixing bowl, whisk together the flour, cocoa powder, baking powder, baking soda, sugar, and salt.
- 4. Add the eggs, milk, canola oil, and vanilla extract to the dry ingredients. Mix until just combined.
- 5. Carefully stir in the boiling water.
- 6. Divide the batter evenly between the prepared cake pans. Bake for about 30-35 minutes.
- 7. Let the cakes cool in the pans for 10 minutes, then turn them out onto a cooling rack.
- 8. Prepare the mirror glaze as per your trusted recipe.
- 9. Assemble the cake with frosting or ganache between layers.
- 10. Pour the mirror glaze over the top of the cake.
- 11. Refrigerate for at least 30 minutes to set the glaze.
Notes
- Store leftovers in an airtight container for up to 5 days.
- Freeze individual layers wrapped in plastic for up to 3 months.
- Make cake layers a day in advance; glaze before serving.