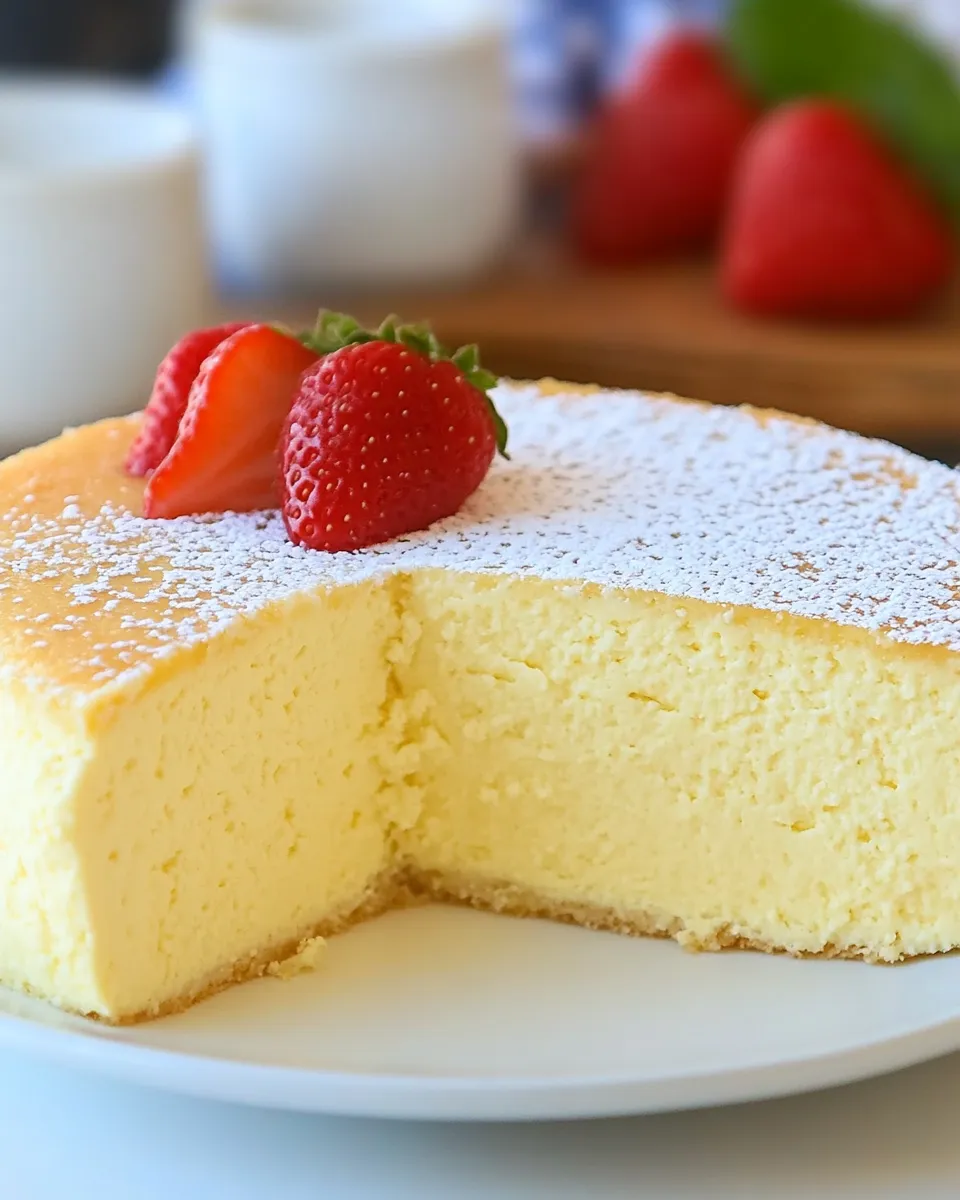
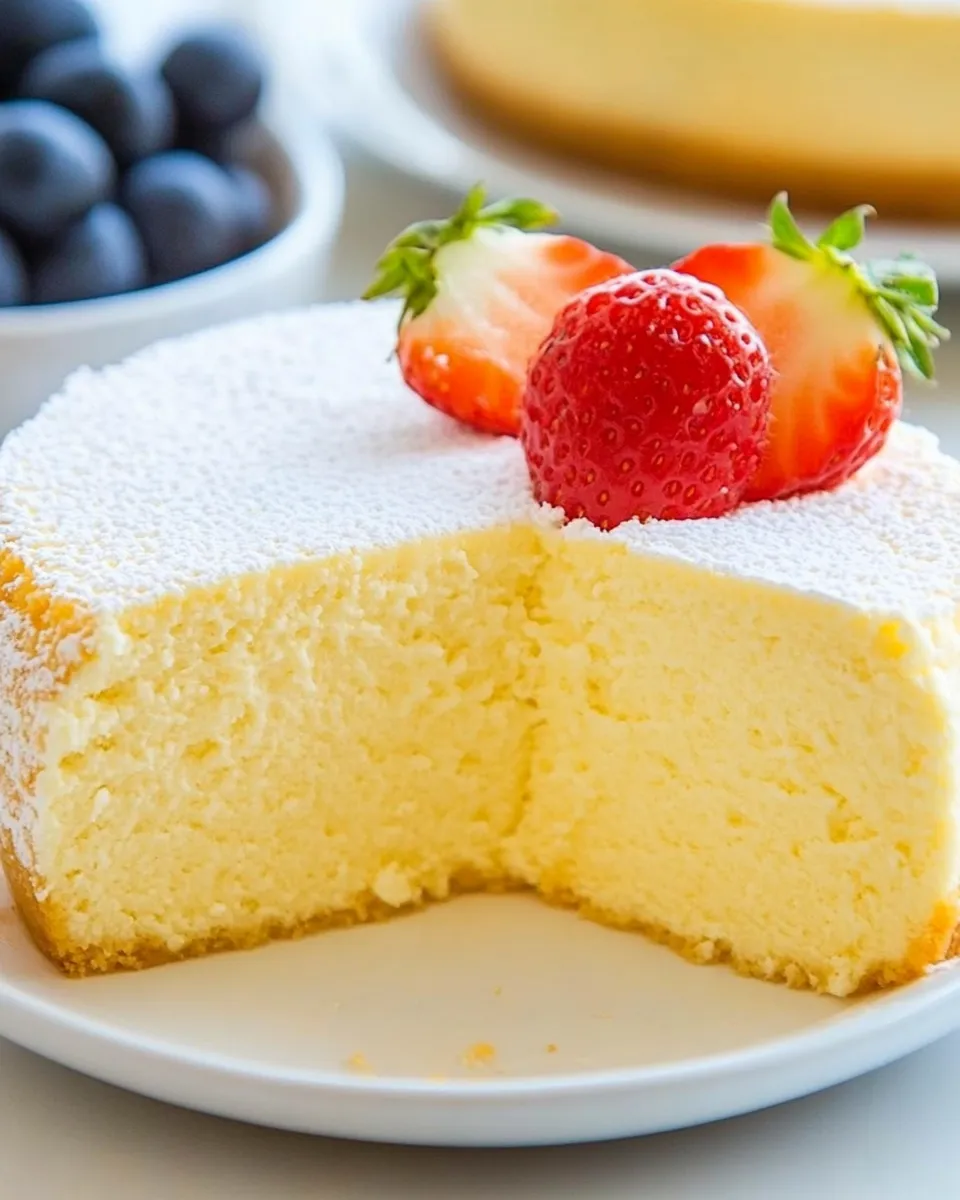
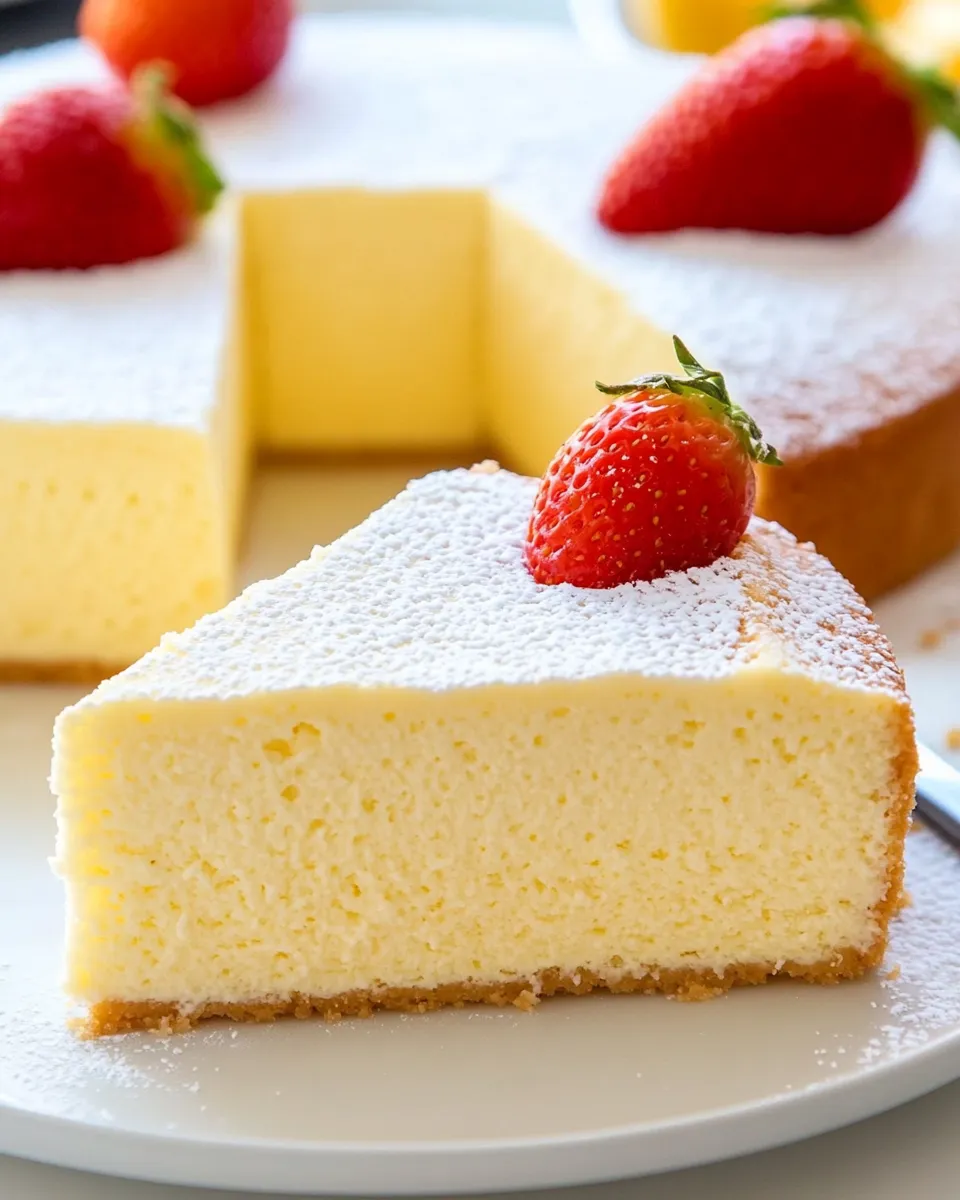
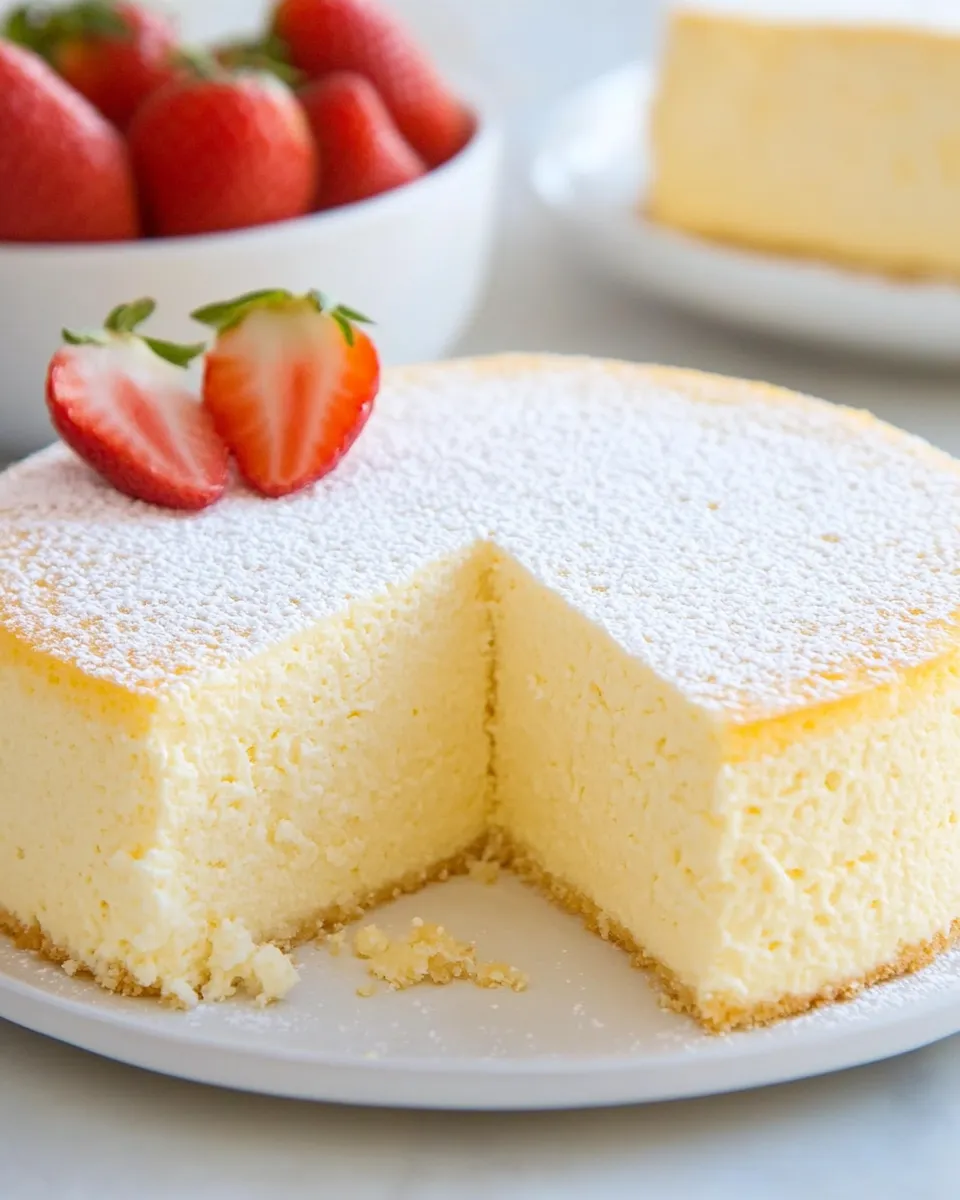
Japanese Cheesecake
If you’ve ever had the pleasure of sinking your fork into a slice of Japanese cheesecake, you know it’s unlike any other dessert. This delightful creation is famed for its light, airy texture and subtly sweet flavor, making it a favorite among cheesecake lovers and dessert enthusiasts alike. The magic lies in the combination of cream cheese and whipped egg whites, resulting in a cake that is fluffy and melt-in-your-mouth delicious. Today, I’m excited to share a recipe that will allow you to recreate this beloved treat in the comfort of your own kitchen.
Why I Love This Recipe
Japanese cheesecake is a beautiful fusion of a traditional cheesecake and a soufflé. The texture is so light and fluffy that it feels like a cloud on your palate. What I adore most about this recipe is its simplicity. With just a handful of ingredients, you can create a dessert that is not only stunning but also incredibly satisfying. It’s perfect for special occasions or just a sweet treat to enjoy on a cozy afternoon.
Shopping List
- 8 oz (230g) Philadelphia cream cheese
- 2 oz (60g) unsalted butter
- 100 ml full milk
- 2 oz (60g) cake flour
- 1 oz (30g) cornstarch
- 6 egg yolks, room temperature
- 1/2 tablespoon lemon juice
- 1/4 teaspoon salt
- 6 egg whites, room temperature
- 1/4 teaspoon cream of tartar
- 5 oz (140g) fine granulated sugar
Tools & Equipment Needed
- Mixing bowls – for combining ingredients.
- Electric mixer – to whip the egg whites until fluffy.
- Spatula – for folding ingredients together gently.
- Springform pan – to bake the cheesecake and make removing it easier.
- Oven – for baking the cheesecake to perfection.
- Water bath setup – ensures even baking and moisture retention.
How to Prepare Japanese Cheesecake
Step 1: Preheat the Oven
Start by preheating your oven to 320°F (160°C). This temperature will allow the cheesecake to bake slowly and evenly.
Step 2: Prepare the Cream Cheese Mixture
In a mixing bowl, combine the 8 oz (230g) Philadelphia cream cheese and 2 oz (60g) unsalted butter. Use an electric mixer to blend them until smooth and creamy. Make sure there are no lumps for a silky texture.
Step 3: Add Milk and Egg Yolks
Pour in the 100 ml of full milk and mix until well combined. Next, add the 6 egg yolks and 1/2 tablespoon of lemon juice. Mix well until everything is fully incorporated.
Step 4: Sift in the Dry Ingredients
In a separate bowl, sift together the 2 oz (60g) cake flour, 1 oz (30g) cornstarch, and 1/4 teaspoon of salt. Gradually add this dry mixture to the cream cheese mixture, folding gently until just combined.
Step 5: Whip the Egg Whites
In a clean mixing bowl, beat the 6 egg whites with an electric mixer until frothy. Add the 1/4 teaspoon of cream of tartar. Continue to beat until soft peaks form. Gradually add the 5 oz (140g) fine granulated sugar while beating until stiff peaks form and the mixture is glossy.
Step 6: Combine the Mixtures
Gently fold the egg whites into the cream cheese mixture in three additions. Be careful not to deflate the egg whites; this is what gives the Japanese cheesecake its airy texture.
Step 7: Prepare the Baking Pan
Grease a 9-inch springform pan with butter and line the bottom with parchment paper. Pour the cheesecake batter into the prepared pan, smoothing the top with a spatula.
Step 8: Bake in a Water Bath
Place the springform pan into a larger baking dish filled with hot water, creating a water bath. This helps maintain moisture during baking and prevents cracks. Bake in the preheated oven for about 60 minutes or until the top is golden brown and a toothpick inserted in the center comes out clean.
Step 9: Cool and Chill
Turn off the oven and leave the cheesecake inside with the door ajar for about 30 minutes. This gradual cooling helps prevent cracking. Once cooled, refrigerate the cheesecake for at least 4 hours or overnight for the best flavor and texture.
Better-for-You Options
- Substitute cream cheese with low-fat cream cheese for a lighter option.
- Use coconut milk instead of full milk for a dairy-free version.
- Reduce sugar by using a sugar alternative like stevia or erythritol.
- Incorporate whole wheat flour instead of cake flour for added fiber.
Learn from These Mistakes
- Don’t skip the water bath; it’s crucial for preventing cracks and ensuring even baking.
- Ensure your egg whites are at room temperature for better volume when whipped.
- Be gentle when folding the egg whites into the batter to maintain that airy texture.
- Do not overbake! Keep an eye on your cheesecake to avoid dryness.
Storing Tips & Timelines
Japanese cheesecake can be stored in the refrigerator in an airtight container for up to 5 days. If you want to enjoy it at a later date, you can freeze slices wrapped tightly in plastic wrap for up to 2 months. Just be sure to thaw it in the refrigerator overnight before serving.
Questions People Ask
Can I use a different type of cheese?
While the classic recipe uses cream cheese for its rich texture, you can experiment with mascarpone for a slightly different flavor, but keep in mind it may change the cheesecake’s consistency.
Why did my cheesecake crack on top?
Cracks can occur if the cheesecake is baked at too high a temperature or if it was removed from the oven too quickly. Using a water bath helps prevent this by providing moisture.
Is it normal for the cheesecake to rise during baking?
Yes, it’s perfectly normal for Japanese cheesecake to rise while baking, thanks to the whipped egg whites. It will settle slightly as it cools.
Can I add flavorings to the cheesecake?
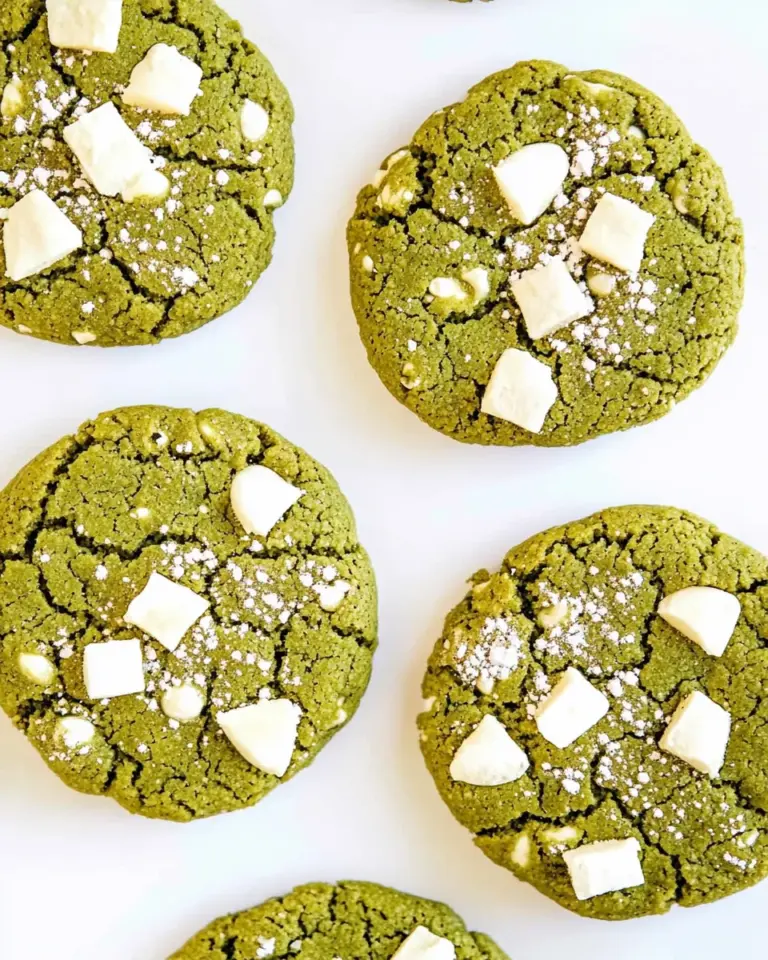
Absolutely! You can incorporate flavors like matcha, vanilla extract, or even chocolate by mixing them into the cream cheese mixture before baking.
Don’t Miss These
- Sally’s Baking Addiction – For all your baking needs.
- Pinch of Yum – Delicious recipes and photography tips.
- Minimalist Baker – Simple, quick recipes for healthy eating.
Ready, Set, Cook
Now that you have all the tips and tricks, it’s time to roll up your sleeves and bake this exquisite Japanese cheesecake. The process may seem daunting, but trust me, the end result is worth every minute. Gather your ingredients, follow the steps, and you’ll be rewarded with a dessert that impresses both in flavor and presentation. Enjoy every slice of this fluffy, creamy delight, and share it with family and friends to spread the joy of homemade goodness!
Japanese Cheesecake
Ingredients
Equipment
Method
- Start by preheating your oven to 320°F (160°C).
- In a mixing bowl, combine the cream cheese and unsalted butter. Blend until smooth and creamy.
- Pour in the milk and mix well. Add the egg yolks and lemon juice, mixing until incorporated.
- Sift together the cake flour, cornstarch, and salt. Gradually add this dry mixture to the cream cheese mixture, folding gently.
- Beat the egg whites until frothy. Add cream of tartar and continue beating until soft peaks form. Gradually add sugar until stiff peaks form.
- Gently fold the egg whites into the cream cheese mixture in three additions.
- Grease a 9-inch springform pan and line with parchment paper. Pour the batter into the prepared pan.
- Place the pan into a larger baking dish filled with hot water. Bake for about 60 minutes or until golden brown.
- Turn off the oven and leave the cheesecake inside for 30 minutes. Then refrigerate for at least 4 hours or overnight.
Notes
- Use low-fat cream cheese for a lighter option.
- Incorporate flavors like matcha or vanilla for a twist.
- Store in an airtight container in the fridge for up to 5 days.