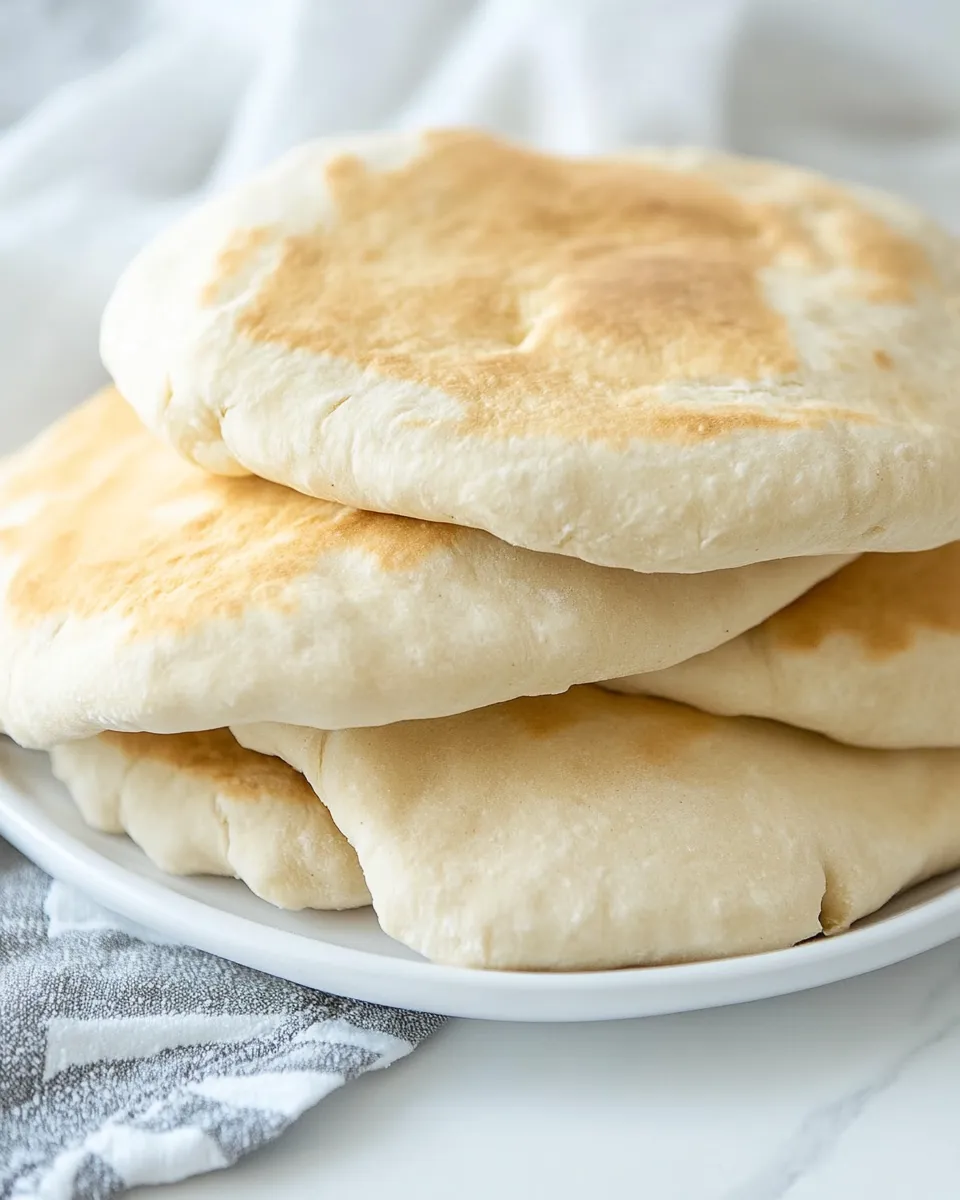
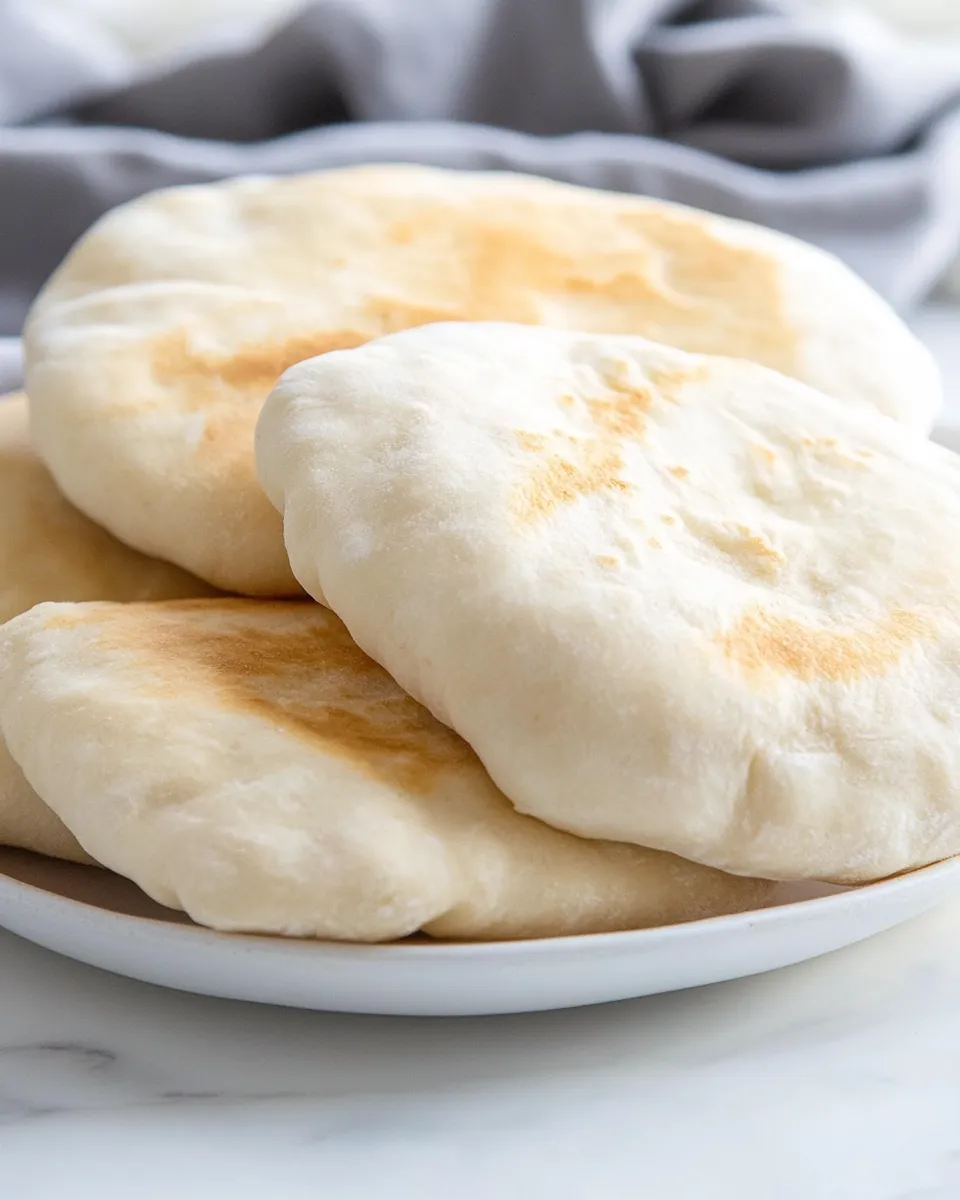
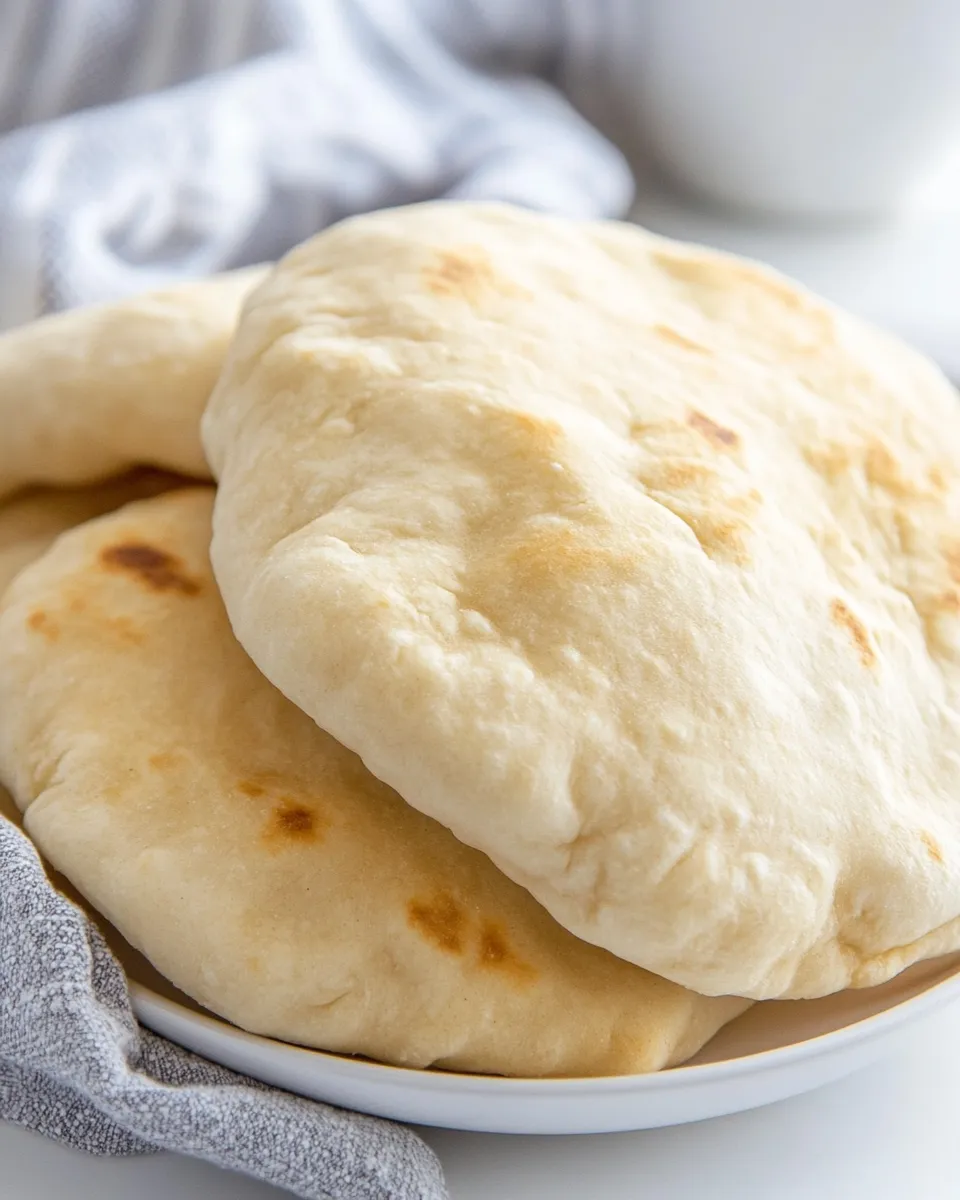
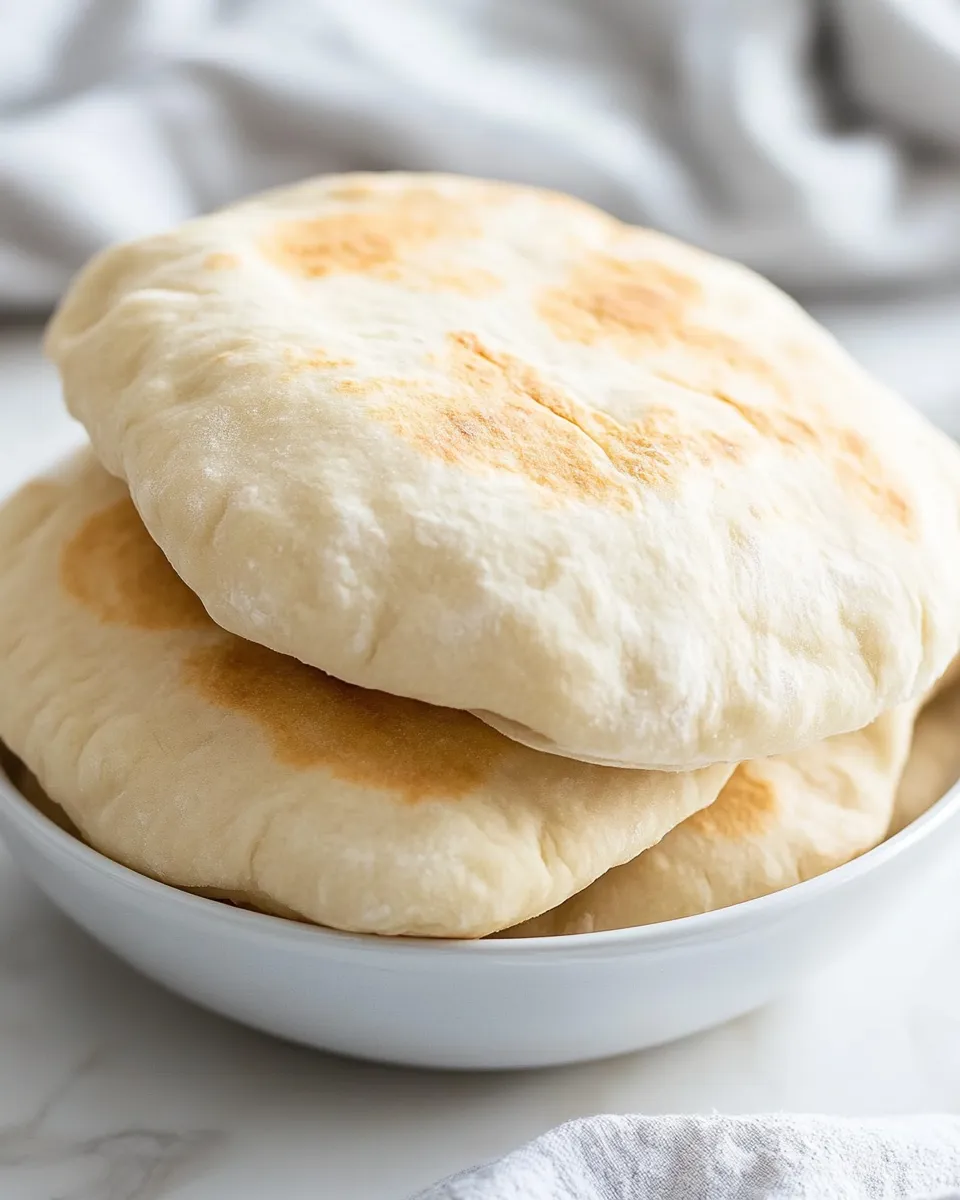
Easy Pita Bread
Pita bread, with its warm, fluffy texture and charming pocket, is a staple in many cuisines around the world. Making your own Easy Pita Bread at home is not only satisfying but also incredibly simple. With just a few ingredients and some patience, you can create soft, delicious pitas that are perfect for stuffing, dipping, or eating plain. This recipe is perfect for beginners and seasoned bakers alike, making it a wonderful addition to your culinary repertoire. Whether you’re enjoying them with hummus, filling them with falafel, or using them to scoop up your favorite dips, homemade pita bread elevates any meal.
Why It’s Crowd-Pleasing
There’s something magical about homemade bread. The aroma wafting through your kitchen while the dough rises is enough to make anyone’s mouth water. Easy Pita Bread is particularly appealing because it’s versatile and can be enjoyed in countless ways. Not only can you customize it to your liking, but it’s also a fun project to involve the whole family. From children to adults, everyone will love the experience of watching the dough puff up in the oven, creating those perfect pockets for all your favorite fillings. Plus, making pita bread at home allows you to control the ingredients, ensuring everything is fresh and to your taste.
The Essentials
To whip up your own Easy Pita Bread, you’ll need a few key ingredients:
- 2 teaspoons active dry yeast – This is crucial for making the dough rise and developing that lovely texture.
- 1 1/2 cups warm water – The warmth helps activate the yeast, creating a bubbly and fluffy dough.
- 4 cups bread flour – Bread flour has a higher protein content, which helps create the perfect chewy texture.
- 2 teaspoons salt – Salt enhances flavor and strengthens the dough.
- 1 tablespoon olive oil – This adds richness and tenderness to the bread.
Equipment & Tools
Before you dive into the kitchen, gather these essential tools:
- Mixing bowl – For combining your ingredients.
- Measuring cups and spoons – Accurate measurements are key!
- Dough scraper – This helps in handling the dough and transferring it easily.
- Rolling pin – For rolling out your dough into even rounds.
- Baking sheet or stone – A hot surface is essential for puffing the pita bread.
- Kitchen towel – To cover the dough while it rises and to keep the baked pitas warm.
Easy Pita Bread: Step-by-Step Guide
Creating your Easy Pita Bread is a straightforward process. Just follow these steps:
Step 1: Activate the Yeast
In a small bowl, combine the warm water and active dry yeast. Let it sit for about 5-10 minutes, or until it becomes frothy. This means the yeast is alive and ready to work its magic.
Step 2: Combine Dry Ingredients
In a large mixing bowl, whisk together the bread flour and salt. This ensures that the salt is evenly distributed throughout the flour.
Step 3: Mix the Dough
Create a well in the center of the flour mixture and pour in the yeast mixture along with the olive oil. Stir until the dough begins to come together.
Step 4: Knead the Dough
Turn the dough out onto a floured surface. Knead it for about 8-10 minutes until it becomes smooth and elastic. If the dough is too sticky, sprinkle a bit more flour as you knead.
Step 5: Let It Rise
Place the dough in a lightly greased bowl, cover it with a kitchen towel, and let it rise in a warm area for about 1 to 1.5 hours, or until it doubles in size.
Step 6: Shape the Pitas
Once the dough has risen, punch it down to release the air. Divide it into 8 equal pieces. Roll each piece into a ball and then flatten it with a rolling pin into circles about 1/4 inch thick.
Step 7: Preheat the Oven
While shaping the pitas, preheat your oven to 475°F (245°C). If you’re using a baking stone, place it in the oven to heat up as well.
Step 8: Bake the Pitas
Place the rounds of dough on the hot baking sheet or stone. Bake for about 5-7 minutes, or until they puff up and turn slightly golden. Keep an eye on them to avoid burning!
Step 9: Cool and Enjoy
Remove the pitas from the oven and cover them with a kitchen towel to keep them warm and soft. Serve them warm with your favorite dips or fillings.
Allergy-Friendly Swaps
If you have specific dietary needs or preferences, here are some easy swaps you can make:
- Gluten-Free Flour: Substitute bread flour with a gluten-free all-purpose blend for a gluten-free version.
- Oil Alternatives: Use melted coconut oil or avocado oil instead of olive oil for a different flavor profile.
- Less Salt: If you need to reduce sodium, feel free to cut the salt in half.
- Herbs and Spices: Add dried herbs like oregano or thyme to the dough for added flavor.
Troubles You Can Avoid
Baking can sometimes be tricky, but here are a few common pitfalls and how to avoid them:
- Yeast Issues: Make sure your water is warm but not hot. Hot water can kill the yeast, preventing your dough from rising.
- Over-Kneading: Kneading too much can create tough bread. Knead just until the dough is smooth and elastic.
- Not Enough Heat: Ensure your oven is fully preheated before baking to get those pitas to puff up nicely.
- Storing Pitas: Don’t leave baked pitas uncovered; they can dry out quickly. Always cover them with a towel.
Cooling, Storing & Rewarming
After baking your Easy Pita Bread, it’s important to store it properly to maintain its softness:
Allow the pitas to cool completely on a wire rack. Once cooled, store them in a sealed plastic bag or airtight container at room temperature for up to 3 days. If you want them to last longer, you can freeze them! Just place them in a freezer bag, and they will keep well for up to 3 months. To rewarm, simply pop them in the microwave for about 15-20 seconds or warm them in a dry skillet over medium heat for a few seconds on each side.
Reader Q&A
Can I use all-purpose flour instead of bread flour?
Yes, you can use all-purpose flour, but the texture may be slightly different. Bread flour gives a chewier consistency due to its higher protein content.
What can I use if I don’t have active dry yeast?
You can substitute active dry yeast with instant yeast. Just use the same amount, and you can mix it directly with the dry ingredients without activating it first.
How do I know when my dough has risen enough?
The dough should double in size and feel airy and light. You can also gently poke it; if the indentation remains, it’s ready to be shaped.
Can I flavor the pita bread?
Absolutely! You can add spices like garlic powder, onion powder, or herbs directly to the dough for a flavorful twist.
Try These Next
If you enjoyed this Easy Pita Bread recipe, you might want to explore these delicious options:
Make It Tonight
Now that you have all the information you need, it’s time to roll up your sleeves and make your own Easy Pita Bread. With just a few ingredients and a little love, you’ll have fresh, warm pitas that will impress your family and friends. Don’t forget to experiment with fillings and dips to find your perfect match. Enjoy the process, and happy baking!
Easy Pita Bread
Ingredients
Equipment
Method
- In a small bowl, combine the warm water and active dry yeast. Let it sit for about 5-10 minutes, or until it becomes frothy.
- In a large mixing bowl, whisk together the bread flour and salt.
- Create a well in the center of the flour mixture and pour in the yeast mixture along with the olive oil. Stir until the dough begins to come together.
- Turn the dough out onto a floured surface. Knead it for about 8-10 minutes until it becomes smooth and elastic.
- Place the dough in a lightly greased bowl, cover it with a kitchen towel, and let it rise in a warm area for about 1 to 1.5 hours, or until it doubles in size.
- Once the dough has risen, punch it down to release the air. Divide it into 8 equal pieces. Roll each piece into a ball and then flatten it with a rolling pin into circles about 1/4 inch thick.
- While shaping the pitas, preheat your oven to 475°F (245°C). If you’re using a baking stone, place it in the oven to heat up as well.
- Place the rounds of dough on the hot baking sheet or stone. Bake for about 5-7 minutes, or until they puff up and turn slightly golden.
- Remove the pitas from the oven and cover them with a kitchen towel to keep them warm and soft.
Notes
- Store baked pitas in a sealed bag to maintain softness.
- For gluten-free, substitute with a gluten-free flour blend.
- Experiment with adding herbs for extra flavor.