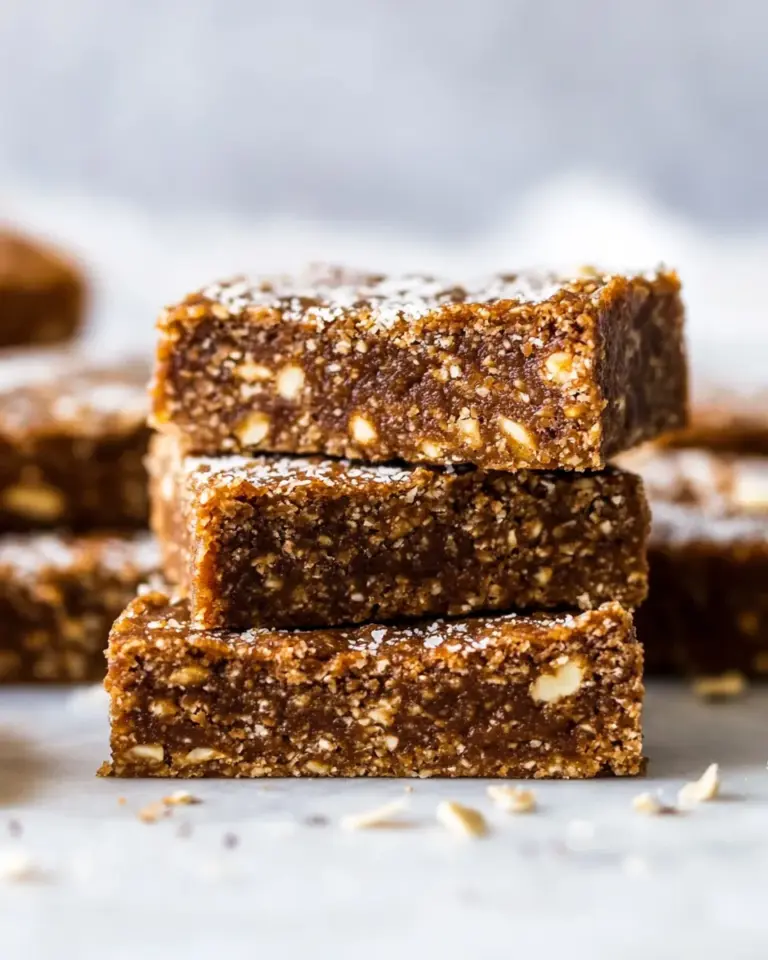
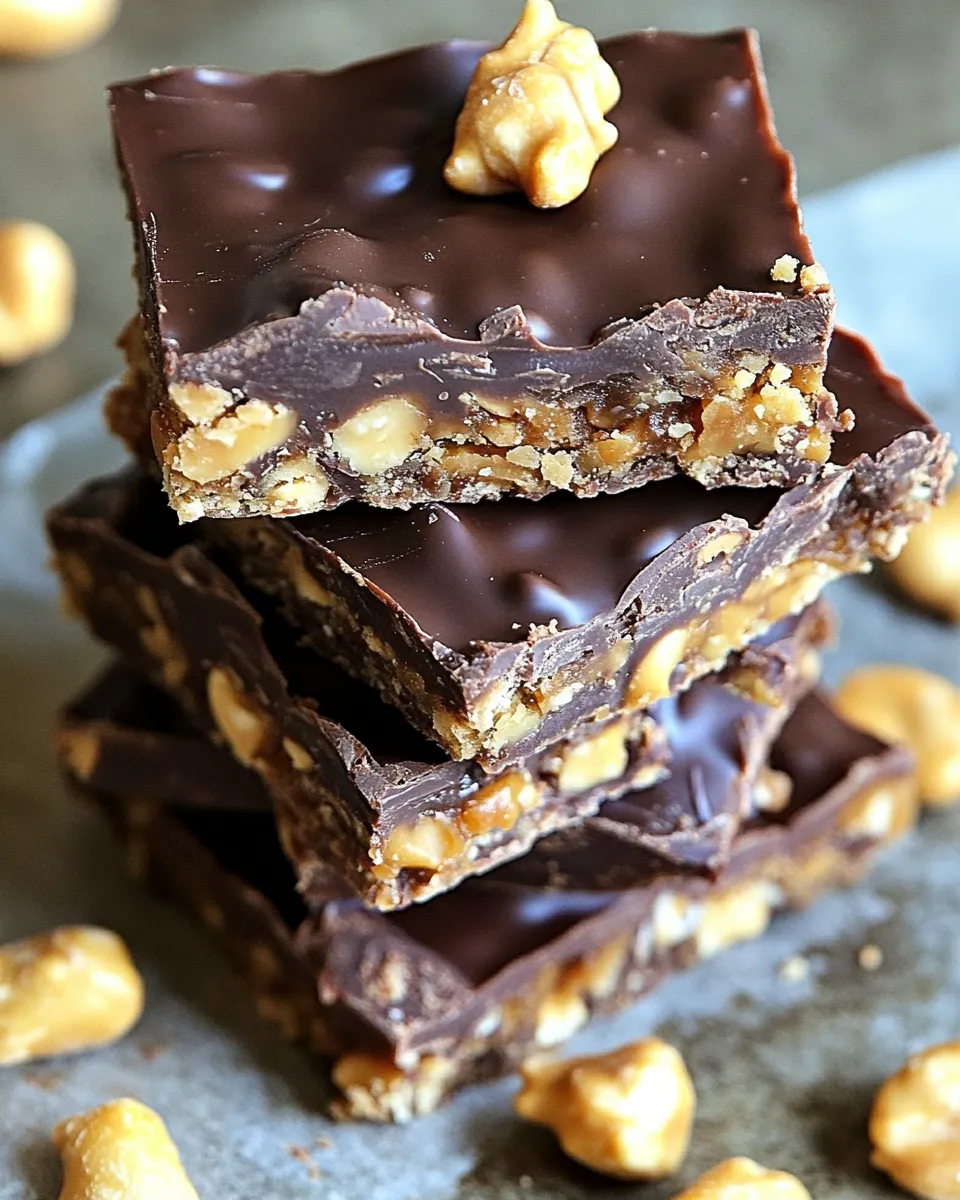
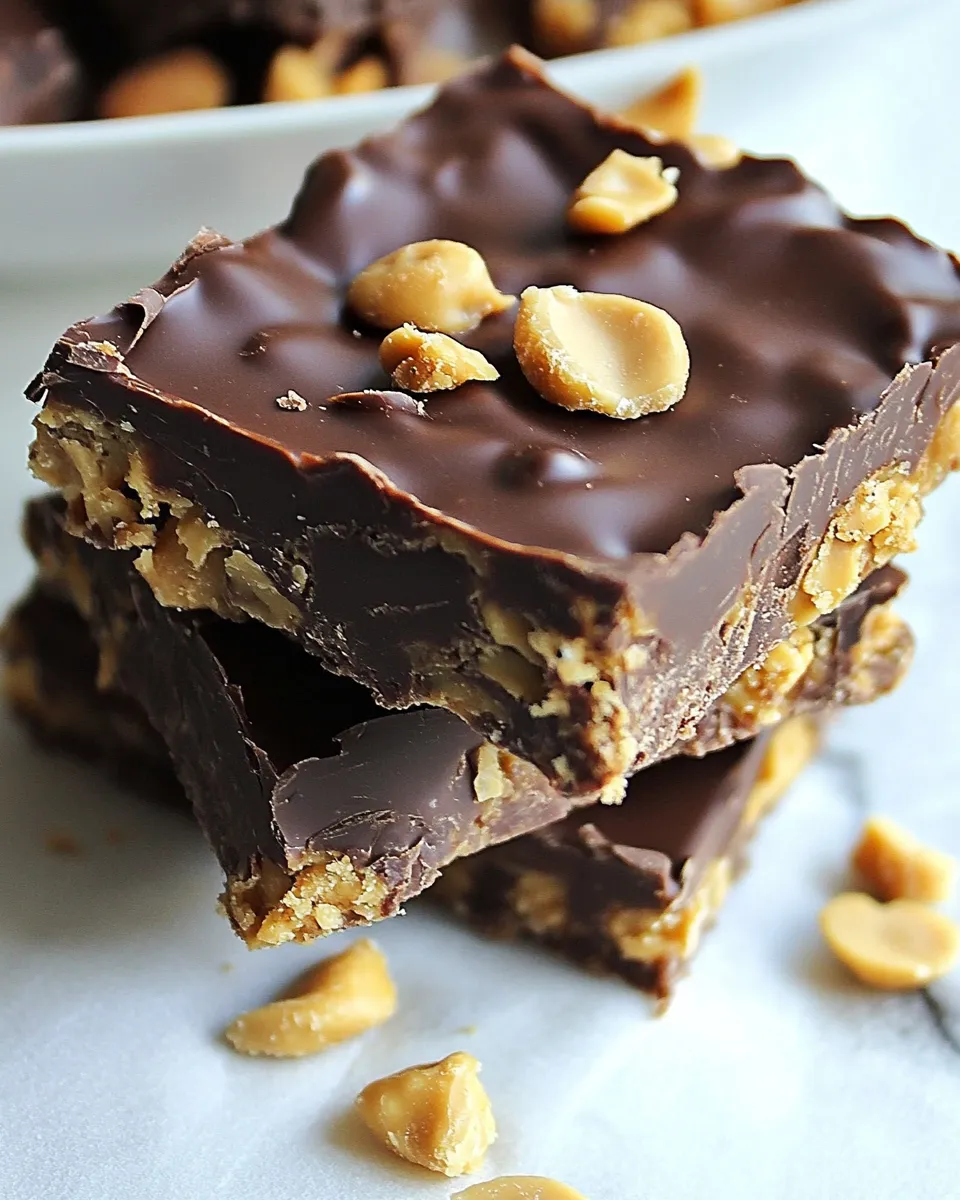
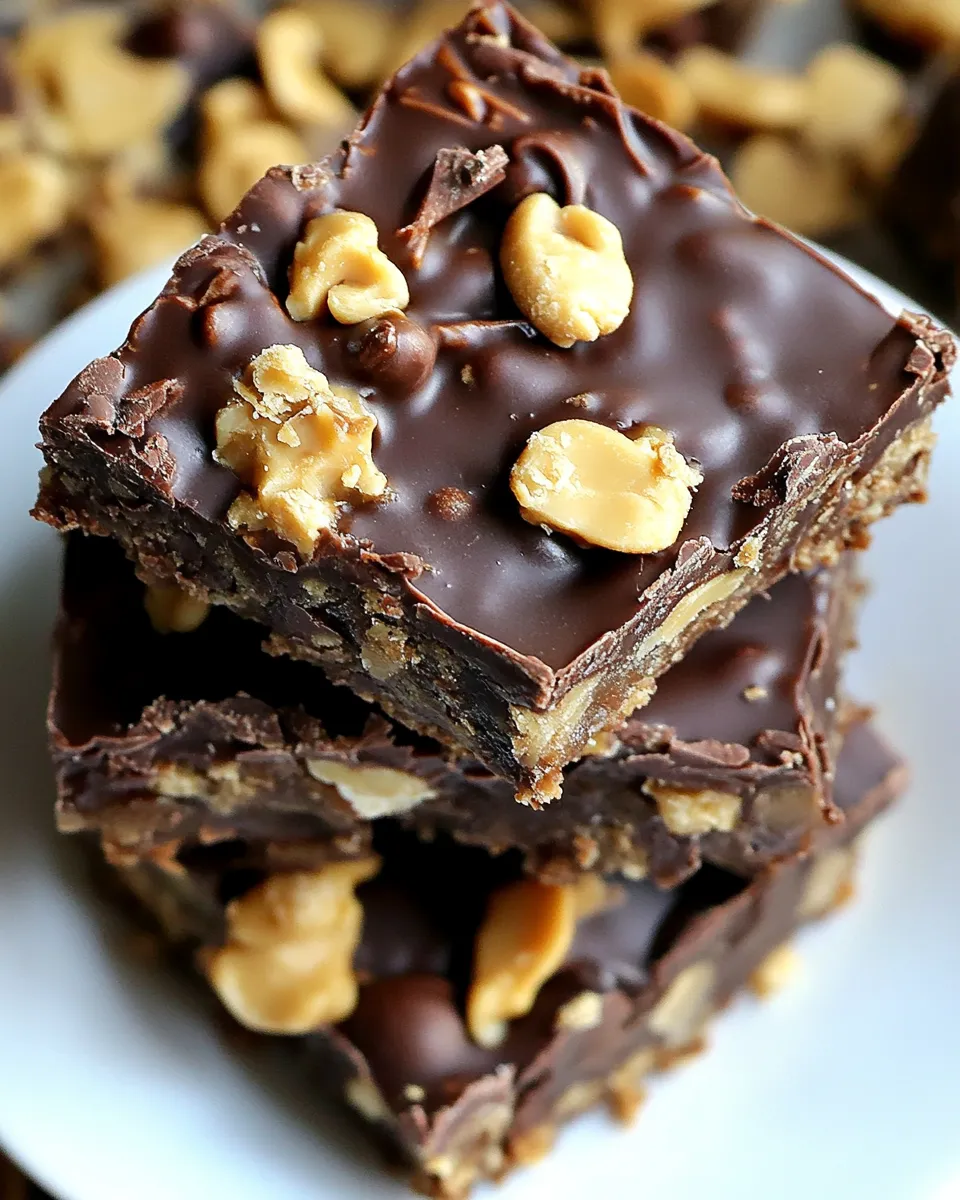
Crunchy No-Bake Chocolate Peanut Butter Bars
Imagine a treat that combines the rich creaminess of peanut butter with the sweet allure of chocolate, all while offering a satisfying crunch that keeps you coming back for more. These Crunchy No-Bake Chocolate Peanut Butter Bars are not just a dessert; they’re a delightful experience. With minimal effort and no oven required, you can whip up these bars in no time, making them perfect for a quick snack or a special treat for gatherings. The combination of ingredients creates a symphony of flavors and textures that is simply irresistible.
Whether you are a seasoned baker or someone who prefers to avoid the kitchen, this recipe is designed for everyone. Let’s dive into why you’ll want to keep making these bars and how easy they are to prepare!
Why You’ll Keep Making It
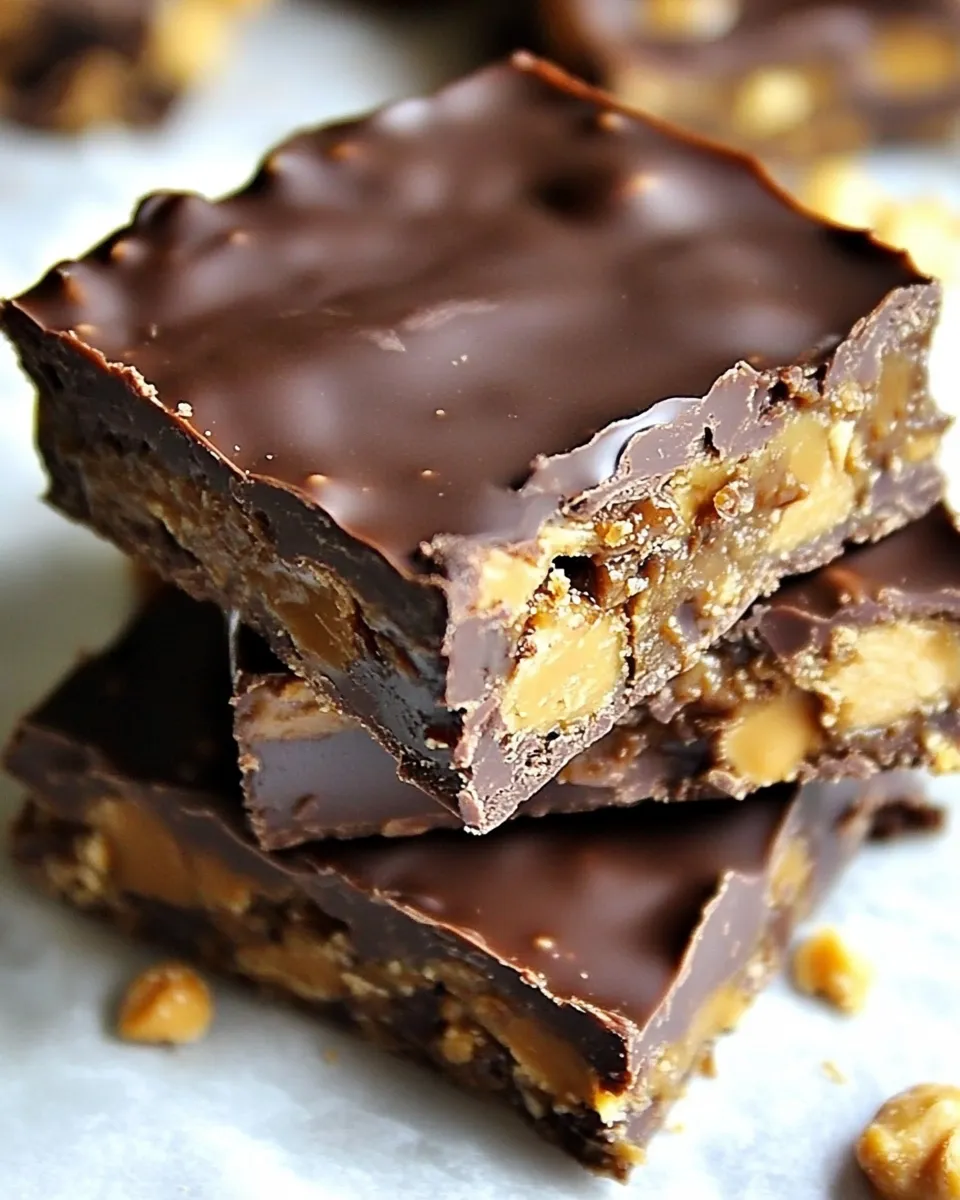
There are countless reasons to love these Crunchy No-Bake Chocolate Peanut Butter Bars. First and foremost, they are incredibly easy to make. With just a handful of ingredients, you can create a delicious dessert that requires no baking. This is perfect for those hot summer days when you want something sweet but don’t want to heat up the kitchen.
Moreover, these bars are versatile. You can easily adjust the sweetness by using different types of chocolate or nut butters. The crunchy cornflakes provide a delightful texture that contrasts beautifully with the smooth chocolate and peanut butter. Plus, they are perfect for meal prep and can be stored in the fridge for a quick snack throughout the week.
What to Buy
To get started on your Crunchy No-Bake Chocolate Peanut Butter Bars, you will need the following ingredients:
- 1 cup semi-sweet chocolate chips
- 1 cup creamy peanut butter
- ½ cup honey
- ½ cup unsalted butter
- 3 cups cornflakes
Make sure to check the labels on your ingredients to ensure that they meet your preferences and needs.
Setup & Equipment
Before you start making these delicious bars, gather the following equipment:
- Mixing bowl – for combining ingredients.
- Medium saucepan – to melt butter and chocolate.
- Spatula – for stirring and spreading.
- Baking dish (9×9 inch recommended) – to set your bars.
- Parchment paper – for easy removal of the bars.
Having everything ready will make the process smooth and enjoyable!
Mastering Crunchy No-Bake Chocolate Peanut Butter Bars: How-To
Step 1: Prepare Your Baking Dish
Start by lining a 9×9 inch baking dish with parchment paper. This will help you easily lift the bars out once they’ve set.
Step 2: Melt the Butter and Chocolate
In a medium saucepan over low heat, combine the unsalted butter and semi-sweet chocolate chips. Stir continuously until melted and smooth, making sure not to burn the chocolate.
Step 3: Add Peanut Butter and Honey
Once the chocolate and butter mixture is melted, remove it from heat. Stir in the creamy peanut butter and honey until fully combined and smooth.
Step 4: Incorporate the Cornflakes
Gently fold in the cornflakes, making sure each flake is coated with the chocolate-peanut butter mixture. Be careful not to crush the cornflakes too much; you want them to retain their crunch.
Step 5: Transfer to Baking Dish
Pour the mixture into the prepared baking dish. Use a spatula to spread it evenly and press it down firmly to ensure the bars hold together.
Step 6: Chill Until Set
Place the baking dish in the refrigerator for at least 2 hours, or until the bars are firm enough to cut.
Step 7: Cut and Serve
Once set, remove the bars from the baking dish using the parchment paper. Cut into squares or rectangles, and enjoy your Crunchy No-Bake Chocolate Peanut Butter Bars!
Make It Year-Round
These bars can be enjoyed throughout the year with a few simple variations:
- Seasonal Add-Ins: Add dried fruits like cranberries or apricots for a festive twist during the holidays.
- Nutty Variations: Substitute the peanut butter with almond or cashew butter for a different flavor profile.
- Chocolate Choice: Use dark chocolate chips for a richer taste, or milk chocolate for a sweeter version.
- Fun Toppings: Drizzle melted white chocolate on top for a decorative touch.
No matter the season, these bars can easily be adapted to suit your cravings.
Watch Outs & How to Fix
While making the Crunchy No-Bake Chocolate Peanut Butter Bars is straightforward, there are a few things to keep in mind:
- Melting Chocolate: Always melt the chocolate over low heat to prevent burning. If it does seize, you can add a splash of milk to loosen it up.
- Sticking Bars: If your bars are sticking to the pan, ensure that you’ve lined it properly with parchment paper.
- Too Crumbly: If your mixture feels too dry, add a little more peanut butter or honey to bind it together.
With these tips in mind, you’ll be well on your way to perfecting your bars!
Make Ahead Like a Pro
These bars are ideal for meal prep. Here’s how to make them ahead of time:
- Storage: Keep the bars in an airtight container in the refrigerator for up to a week.
- Freezing: You can freeze individual bars by wrapping them in plastic wrap and placing them in a freezer-safe container. They’ll last for up to 3 months.
- Thawing: When ready to enjoy, simply take them out of the freezer and let them thaw in the fridge for a few hours or at room temperature for about 30 minutes.
This makes it easy to have a sweet treat on hand whenever you want!
Common Questions
Can I use crunchy peanut butter instead of creamy?
Absolutely! Crunchy peanut butter will add extra texture to your bars, making them even crunchier.
What can I substitute for honey?
You can use maple syrup or agave nectar as a substitute for honey. Both will work well and provide sweetness.
Can I add other ingredients like nuts or seeds?
Yes! Feel free to mix in your favorite nuts, seeds, or even chocolate chunks for added flavor and nutrition.
How do I store leftovers?
Store any leftover bars in an airtight container in the refrigerator for up to one week or freeze them for longer storage.
More Recipes You’ll Love
If you enjoyed making these Crunchy No-Bake Chocolate Peanut Butter Bars, you’ll love these other delicious treats:
That’s a Wrap
In conclusion, these Crunchy No-Bake Chocolate Peanut Butter Bars are not only a breeze to make but are also a delightful addition to your dessert repertoire. With their simple ingredients and quick preparation, you’ll find yourself making them time and time again. Whether you’re looking for a quick snack, a dessert for a gathering, or just a sweet treat to satisfy your cravings, these bars will hit the spot. So gather your ingredients, follow the steps, and indulge in the deliciousness that is these bars! Happy snacking!
Crunchy No-Bake Chocolate Peanut Butter Bars
Ingredients
Equipment
Method
- Start by lining a 9x9 inch baking dish with parchment paper. This will help you easily lift the bars out once they’ve set.
- In a medium saucepan over low heat, combine the unsalted butter and semi-sweet chocolate chips. Stir continuously until melted and smooth, making sure not to burn the chocolate.
- Once the chocolate and butter mixture is melted, remove it from heat. Stir in the creamy peanut butter and honey until fully combined and smooth.
- Gently fold in the cornflakes, making sure each flake is coated with the chocolate-peanut butter mixture. Be careful not to crush the cornflakes too much; you want them to retain their crunch.
- Pour the mixture into the prepared baking dish. Use a spatula to spread it evenly and press it down firmly to ensure the bars hold together.
- Place the baking dish in the refrigerator for at least 2 hours, or until the bars are firm enough to cut.
- Once set, remove the bars from the baking dish using the parchment paper. Cut into squares or rectangles, and enjoy your Crunchy No-Bake Chocolate Peanut Butter Bars!
Notes
- Store bars in an airtight container in the refrigerator for up to a week.
- Freeze individual bars wrapped in plastic wrap for up to 3 months.
- For a festive twist, add dried fruits like cranberries or apricots.