Chicken Romano
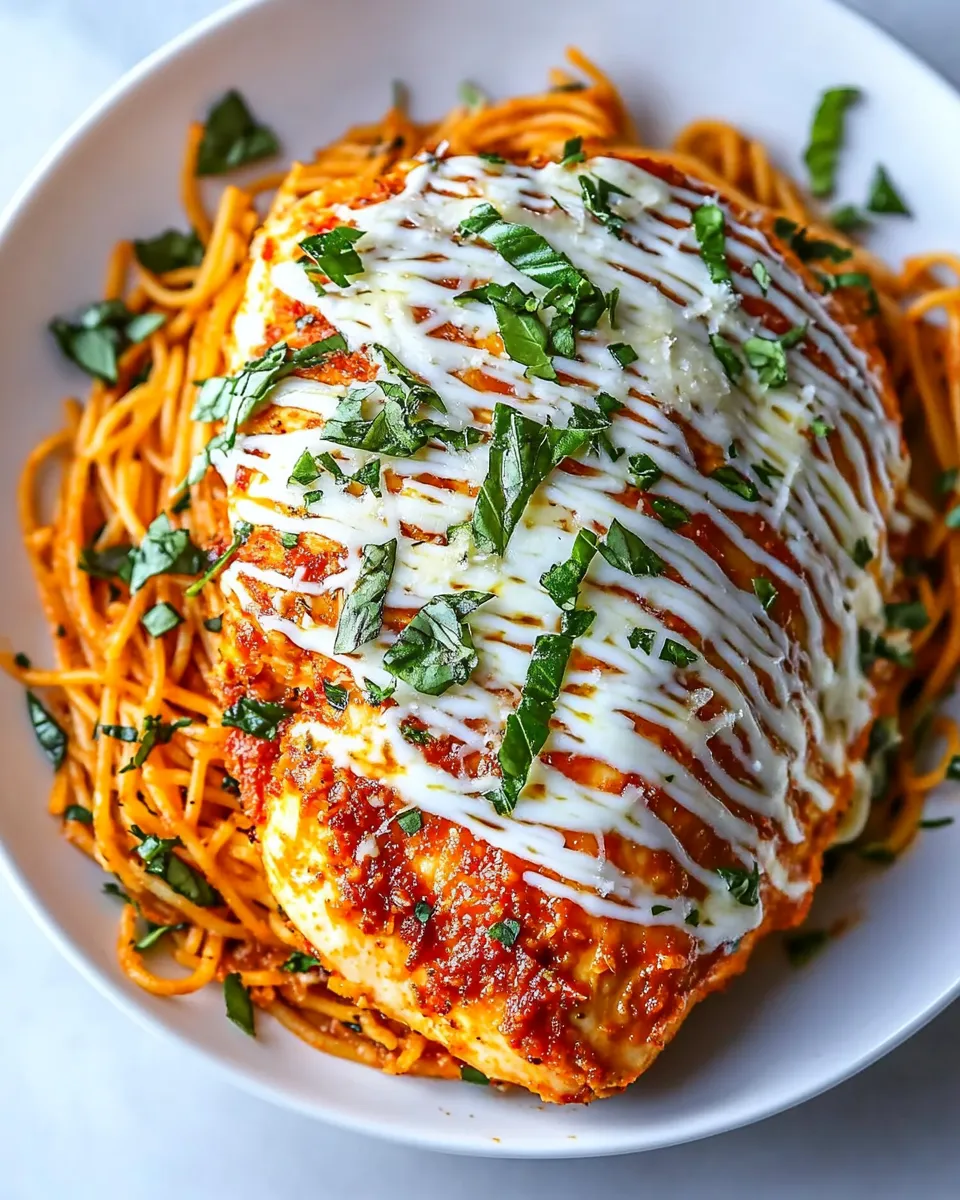
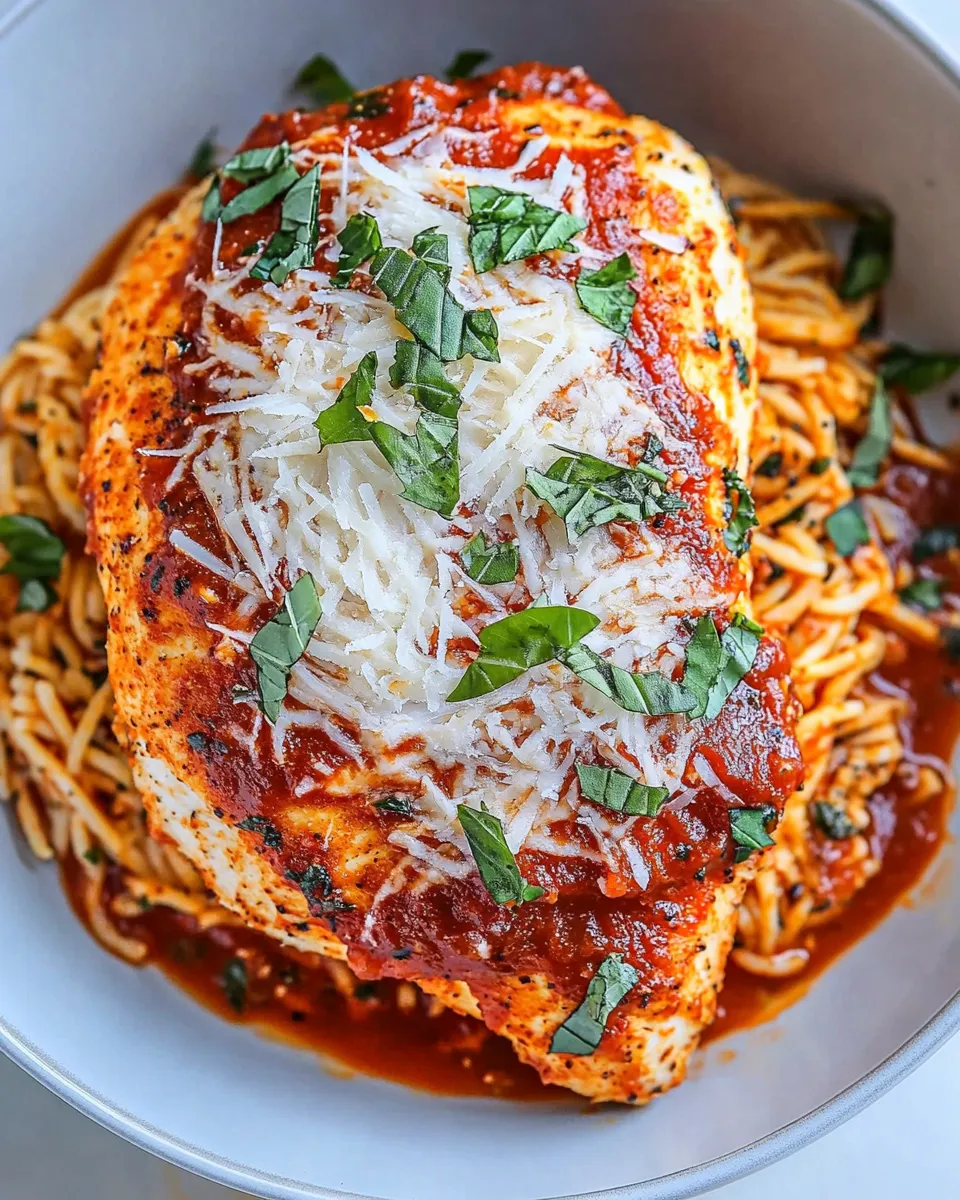
If you’re looking for a dish that brings together the comforting flavors of home-cooked Italian cuisine with an irresistible crunch, look no further than Chicken Romano. This delightful dish features tender chicken cutlets coated in a savory Romano cheese and panko breadcrumb mixture, perfectly fried to golden perfection. When paired with a rich homemade marinara sauce and al dente spaghetti, it transforms any mealtime into a special occasion. Let’s dive into the details of making this crowd-pleasing meal!
Why It’s Crowd-Pleasing
Chicken Romano is a favorite among family and friends for several reasons. First, its crispy exterior and moist interior make for a delightful texture that appeals to a wide range of palates. Second, it’s incredibly versatile; you can serve it with pasta, on a sandwich, or over a fresh salad. Lastly, the combination of savory Romano cheese and the crunch from panko breadcrumbs creates a flavor and texture profile that is hard to resist. Whether it’s a weeknight dinner or a special gathering, Chicken Romano is bound to impress!
What’s in the Bowl
To create this mouthwatering Chicken Romano, you’ll need the following ingredients:
- 4 boneless, skinless chicken cutlets – the star of the dish, providing protein and flavor.
- 2 eggs – used for binding the breadcrumbs to the chicken.
- 1 cup grated Romano cheese – adds a sharp, salty flavor that complements the chicken.
- 1 cup panko breadcrumbs – for that extra crunch.
- 1 cup all-purpose flour – a classic base for breading.
- 2 teaspoons salt – enhances the overall flavor.
- 1 teaspoon pepper – adds a touch of spice.
- 1 cup vegetable oil for frying – ensures a crispy exterior.
- 16 ounces homemade marinara – for a rich, tangy sauce.
- 12 ounces cooked spaghetti – the perfect bed for the chicken and sauce.
- Additional grated Romano cheese for garnish – because you can never have enough cheese!
Tools & Equipment Needed
Before you start cooking, gather the following tools and equipment:
- Large skillet – for frying the chicken evenly.
- Baking sheet – to hold the breaded chicken before frying.
- Three shallow dishes – for breading setup (flour, eggs, breadcrumbs).
- Meat mallet or rolling pin – to flatten chicken cutlets for even cooking.
- Cooking thermometer – to ensure the oil is at the right temperature.
- Serving plates – to present your delicious Chicken Romano.
Chicken Romano, Made Easy
Making Chicken Romano is a straightforward process that yields delicious results. Follow these steps for a perfect dish every time!
Step 1: Prepare the Chicken
Start by placing the chicken cutlets between two pieces of plastic wrap. Use a meat mallet or rolling pin to gently pound them to an even thickness of about ½ inch. This ensures even cooking and tenderness.
Step 2: Set Up the Breading Station
In three shallow dishes, set up your breading station. In the first dish, place the flour mixed with 1 teaspoon of salt and ½ teaspoon of pepper. In the second dish, beat the eggs until well combined. In the third dish, mix the panko breadcrumbs with the grated Romano cheese and the remaining salt and pepper.
Step 3: Bread the Chicken
Coat each chicken cutlet in the flour mixture, shaking off any excess. Next, dip it in the beaten eggs, allowing the excess to drip off. Finally, press the cutlet into the breadcrumb mixture, ensuring it’s well coated. Repeat this process for all cutlets.
Step 4: Heat the Oil
In a large skillet, heat the vegetable oil over medium-high heat. You want the oil to reach about 350°F for optimal frying. Test the oil by dropping in a small piece of breadcrumbs; if it sizzles, it’s ready.
Step 5: Fry the Chicken
Carefully add the breaded chicken cutlets to the hot oil, making sure not to overcrowd the pan. Fry for about 4-5 minutes on each side or until golden brown. Once cooked, transfer the chicken to a paper towel-lined plate to drain excess oil.
Step 6: Serve with Marinara and Spaghetti
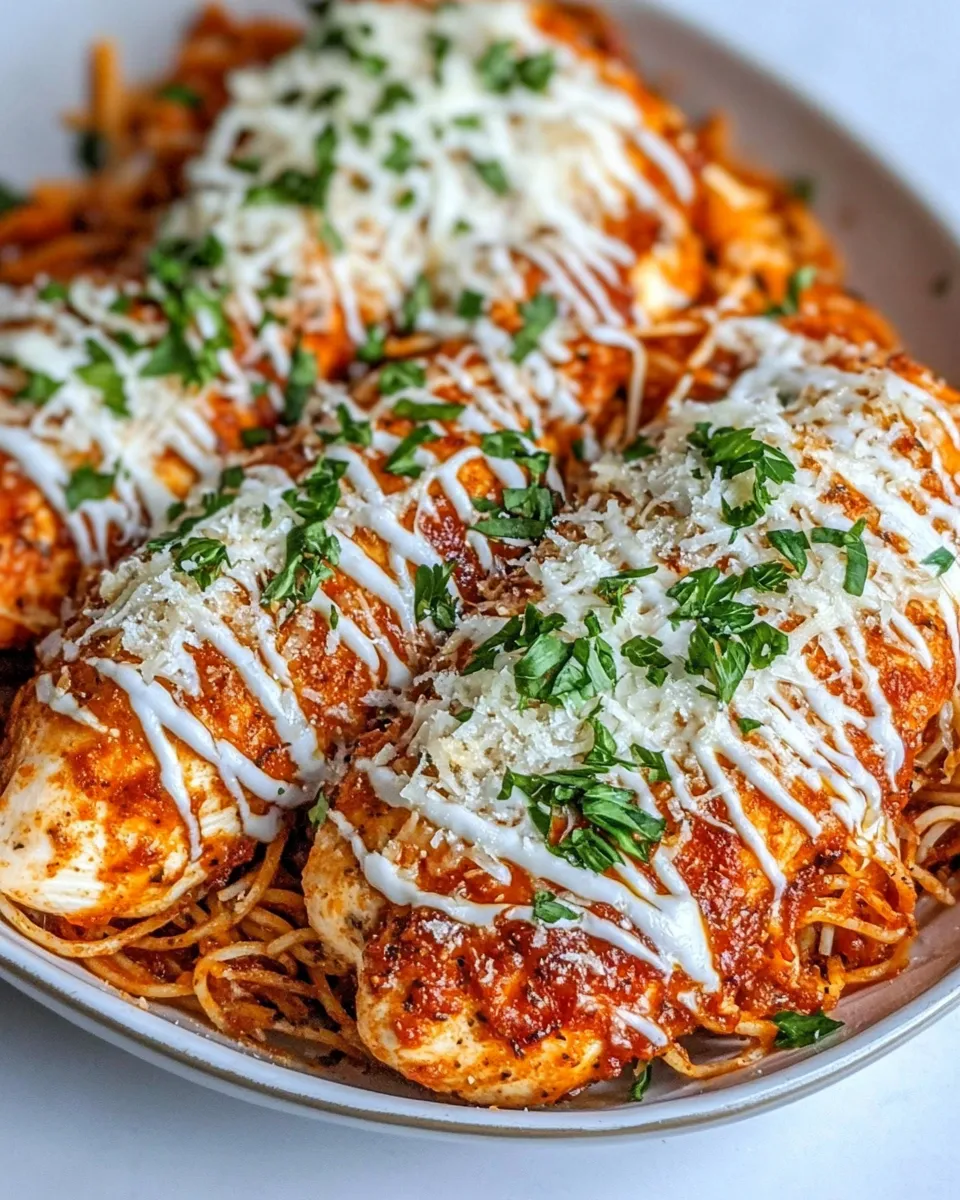
While the chicken is frying, warm the homemade marinara sauce in a separate pot. Cook the spaghetti according to package instructions until al dente. To serve, place a generous portion of spaghetti on a plate, top with marinara sauce, and lay the crispy Chicken Romano on top. Finish with a sprinkle of additional grated Romano cheese for garnish.
Seasonal Twists
Chicken Romano can easily be adapted to reflect the flavors of the season. Here are some ideas to switch things up:
- Spring: Add a fresh herb salad on the side with arugula, lemon, and olive oil.
- Summer: Serve with a side of grilled zucchini and cherry tomatoes for a light, seasonal dish.
- Fall: Incorporate some sautéed mushrooms and spinach in your marinara for an earthy twist.
- Winter: Pair with roasted root vegetables for a hearty, comforting meal.
Troubles You Can Avoid
To ensure your Chicken Romano turns out perfectly, keep these tips in mind:
- Make sure the oil is hot enough before frying; otherwise, the chicken will absorb too much oil and become greasy.
- Do not overcrowd the skillet; fry in batches if necessary to maintain the oil temperature.
- Allow the chicken to rest on a paper towel to drain excess oil and keep the breading crispy.
- Use freshly grated Romano cheese for the best flavor and texture.
Store, Freeze & Reheat
If you have leftovers (which is rare, but it happens!), here’s how to store and reheat them:
Store leftover Chicken Romano in an airtight container in the refrigerator for up to 3 days. For longer storage, you can freeze the cooked chicken. Wrap each piece tightly in plastic wrap and then place in a freezer bag. It will keep well for up to 3 months.
To reheat, thaw in the refrigerator overnight if frozen. Preheat your oven to 375°F and place the chicken on a baking sheet. Bake for about 10-15 minutes until heated through and crispy again.
Common Questions
Can I use chicken breasts instead of cutlets?
Yes, you can use chicken breasts. Just slice them into thin cutlets and pound them as mentioned in the recipe for even cooking.
What can I substitute for Romano cheese?
If you can’t find Romano cheese, Parmesan cheese is a great alternative that will still provide a delicious flavor.
Can I make Chicken Romano ahead of time?
Yes, you can bread the chicken ahead of time and store it in the refrigerator until you’re ready to fry. This can save time on a busy weeknight!
How can I make this dish gluten-free?
To make Chicken Romano gluten-free, substitute the all-purpose flour and panko breadcrumbs with gluten-free flour and gluten-free breadcrumbs.
Try These Next
If you enjoyed Chicken Romano, you may want to try these delicious recipes:
Wrap-Up
Chicken Romano is a wonderful dish that combines simplicity with elegance. Its crispy, cheesy exterior and tender chicken create a meal that is both satisfying and delicious. Whether served for a family dinner or a special occasion, this recipe is sure to delight everyone at the table. With easy-to-follow steps and the flexibility to customize, you’ll find yourself coming back to Chicken Romano time and time again. Enjoy every bite!
Chicken Romano
Ingredients
Equipment
Method
- Start by placing the chicken cutlets between two pieces of plastic wrap. Use a meat mallet or rolling pin to gently pound them to an even thickness of about ½ inch.
- In three shallow dishes, set up your breading station. In the first dish, place the flour mixed with 1 teaspoon of salt and ½ teaspoon of pepper. In the second dish, beat the eggs until well combined. In the third dish, mix the panko breadcrumbs with the grated Romano cheese and the remaining salt and pepper.
- Coat each chicken cutlet in the flour mixture, shaking off any excess. Next, dip it in the beaten eggs, allowing the excess to drip off. Finally, press the cutlet into the breadcrumb mixture, ensuring it's well coated. Repeat this process for all cutlets.
- In a large skillet, heat the vegetable oil over medium-high heat until it reaches about 350°F.
- Carefully add the breaded chicken cutlets to the hot oil, frying for about 4-5 minutes on each side or until golden brown. Once cooked, transfer the chicken to a paper towel-lined plate to drain excess oil.
- While the chicken is frying, warm the homemade marinara sauce in a separate pot. Cook the spaghetti according to package instructions until al dente. To serve, place a generous portion of spaghetti on a plate, top with marinara sauce, and lay the crispy Chicken Romano on top. Finish with a sprinkle of additional grated Romano cheese for garnish.
Notes
- Ensure the oil is hot enough before frying to avoid greasy chicken.
- Do not overcrowd the skillet; fry in batches if necessary.
- Allow the chicken to rest on paper towels to keep the breading crispy.
- Use freshly grated Romano cheese for the best flavor.