Butterfinger Brownie Cookies
When you think of the perfect cookie, what comes to mind? A chewy texture, rich chocolate flavor, and a delightful crunch that surprises you with every bite? These Butterfinger Brownie Cookies deliver on all those fronts and then some. Imagine biting into a soft, fudgy brownie, only to be greeted by the unexpected crunch of Butterfinger candy bars. It’s a cookie that brings together the best of both worlds, perfect for those who can’t decide between brownies or cookies. Whether you’re baking for a special occasion, a cozy night in, or just to satisfy a sweet tooth, these cookies are guaranteed to impress.
Why It Works Every Time

The secret to these Butterfinger Brownie Cookies lies in the balance of ingredients. The combination of bittersweet chocolate and granulated sugar creates a rich, fudgy base that’s not overly sweet. The addition of Butterfinger bars introduces a delightful crunch and a hint of peanut butter flavor that complements the chocolate beautifully. The salt enhances the flavors, while the eggs help bind everything together, creating a chewy texture that’s just irresistible. Each bite offers a harmonious blend of gooey, crunchy, and sweet, making these cookies a standout treat.
Shopping List
- 4 tablespoons (½ stick) unsalted butter, cut into pieces
- 8 ounces bittersweet chocolate chips
- 1 cup granulated white sugar
- ½ teaspoon salt
- 1 teaspoon vanilla extract
- 2 large eggs
- ¾ cup all-purpose flour
- ½ teaspoon baking soda
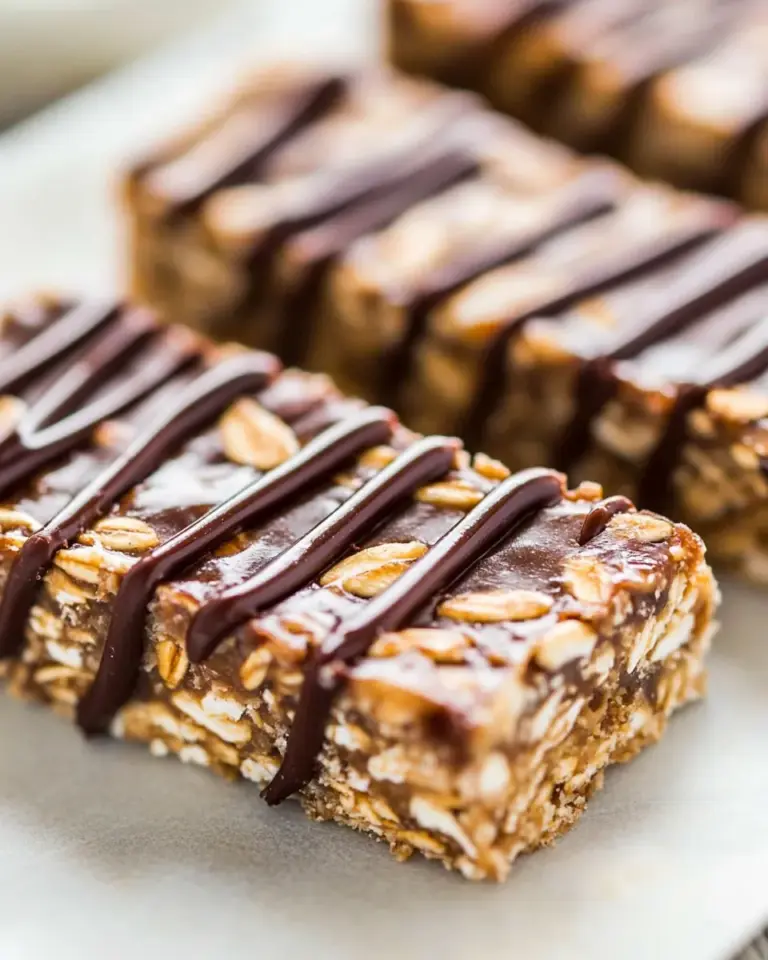
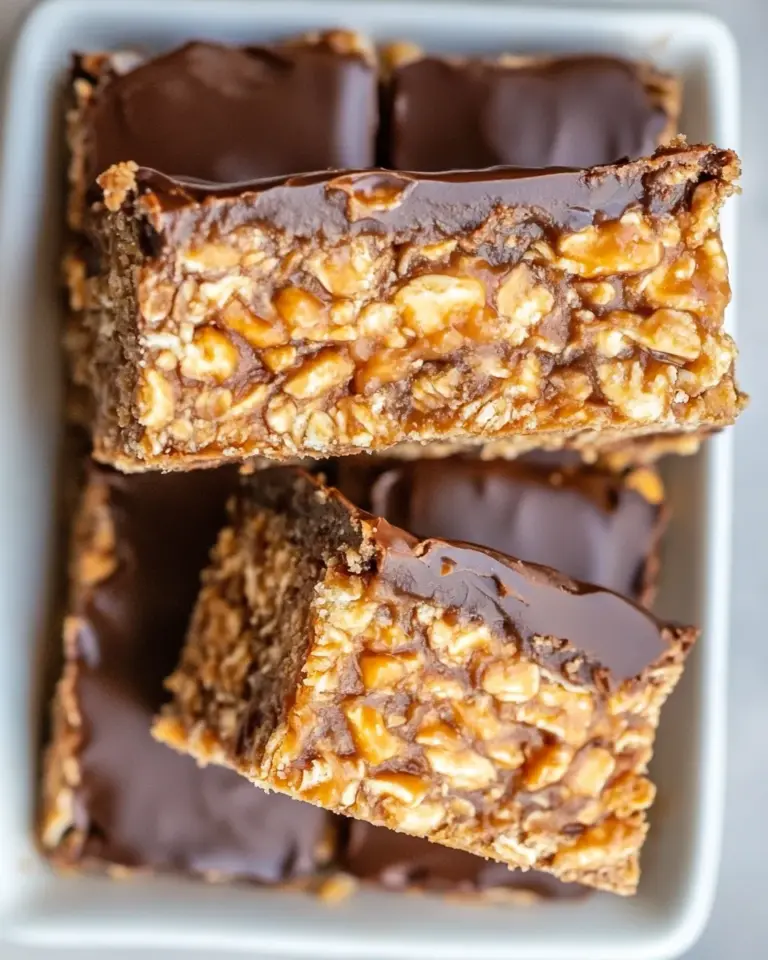
- 2 cups (7.8 ounces) chopped Butterfinger candy bars
Kitchen Gear Checklist
- Mixing bowls – for combining ingredients
- Whisk – to blend your wet ingredients
- Rubber spatula – for folding in the flour and Butterfingers
- Baking sheet – where your cookies will bake to perfection
- Parchment paper – to prevent sticking
- Measuring cups and spoons – for accurate ingredient measurements
Directions: Butterfinger Brownie Cookies

Step 1: Melt the Chocolate and Butter
Begin by preheating your oven to 350°F (175°C). In a medium saucepan over low heat, combine the butter and bittersweet chocolate chips. Stir occasionally until melted and smooth. Remove from heat and let it cool slightly.
Step 2: Mix the Wet Ingredients
In a large mixing bowl, add the granulated sugar, salt, and vanilla extract to the melted chocolate mixture. Whisk together until well combined. Then, add in the eggs, one at a time, mixing well after each addition.
Step 3: Combine Dry Ingredients
In another bowl, whisk together the all-purpose flour and baking soda. Gradually add this dry mixture into the wet ingredients, stirring until just combined.
Step 4: Fold in Butterfingers
Gently fold in the chopped Butterfinger candy bars, ensuring they are evenly distributed throughout the cookie dough.
Step 5: Scoop and Bake
Line your baking sheet with parchment paper. Using a cookie scoop or tablespoon, drop rounded balls of dough onto the prepared baking sheet, spacing them about 2 inches apart. Bake in the preheated oven for 10-12 minutes or until the edges are set but the centers are still soft.
Step 6: Cool and Enjoy
Remove the cookies from the oven and let them cool on the baking sheet for about 5 minutes before transferring them to a wire rack to cool completely. Enjoy these decadent treats warm or at room temperature!
How to Make It Lighter
- Substitute half of the butter with unsweetened applesauce for a lower-fat option.
- Use dark chocolate chips instead of bittersweet for a slightly healthier alternative.
- Reduce the sugar by ¼ cup if you prefer less sweetness; the cookies will still be delicious.
- Consider using whole wheat flour instead of all-purpose flour for added nutrients.
Chef’s Notes
- Make sure to chop the Butterfinger bars into small pieces so they mix well into the dough.
- For an extra touch, sprinkle some sea salt on top of the cookies right before baking.
- These cookies can be made ahead of time and freeze beautifully. Just thaw them at room temperature before serving.
- Feel free to experiment with different types of chocolate, such as milk chocolate or semi-sweet, based on your taste preferences.
How to Store & Reheat
Store your Butterfinger Brownie Cookies in an airtight container at room temperature for up to a week. For longer storage, you can keep them in the fridge for up to two weeks. If you want to enjoy them warm, simply pop them in the microwave for about 10-15 seconds for that freshly baked taste.
Frequently Asked Questions
Can I use milk chocolate instead of bittersweet chocolate?
Yes, you can use milk chocolate, but keep in mind that it will make the cookies sweeter. Adjust the sugar accordingly if desired.
Can I replace the Butterfinger with another candy?
Absolutely! Feel free to substitute with other candies like Reese’s Pieces, M&M’s, or even chopped nuts for a different flavor profile.
Why are my cookies flat?
Flat cookies can occur if the butter was too warm or if you didn’t measure the flour accurately. Make sure to spoon and level your flour for the best results.
How do I know when the cookies are done baking?
The edges should be set, and the centers will look slightly underbaked but will continue to cook as they cool. Don’t overbake for the best chewy texture!
Try These Next
- Caramel Brownies
- Chocolate Chip Cookie Dough Brownies
- Vegan Chocolate Chip Cookies
- Snickerdoodle Brownies
Save & Share
If you love these Butterfinger Brownie Cookies, don’t forget to share your creations on social media! Tag your friends and family so they can experience this deliciousness too. Happy baking, and enjoy every bite!

Butterfinger Brownie Cookies
Ingredients
Equipment
Method
- Preheat your oven to 350°F (175°C). In a medium saucepan over low heat, combine the butter and bittersweet chocolate chips. Stir occasionally until melted and smooth. Remove from heat and let it cool slightly.
- In a large mixing bowl, add the granulated sugar, salt, and vanilla extract to the melted chocolate mixture. Whisk together until well combined. Then, add in the eggs, one at a time, mixing well after each addition.
- In another bowl, whisk together the all-purpose flour and baking soda. Gradually add this dry mixture into the wet ingredients, stirring until just combined.
- Gently fold in the chopped Butterfinger candy bars, ensuring they are evenly distributed throughout the cookie dough.
- Line your baking sheet with parchment paper. Using a cookie scoop or tablespoon, drop rounded balls of dough onto the prepared baking sheet, spacing them about 2 inches apart. Bake in the preheated oven for 10-12 minutes or until the edges are set but the centers are still soft.
- Remove the cookies from the oven and let them cool on the baking sheet for about 5 minutes before transferring them to a wire rack to cool completely. Enjoy these decadent treats warm or at room temperature!
Notes
- Chop the Butterfinger bars into small pieces for better mixing.
- Sprinkle sea salt on top before baking for added flavor.
- These cookies freeze well; just thaw before serving.