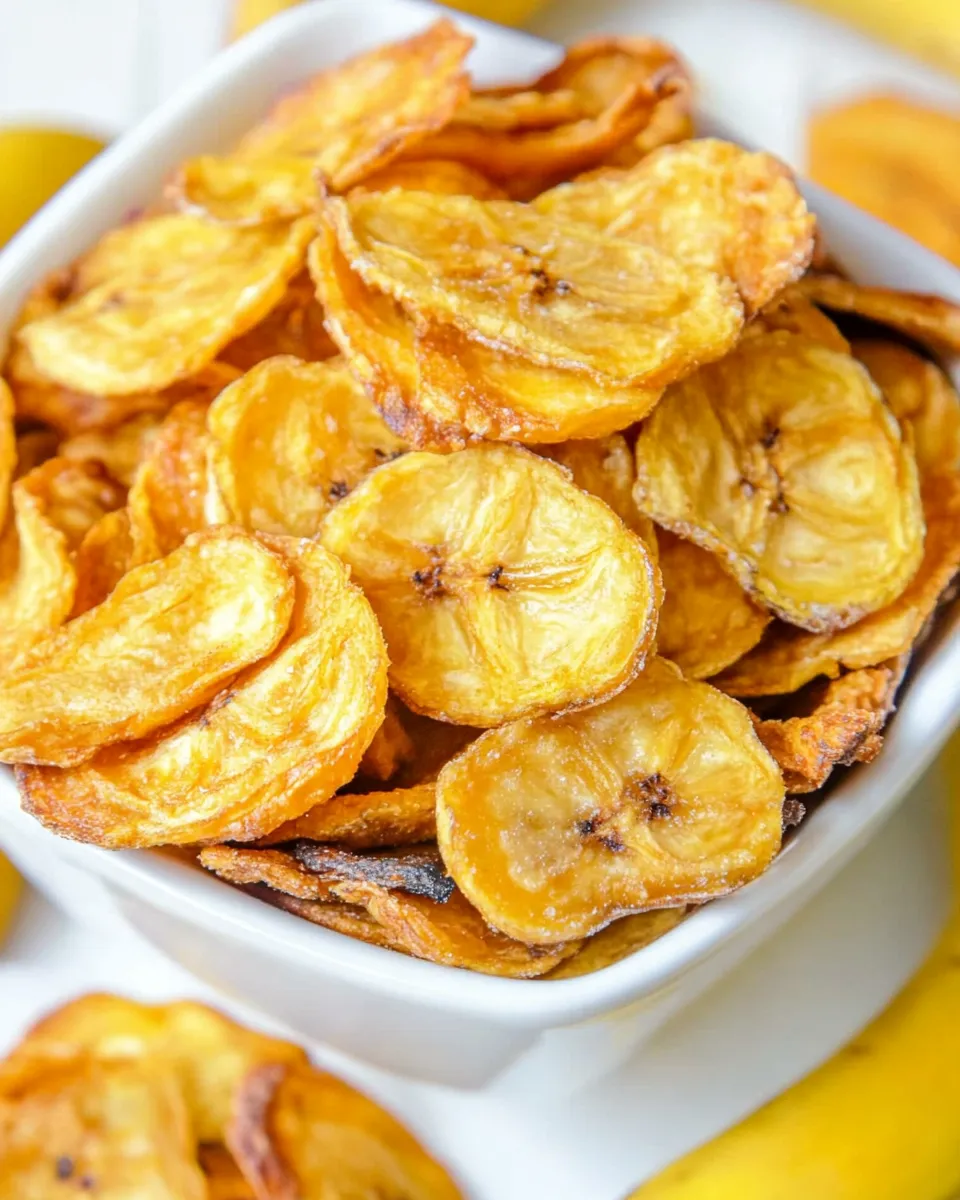
Banana Chips
If you’ve ever craved a crunchy snack that satisfies both your sweet tooth and your desire for something nutritious, then look no further than homemade banana chips. These delightful snacks are not only simple to make but also incredibly versatile. Whether you enjoy them straight out of the jar, sprinkled over your morning oatmeal, or as a topping for yogurt, banana chips offer a burst of flavor in every bite. With just a few ingredients and a bit of time, you can transform firm bananas into a delicious treat that’s perfect for any occasion.
Why It’s My Go-To
Banana chips have become a staple in my home for several reasons. First and foremost, they are an excellent way to use up overripe bananas that would otherwise go to waste. By making banana chips, I am not only reducing food waste but also creating a healthy snack option that my whole family loves. They are perfect for on-the-go munching, packed in lunchboxes, or even as a topping for desserts. Plus, there’s something incredibly satisfying about making snacks from scratch, and banana chips are no exception.
The Ingredient Lineup
To create the perfect batch of banana chips, you’ll need the following ingredients:
- 4 firm bananas: Choose bananas that are ripe but not overly soft for the best texture.
- 2 lemons, juiced: Fresh lemon juice helps prevent the bananas from browning and adds a zesty flavor.
That’s it! Simple, wholesome ingredients that come together beautifully.
Prep & Cook Tools
Gathering your tools before you start will make the process smoother and more enjoyable. Here’s what you’ll need:
- Sharp knife: For slicing the bananas evenly.
- Cutting board: A sturdy surface is essential for safe slicing.
- Baking sheets: Use these to lay out your banana slices for drying.
- Parchment paper: This prevents sticking and makes cleanup a breeze.
- Oven or food dehydrator: Both work well for drying the banana slices.
Step-by-Step: Banana Chips
Making banana chips is a straightforward process. Follow these easy steps to create your own crunchy snack.
Step 1: Preheat the Oven
Start by preheating your oven to 175°F (80°C). If you’re using a food dehydrator, set it according to the manufacturer’s instructions.
Step 2: Prepare the Bananas
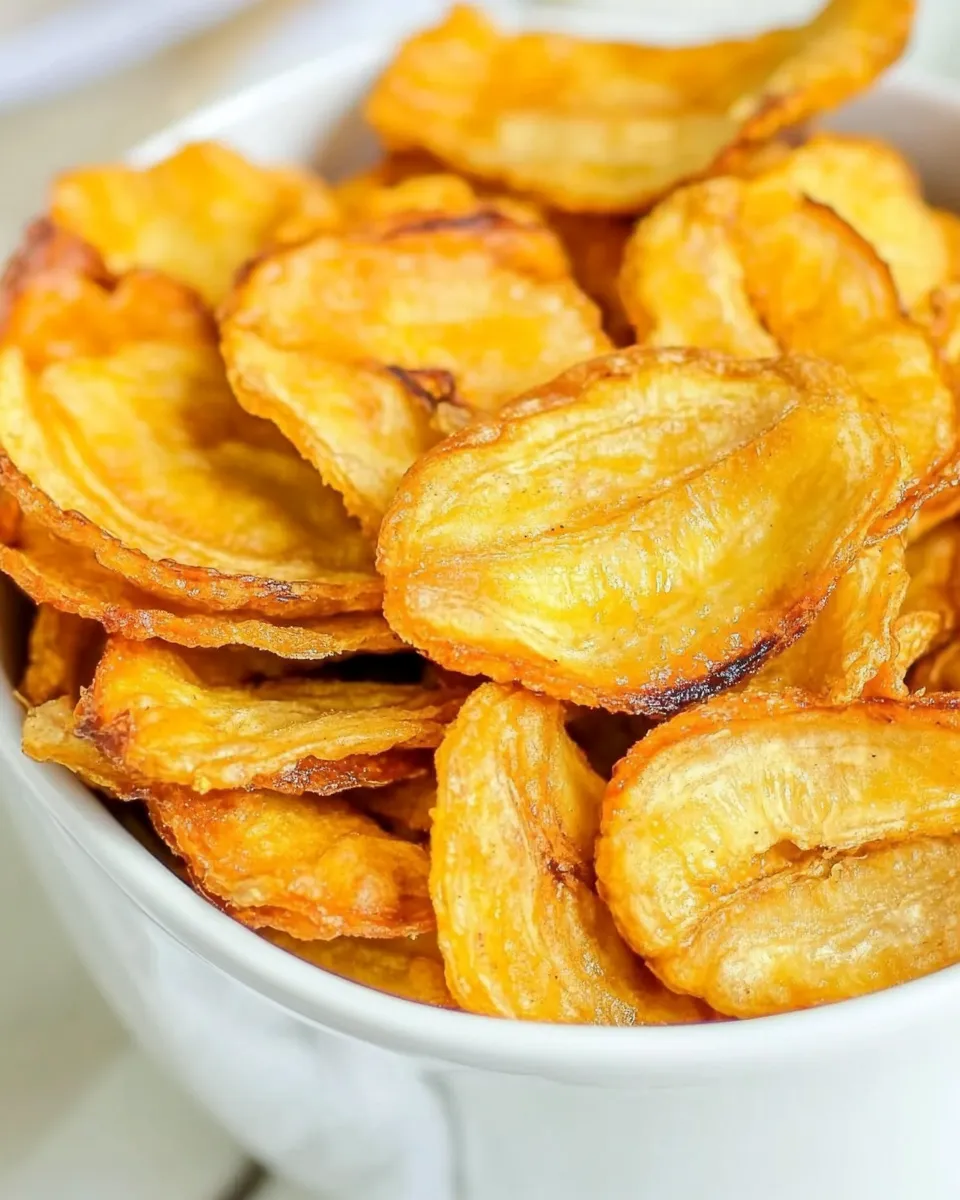
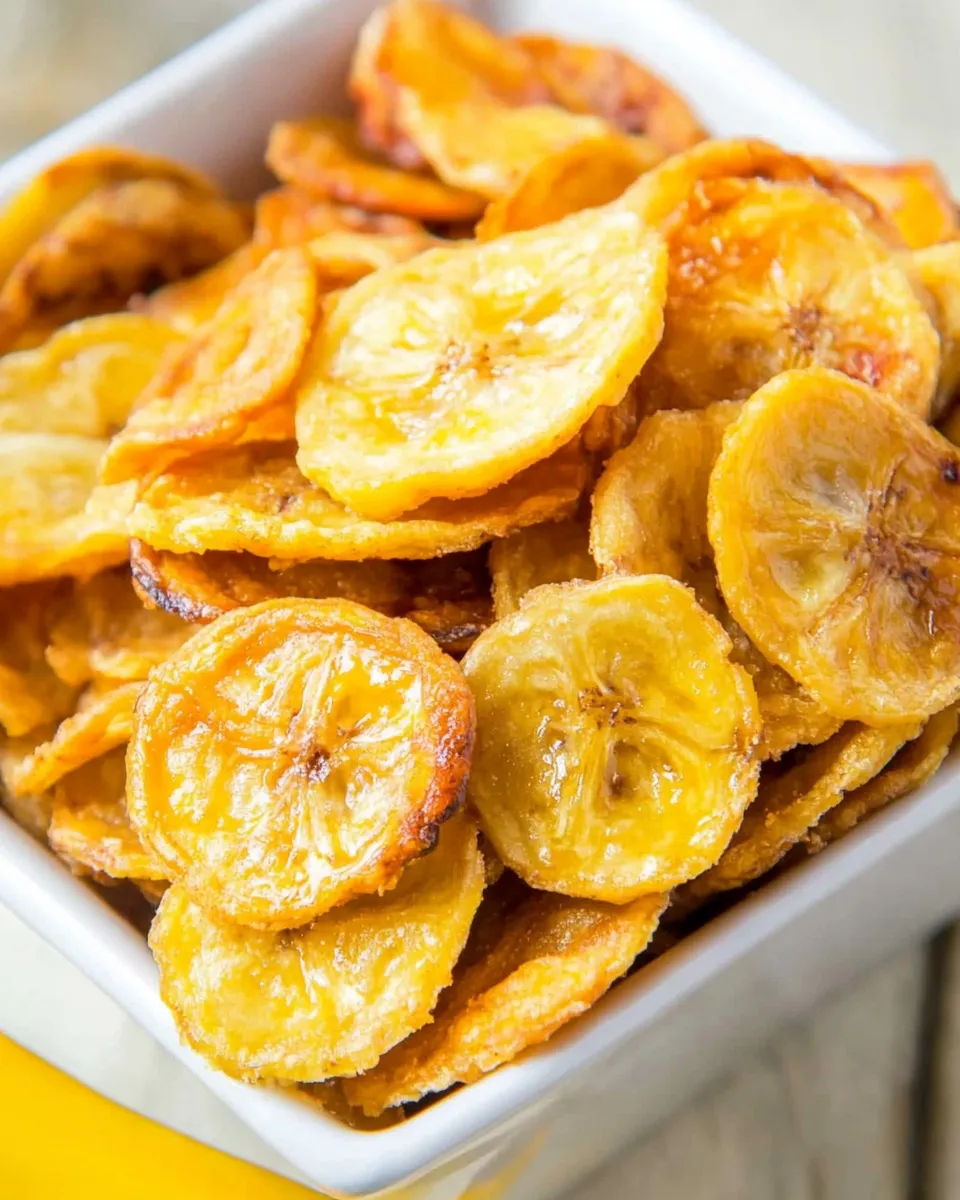
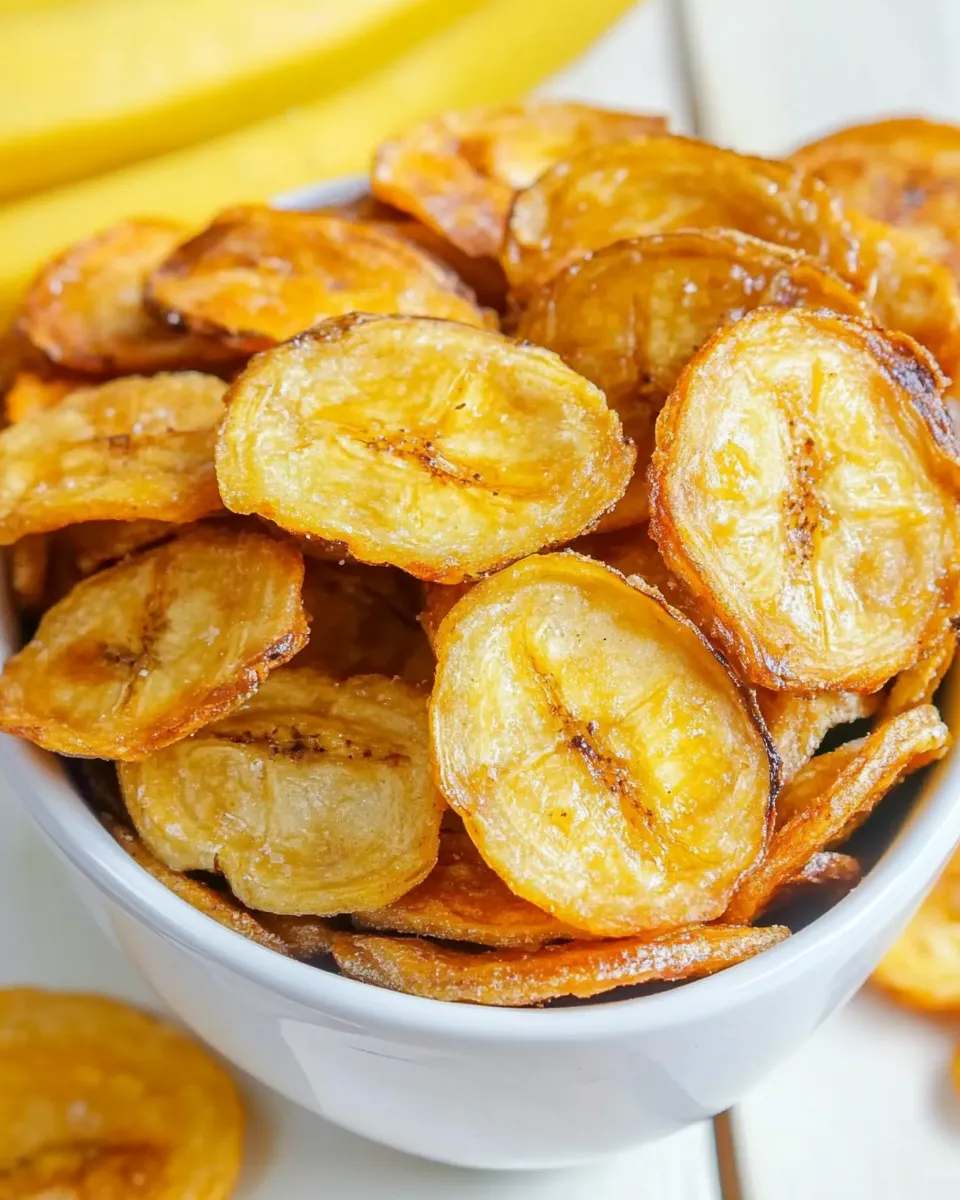
Peel the bananas and place them on the cutting board. Using the sharp knife, slice the bananas into thin, even rounds, approximately 1/8 inch thick. The thinner the slices, the crunchier your banana chips will be.
Step 3: Lemon Juice Bath
In a small bowl, squeeze the juice from the 2 lemons. Dip each banana slice into the lemon juice, ensuring they are well-coated. This step is crucial as it helps prevent browning and enhances the flavor of the chips.
Step 4: Arrange the Slices
Line your baking sheets with parchment paper and arrange the banana slices in a single layer. Make sure the slices are not touching to allow for even drying.
Step 5: Bake or Dehydrate
Place the baking sheets in the preheated oven or set the banana slices in the dehydrator. If using the oven, bake for 2-3 hours, flipping the slices halfway through. The chips are done when they are golden brown and crispy. If using a dehydrator, follow the recommended drying time for fruits.
Step 6: Cool and Store
Once the banana chips are finished, remove them from the oven or dehydrator and let them cool completely. Store them in an airtight container to keep them crispy.
Better-for-You Options
If you want to elevate your banana chips even further, consider these options:
- Use coconut oil: Lightly brush the banana slices with melted coconut oil before baking for a tropical twist.
- Add spices: A sprinkle of cinnamon or nutmeg can add a warm flavor profile.
- Sweeten naturally: If you like sweeter chips, sprinkle a little coconut sugar or maple syrup before baking.
- Mix in nuts: Create a trail mix by adding your favorite nuts or seeds alongside the banana chips.
Things That Go Wrong
Even the best intentions can sometimes lead to mishaps in the kitchen. Here are a few things to watch out for when making banana chips:
- Bananas too ripe: Overripe bananas can become mushy after baking, resulting in chewy rather than crispy chips.
- Uneven slicing: If your banana slices are uneven, some will dry out faster than others, leading to inconsistent texture.
- Not enough lemon juice: Skipping or skimping on the lemon juice can result in browning, which may affect the flavor and appearance.
- Overbaking: Keep an eye on your chips as they bake. Overbaked chips can become too hard and lose their appeal.
Storage & Reheat Guide
Once your banana chips are cool and stored, here’s how to keep them fresh:
Store the chips in an airtight container at room temperature for up to two weeks. If they lose their crunch, you can pop them back in a low-temperature oven for a few minutes to revive their crispiness. For longer storage, consider placing them in the refrigerator where they can last up to a month. Just be aware that refrigeration may affect their texture slightly.
Quick Questions
Can I use frozen bananas to make chips?
While you can technically use frozen bananas, they tend to become mushy when thawed, making it difficult to achieve that desired crunch. It’s best to stick with fresh bananas for the best results.
How can I make banana chips without an oven?
A food dehydrator is an excellent alternative to an oven for making banana chips. You can also try air frying at a low temperature, but ensure the slices are well-spaced for even cooking.
Are banana chips healthy?
Homemade banana chips are a healthier alternative to many store-bought snacks, as they contain no added preservatives or artificial ingredients. They are a good source of potassium and fiber, making them a nutritious snack option.
Can I flavor my banana chips?
Absolutely! You can experiment with various seasonings, including cinnamon, nutmeg, or even a sprinkle of sea salt for a savory twist. Just remember to apply them after the lemon juice bath for the best flavor.
Weekend Projects
If you find joy in making snacks from scratch, here are some weekend projects to consider:
- Sally’s Baking Addiction – Explore delicious cookie and treat recipes.
- Pinch of Yum – Discover wholesome meal ideas and snacks.
- Minimalist Baker – Dive into simple, plant-based recipes.
- Love and Lemons – Find fresh, seasonal recipes to inspire your cooking.
The Takeaway
Homemade banana chips are not only a delightful snack but also an opportunity to utilize ingredients you may already have at home. With just four simple ingredients, you can transform bananas into a deliciously crunchy treat that everyone will love. The process is straightforward, and with a little practice, you’ll be whipping up batches of these banana chips in no time. Whether you enjoy them on their own or incorporate them into your favorite dishes, these banana chips will surely become a beloved addition to your snack repertoire. So, gather your ingredients and get ready to enjoy the wonders of homemade banana chips!
Banana Chips
Ingredients
Equipment
Method
- Preheat your oven to 175°F (80°C) or set your food dehydrator according to the manufacturer's instructions.
- Peel the bananas and slice them into thin, even rounds, approximately 1/8 inch thick.
- Dip each banana slice into the lemon juice to coat them well.
- Line baking sheets with parchment paper and arrange banana slices in a single layer.
- Bake for 2-3 hours, flipping halfway, or dehydrate according to the recommended time.
- Once done, remove from heat and let cool completely before storing in an airtight container.
Notes
- Ensure bananas are firm for the best texture.
- Consider brushing slices with coconut oil for added flavor.
- Store in an airtight container to maintain crispiness.