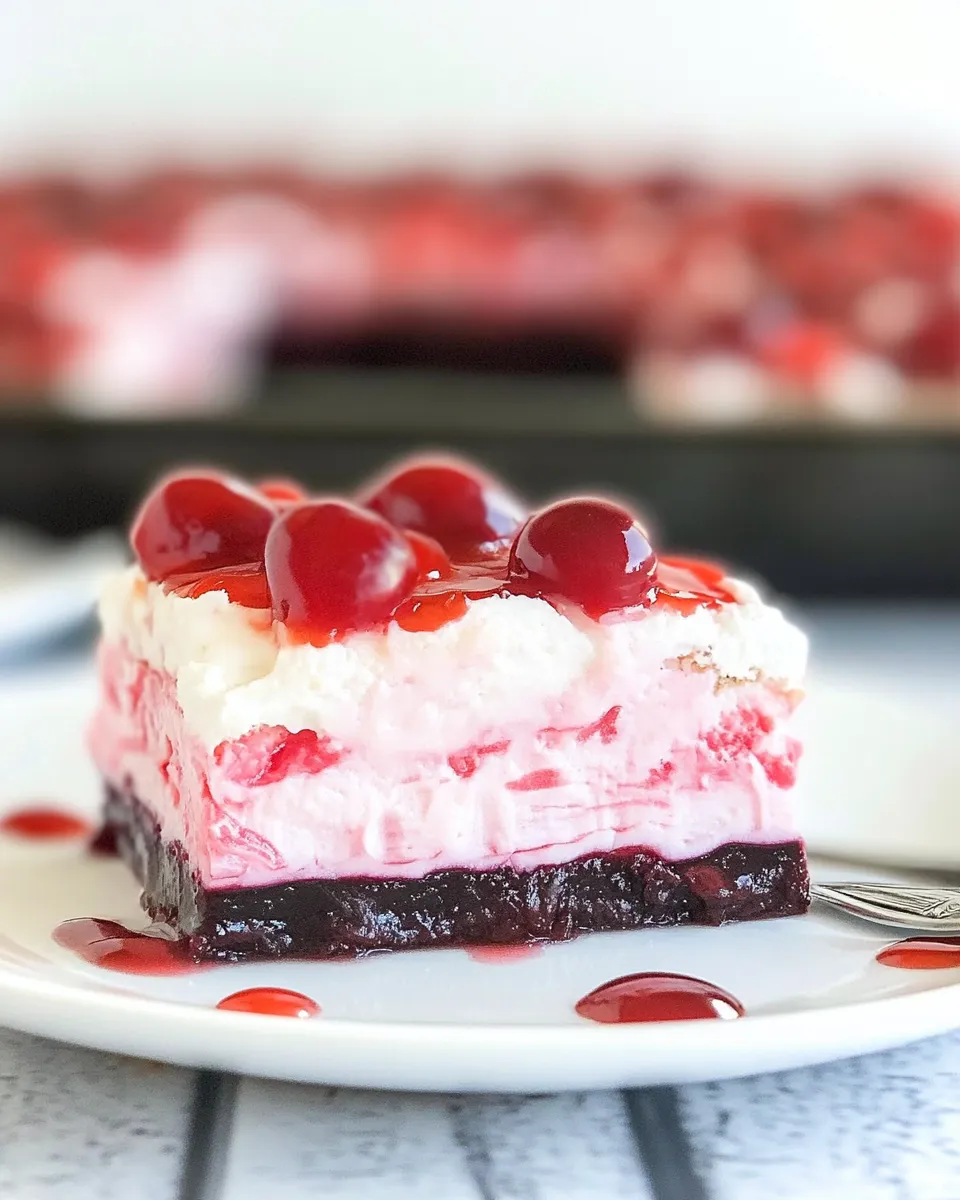
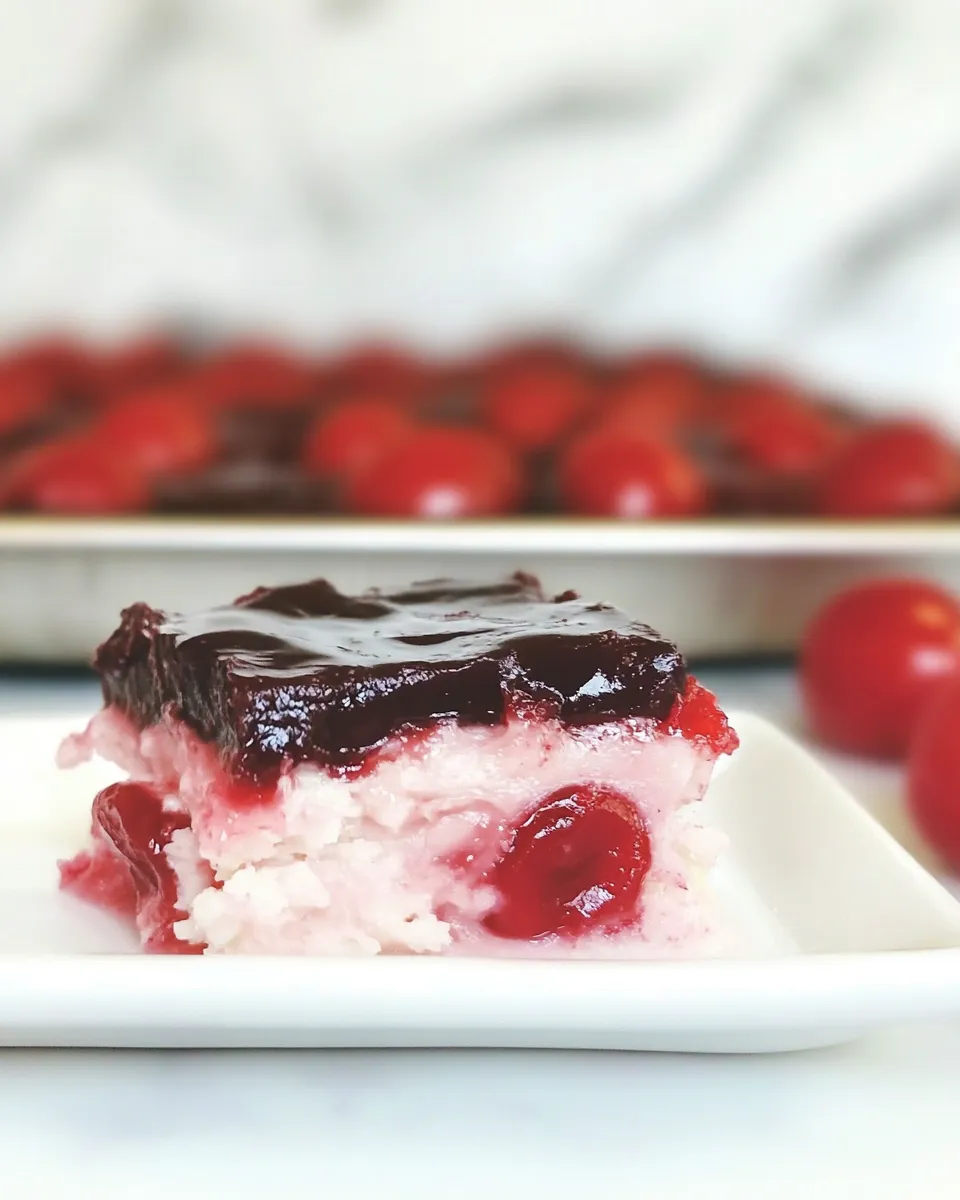
Cherry Ripe Slice
If you’re a fan of the classic Cherry Ripe chocolate bar, you’re going to fall head over heels for this homemade Cherry Ripe Slice. This decadent treat captures the essence of the beloved candy, combining the rich flavors of chocolate, cherries, and coconut into a delightful no-bake slice that’s perfect for sharing—or keeping all to yourself! With just a few simple ingredients, you can whip up this indulgent dessert that’s sure to impress friends and family alike. Let’s dive into the world of sweet, chewy, and chocolatey bliss with this fabulous Cherry Ripe Slice recipe!
What Sets This Recipe Apart
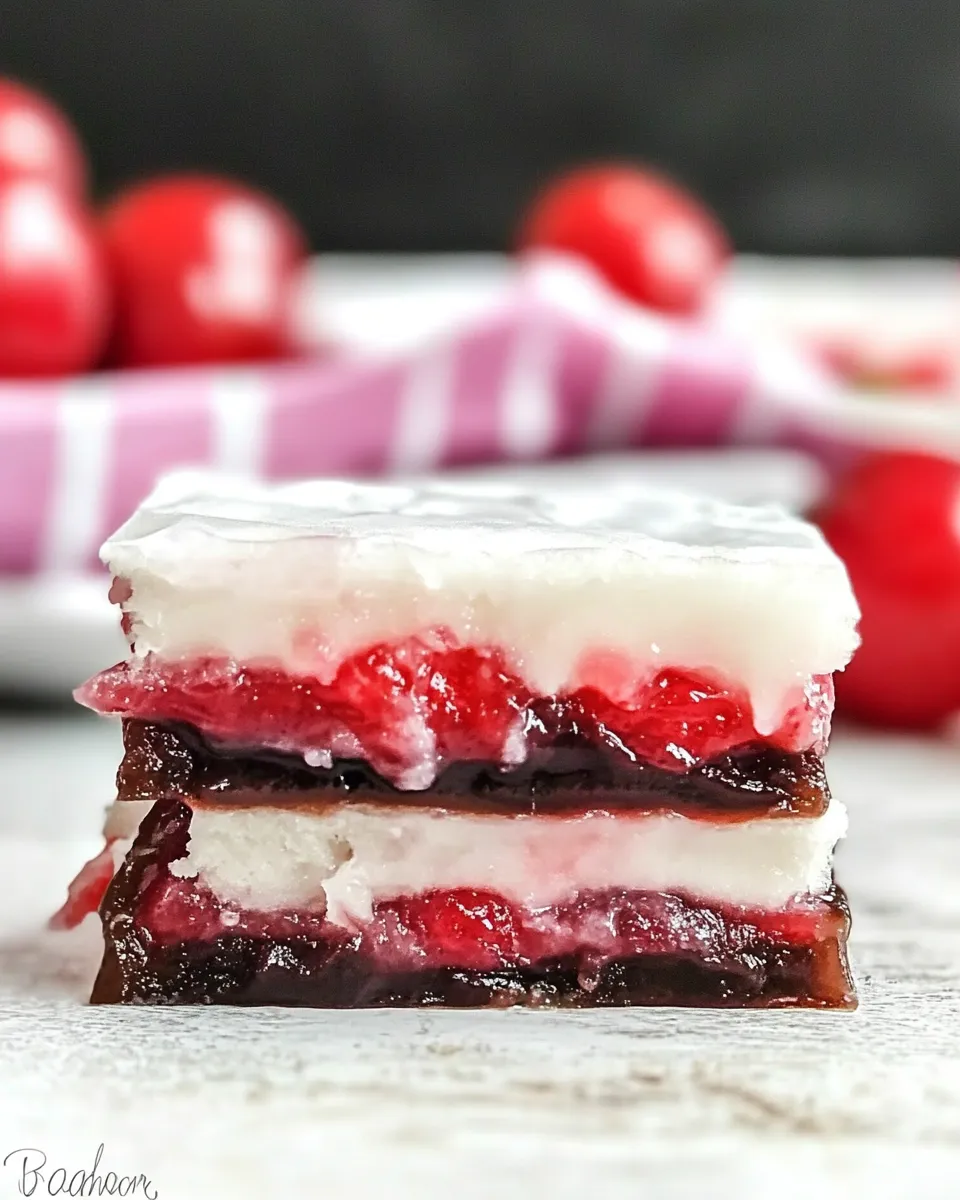
What makes this Cherry Ripe Slice truly special is its combination of textures and flavors. The crunch of Arrowroot biscuits paired with the chewy, sweet glace cherries and the moist, rich coconut filling creates a dessert that’s as satisfying to eat as it is to make. Unlike many traditional recipes that require baking, this slice is made entirely without an oven, allowing you to whip it up in no time. Plus, the dark chocolate coating adds a layer of indulgence that takes it over the top. Each bite delivers a burst of flavor, and the best part? It’s incredibly easy to prepare!
The Ingredient Lineup
- 12 to 13 Arrowroot biscuits: These provide a crunchy base and are perfect for this slice.
- Baby biscuits: Optional, but they add a delightful twist to the texture.
- 3/4 cup glace cherries: These sweet, chewy cherries are the star of the show.
- 10 oz. sweetened condensed milk: This adds creaminess and sweetness, binding the ingredients together.
- 1/2 cup + 1 tbsp coconut oil, melted: A healthy fat that helps to set the slice and adds richness.
- 2 1/4 cups desiccated coconut, finely chopped, unsweetened: Essential for that classic coconut flavor.
- 1 cup dark chocolate candy melts: This creates a delectable chocolate coating.
Gear Checklist
- Mixing bowl: For combining all of your ingredients.
- Spatula: Perfect for mixing and spreading the mixture into your pan.
- 9×9 inch baking pan: To set your slice—line it with parchment paper for easy removal.
- Double boiler or microwave: For melting the chocolate candy melts.
- Sharp knife: To cut your slice into even pieces once set.
Cherry Ripe Slice Made Stepwise
Step 1: Prepare Your Pan
Start by lining a 9×9 inch baking pan with parchment paper, allowing some overhang for easy removal later. This will ensure that your Cherry Ripe Slice comes out perfectly every time without sticking.
Step 2: Crush the Biscuits
In a mixing bowl, crush the Arrowroot biscuits and baby biscuits (if using) into fine crumbs. You can do this by placing them in a zip-top bag and rolling over them with a rolling pin or using a food processor for a finer consistency.
Step 3: Mix the Base Ingredients
To the biscuit crumbs, add the chopped glace cherries, sweetened condensed milk, melted coconut oil, and desiccated coconut. Stir everything together until it’s well combined, and you see the beautiful red cherries scattered throughout.
Step 4: Press the Mixture into the Pan
Transfer the mixture into the prepared baking pan. Using a spatula or your hands, press it down firmly and evenly. Make sure it’s compact to ensure that the slice holds together when cut.
Step 5: Chill the Base
Place the pan in the refrigerator for about 30 minutes to an hour, or until the mixture is firm and set. This step is crucial for achieving the perfect slice.
Step 6: Melt the Chocolate
While your base is chilling, melt the dark chocolate candy melts using a double boiler or microwave. If using a microwave, heat in 30-second intervals, stirring in between until smooth.
Step 7: Coat the Slice
Once the base has set, remove it from the fridge and pour the melted chocolate over the top. Use a spatula to spread it evenly, ensuring all corners are covered.
Step 8: Final Chill
Return the slice to the refrigerator for another 30 minutes to an hour, allowing the chocolate to set completely.
Step 9: Cut and Serve
Once the chocolate has hardened, lift the slice out of the pan using the parchment paper. Using a sharp knife, cut it into squares or bars. Serve immediately or store for later!
Fit It to Your Goals
- Gluten-free: Use gluten-free Arrowroot biscuits to make this slice suitable for gluten-sensitive individuals.
- Less Sweet: Reduce the amount of sweetened condensed milk to lower the overall sweetness.
- Vegan Option: Substitute the sweetened condensed milk with a plant-based alternative and use vegan chocolate melts.
- Nut-Free: This recipe is naturally nut-free, making it a safe option for schools and gatherings.
Don’t Do This
- Don’t skip the chilling step: Chilling the slice is vital for it to hold its shape. Patience is key!
- Don’t use low-quality chocolate: The chocolate coating is a significant part of the flavor. Use good quality dark chocolate for the best results.
- Don’t overmix: When combining the ingredients, mix until just combined to maintain the texture.
- Don’t forget to line your pan: This will save you a lot of hassle when it comes to removing the slice!
Make-Ahead & Storage
This Cherry Ripe Slice is perfect for making ahead of time! You can prepare it up to a week in advance and store it in the refrigerator. Just ensure it’s tightly wrapped or stored in an airtight container to maintain freshness. If you want to keep it longer, you can freeze it for up to three months. Just slice it before freezing and layer parchment paper between slices to prevent sticking.
Cherry Ripe Slice Q&A
Can I use fresh cherries instead of glace cherries?
Fresh cherries have a different texture and moisture content, which may not work as well in this recipe. Glace cherries provide the right sweetness and chewiness needed for the slice.
How can I make this slice more chocolatey?
If you want to enhance the chocolate flavor, consider adding cocoa powder to the base mixture or drizzling more melted chocolate on top before serving.
Can I substitute the coconut oil with another oil?
While coconut oil gives a unique flavor, you can substitute it with other oils like vegetable oil or melted vegan butter, but this may alter the taste slightly.
Is there a way to make this slice healthier?
You can swap the sweetened condensed milk for a homemade version using coconut cream and a natural sweetener, and reduce the amount of chocolate used for coating.
Serve with These
- Raspberry Smoothie: A refreshing complement to the richness of the slice.
- Coconut Water: Hydrating and pairs perfectly with the coconut flavor.
- Iced Coffee: The perfect pick-me-up alongside your indulgent treat.
Ready, Set, Cook
Now that you have the complete guide to making a delectable Cherry Ripe Slice, it’s time to gather your ingredients and get started! This is a treat that’s not only easy to make but also incredibly rewarding to eat. Whether you’re hosting a gathering, looking for a sweet snack, or simply treating yourself, this slice is sure to delight. So roll up your sleeves, and let’s get cooking! Enjoy every scrumptious bite of your homemade Cherry Ripe Slice!
Cherry Ripe Slice
Ingredients
Equipment
Method
- Step 1: Prepare Your Pan - Line a 9x9 inch baking pan with parchment paper for easy removal.
- Step 2: Crush the Biscuits - Crush the Arrowroot biscuits and baby biscuits (if using) into fine crumbs.
- Step 3: Mix the Base Ingredients - Combine biscuit crumbs with glace cherries, sweetened condensed milk, melted coconut oil, and desiccated coconut.
- Step 4: Press the Mixture into the Pan - Transfer the mixture into the baking pan, pressing it down firmly.
- Step 5: Chill the Base - Refrigerate for 30 minutes to 1 hour until firm.
- Step 6: Melt the Chocolate - Melt the dark chocolate candy melts using a double boiler or microwave.
- Step 7: Coat the Slice - Pour melted chocolate over the set base and spread evenly.
- Step 8: Final Chill - Refrigerate for another 30 minutes to 1 hour to set the chocolate.
- Step 9: Cut and Serve - Lift the slice out using the parchment paper and cut into squares.
Notes
- For a gluten-free option, use gluten-free Arrowroot biscuits.
- Reduce sweetened condensed milk for a less sweet version.
- Store in an airtight container in the refrigerator for up to a week.