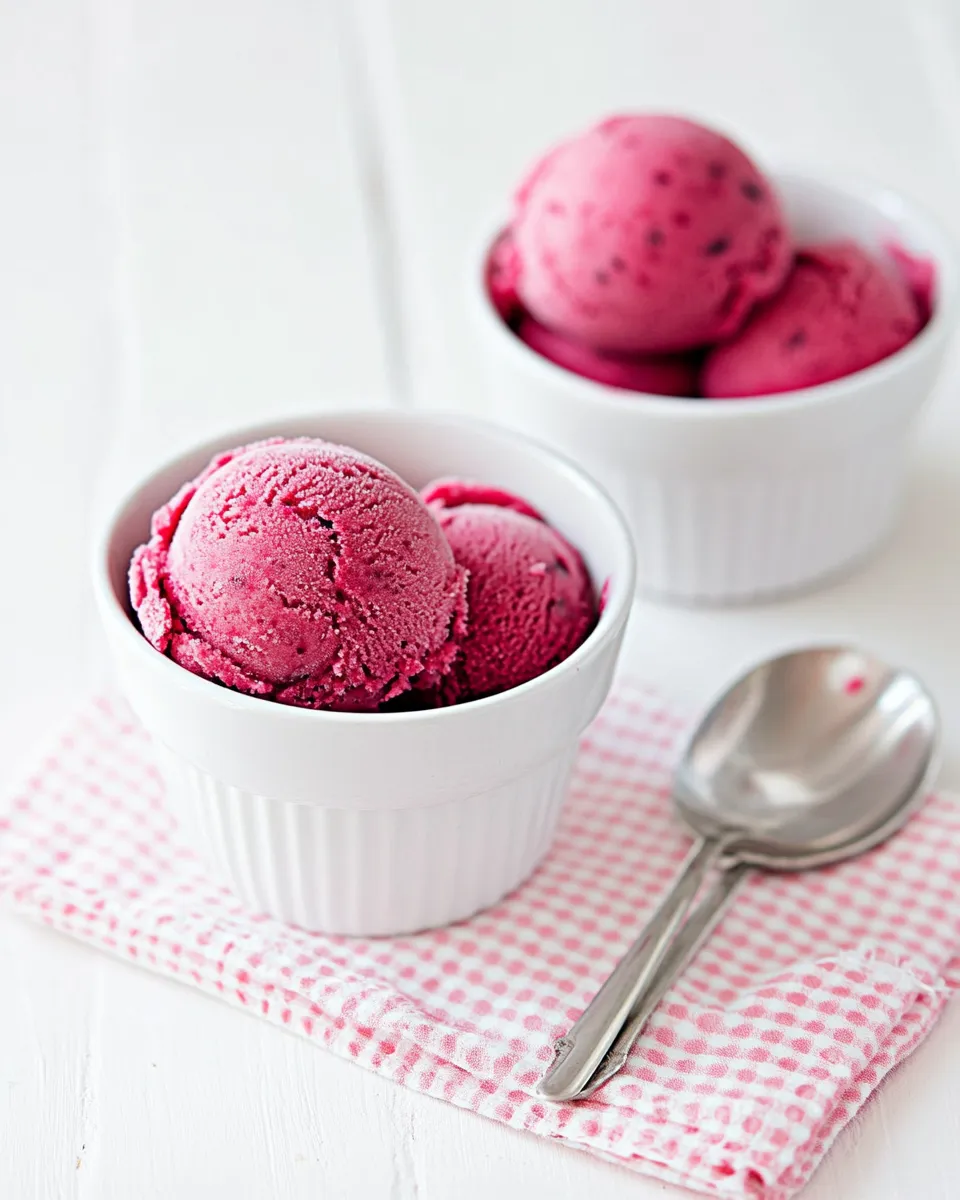
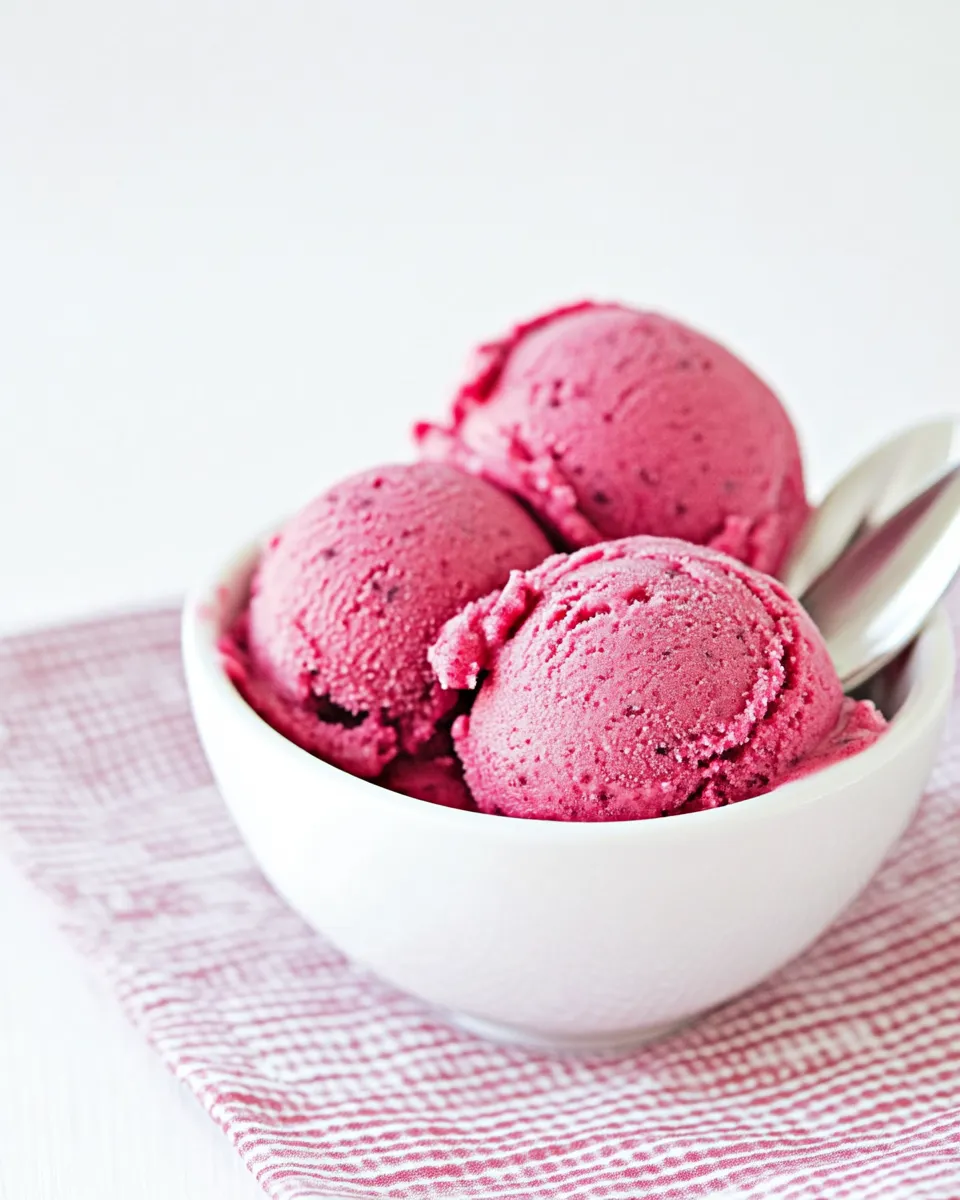
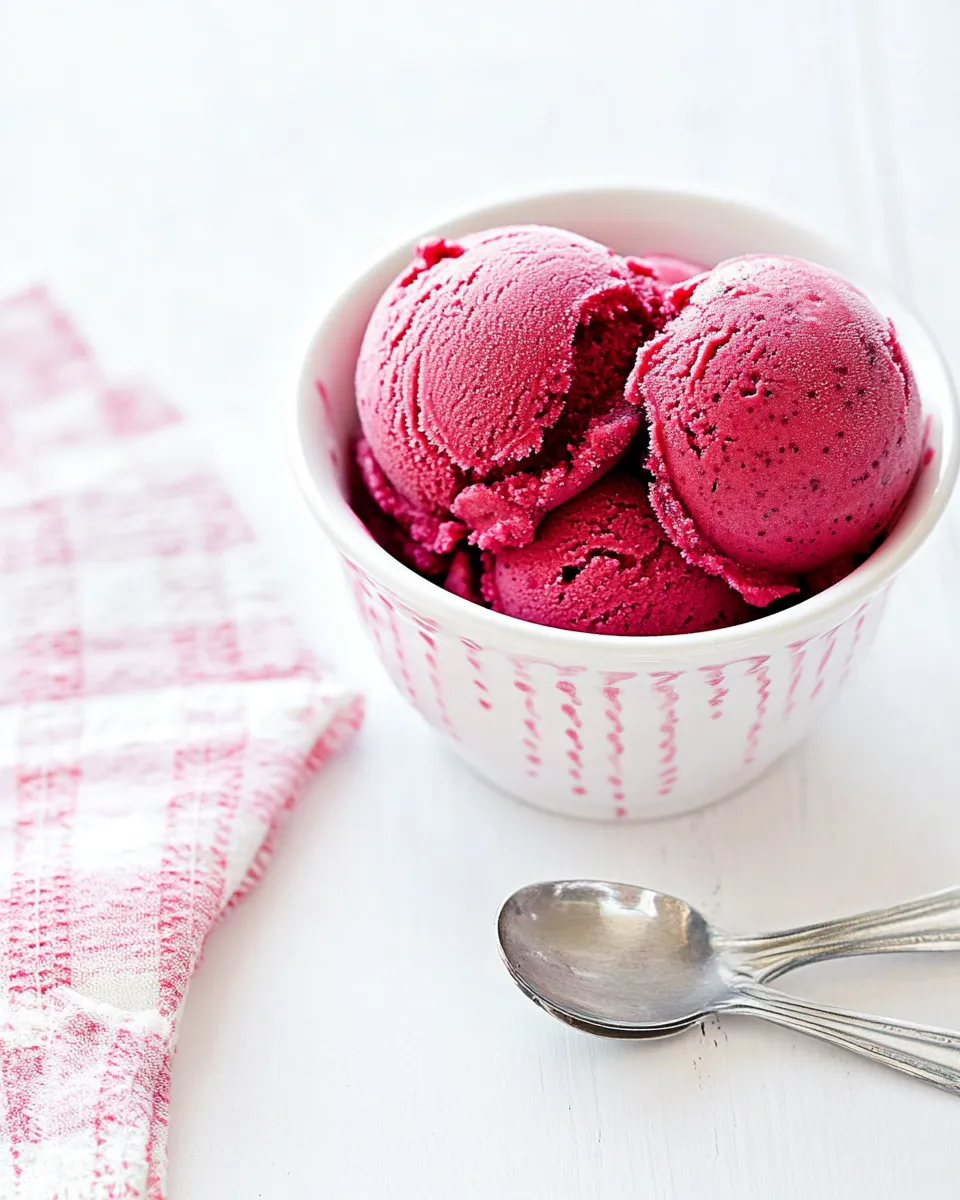
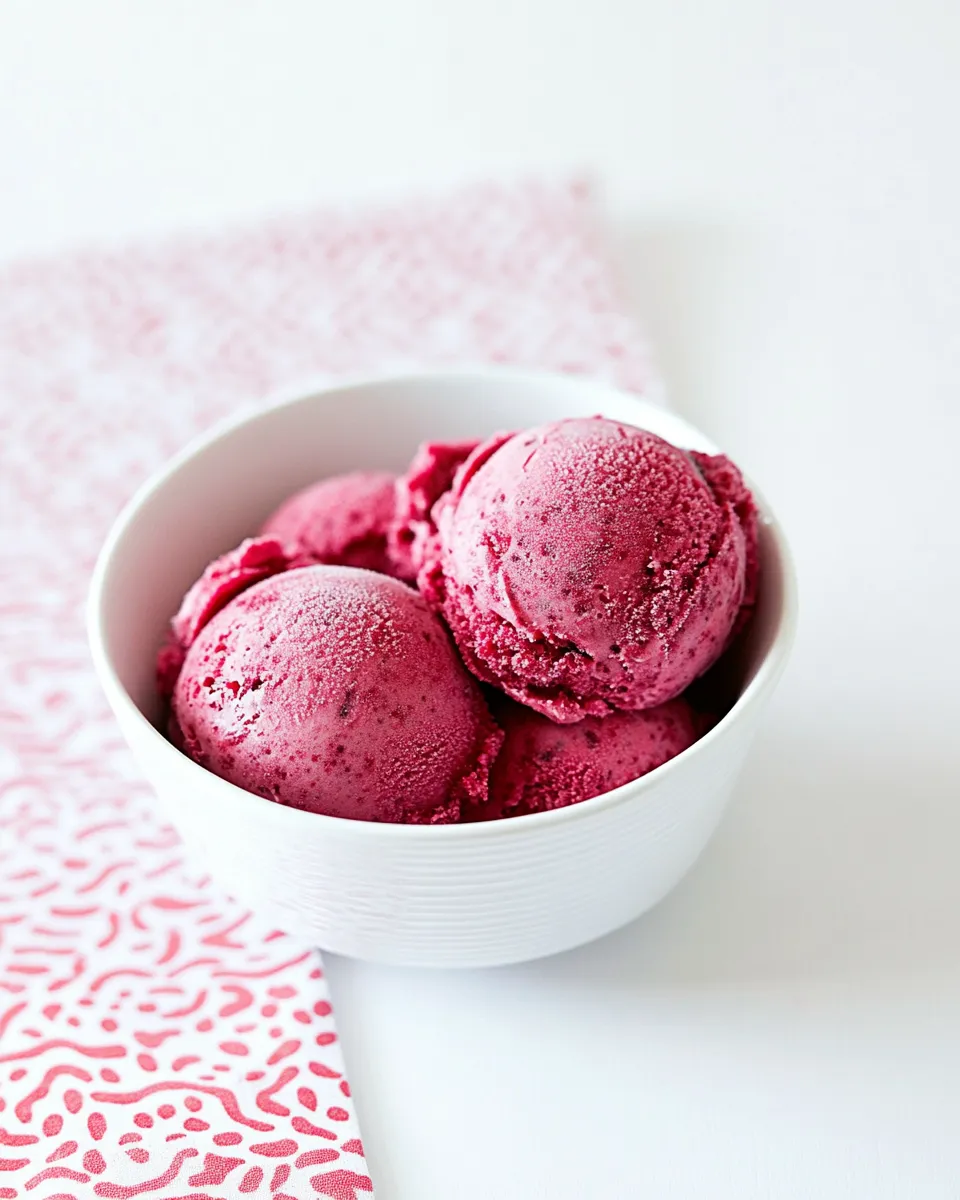
Roasted Beet Ice Cream
When you think of ice cream, vibrant colors and unexpected flavors might not be the first things that come to mind. However, Roasted Beet Ice Cream is here to change that perception! This luscious, creamy dessert not only boasts a stunning magenta hue but also brings a delightful earthy sweetness that will surprise and please your taste buds. Perfect for warm summer evenings or as a unique treat any time of year, this ice cream is sure to become a favorite in your recipe repertoire.
Imagine serving a scoop of this creamy goodness at your next gathering, letting your guests marvel at the color before they take their first bite. The combination of roasted beets and a hint of orange peel creates a flavor profile that is both refreshing and indulgent. Plus, it’s a fun way to incorporate vegetables into dessert!
So, roll up your sleeves and prepare to impress with this Roasted Beet Ice Cream recipe that’s as gorgeous as it is delicious.
Why Cooks Rave About It
This Roasted Beet Ice Cream has earned its rave reviews for several reasons. First, it’s a unique twist on classic ice cream, showcasing the versatility of beets in a surprisingly sweet way. The vibrant color is a visual feast, making it an Instagram-worthy treat that will wow your friends and family. The creamy texture, combined with the subtle sweetness of the beets and the bright notes of citrus, creates a harmonious flavor that is both refreshing and indulgent.
Not to mention, this recipe is simple enough for novice cooks but impressive enough for seasoned chefs to get excited about. It’s a great conversation starter, and everyone leaves wanting more!
What’s in the Bowl
To get started, gather the following ingredients for your Roasted Beet Ice Cream:
- 2 cups milk
- 1/4 cup cornstarch
- 1 1/4 cups heavy cream
- 2/3 cup sugar
- 2 tablespoons light corn syrup
- 1/2 teaspoon kosher salt
- Peel of 1 orange
- 3 tablespoons mascarpone cheese, softened
- 1/2 cup pureed roasted beets
- 2 tablespoons poppy seeds (optional)
Each ingredient plays a crucial role in creating the perfect balance of creaminess, sweetness, and flavor, making this ice cream a treat you won’t want to miss.
Equipment at a Glance
Before you begin crafting your Roasted Beet Ice Cream, make sure you have the following equipment on hand:
- Ice Cream Maker: Essential for achieving the right texture.
- Blender or Food Processor: For pureeing the roasted beets to a smooth consistency.
- Medium Saucepan: Used for cooking the base of your ice cream.
- Mixing Bowls: For combining ingredients.
- Measuring Cups and Spoons: Precision is key in ice cream making.
Having the right tools will make the process smoother and more enjoyable.
Cooking Roasted Beet Ice Cream: The Process
Creating your Roasted Beet Ice Cream is a delightful journey. Follow these easy steps to make your own batch:
Step 1: Roast the Beets
Preheat your oven to 400°F (200°C). Wrap the washed beets in aluminum foil and place them on a baking sheet. Roast for about 45 minutes to an hour, or until they are fork-tender. Once done, let them cool, then peel and puree them until smooth.
Step 2: Prepare the Ice Cream Base
In a medium saucepan, whisk together the milk and cornstarch until the mixture is smooth. Add the heavy cream, sugar, corn syrup, salt, and the orange peel. Heat over medium heat, stirring constantly, until the mixture comes to a gentle boil. Once it starts to thicken, remove it from the heat.
Step 3: Incorporate the Mascarpone and Beets
Let the ice cream base cool for about 10 minutes. Stir in the mascarpone cheese until it is fully incorporated. Then, gently fold in the pureed roasted beets, mixing until the color is uniform throughout the base.
Step 4: Chill the Mixture
Transfer the mixture to a bowl, cover with plastic wrap, and refrigerate for at least 4 hours or overnight. This step is crucial for developing flavors and ensuring a creamy texture.
Step 5: Churn the Ice Cream
Once the mixture is chilled, pour it into your ice cream maker and churn according to the manufacturer’s instructions. If you’re using poppy seeds, fold them in during the last few minutes of churning.
Step 6: Freeze
Transfer the churned ice cream to an airtight container and freeze for at least 4 hours or until it is firm.
Warm & Cool Weather Spins
This Roasted Beet Ice Cream is versatile for various occasions. Here are a few ideas:
- Summer Parties: Serve scoops in waffle cones for a whimsical treat.
- Fall Gatherings: Pair with spiced cookies for a cozy dessert.
- Winter Celebrations: Create a festive dessert platter with seasonal fruits.
- Spring Picnics: Pack small containers for a refreshing outdoor snack.
No matter the season, this ice cream is sure to be a hit!
What Could Go Wrong
While making Roasted Beet Ice Cream is relatively straightforward, a few things can go awry. Here are some common pitfalls and how to avoid them:
- Too Grainy: Make sure to blend the roasted beets until completely smooth to avoid a grainy texture.
- Not Churning Properly: Ensure your ice cream maker is fully frozen and ready to go before adding the mixture.
- Ice Crystals: To prevent ice crystals from forming, make sure the ice cream base is adequately chilled before churning.
- Over-churning: Keep an eye on the texture while churning. Over-churning can lead to a butter-like consistency.
With careful attention, you’ll create a smooth and creamy ice cream every time.
How to Store & Reheat
Storing your Roasted Beet Ice Cream properly will ensure it remains delicious for as long as possible. Here are some tips:
- Storage: Keep the ice cream in an airtight container in the freezer. It can last up to 2 weeks.
- Reheating: If the ice cream becomes too hard, let it sit at room temperature for 5-10 minutes to soften before scooping.
- Preventing Freezer Burn: Make sure to press plastic wrap directly onto the surface of the ice cream before sealing the container.
Following these steps will keep your ice cream fresh and ready to serve.
Popular Questions
Can I use fresh beets instead of roasted?
While you can use fresh beets, roasting them enhances their natural sweetness and flavor, making for a richer ice cream.
Is there a dairy-free version of Roasted Beet Ice Cream?
Yes! You can substitute the milk and heavy cream with coconut milk or any plant-based milk and cream alternatives. Keep in mind that the texture may vary slightly.
Can I add other flavors to the ice cream?
Absolutely! Feel free to experiment with flavors like vanilla extract, cinnamon, or even a splash of liqueur for an adult twist.
How can I make this recipe vegan?
To make this ice cream vegan, replace the mascarpone cheese with a vegan cream cheese alternative and use a plant-based milk and cream combination.
Try These Next
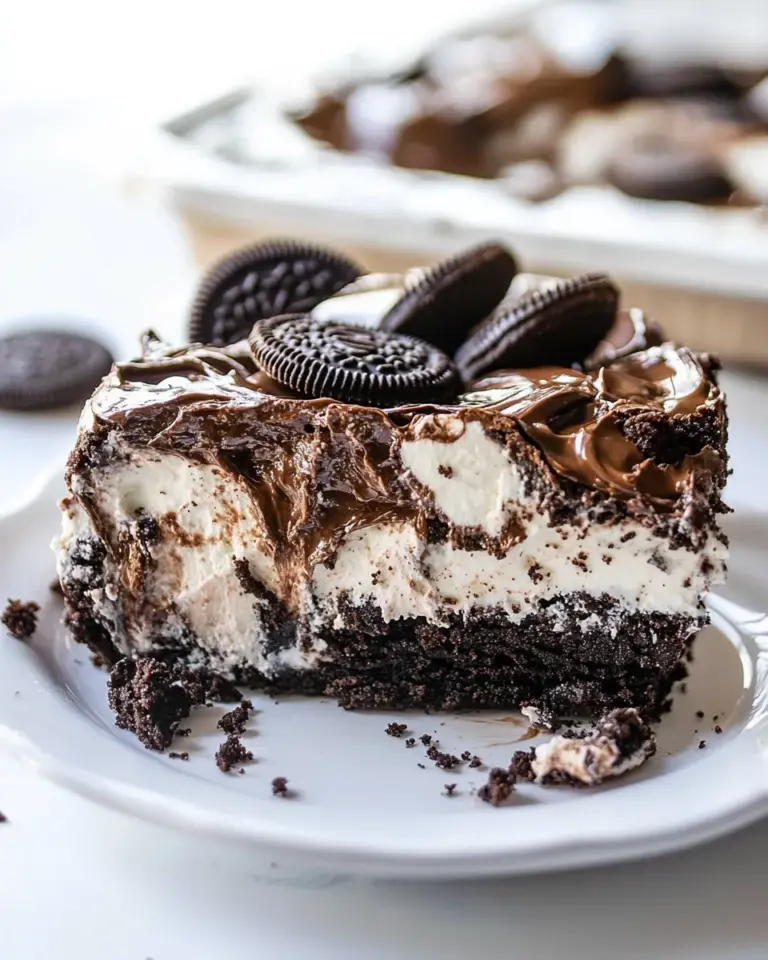
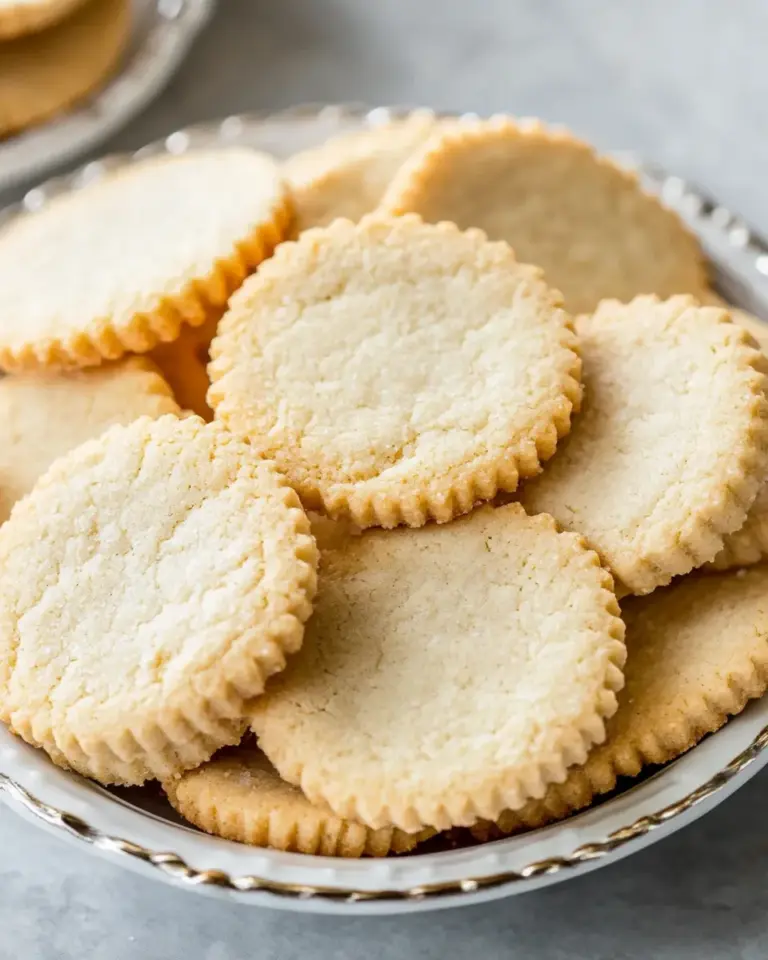
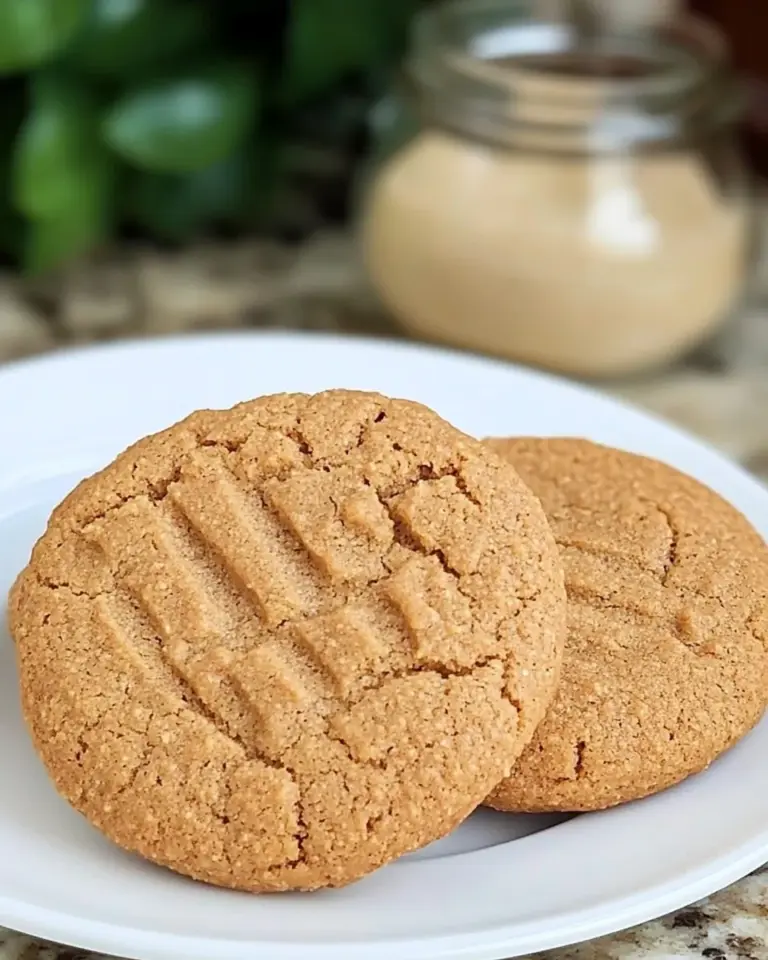
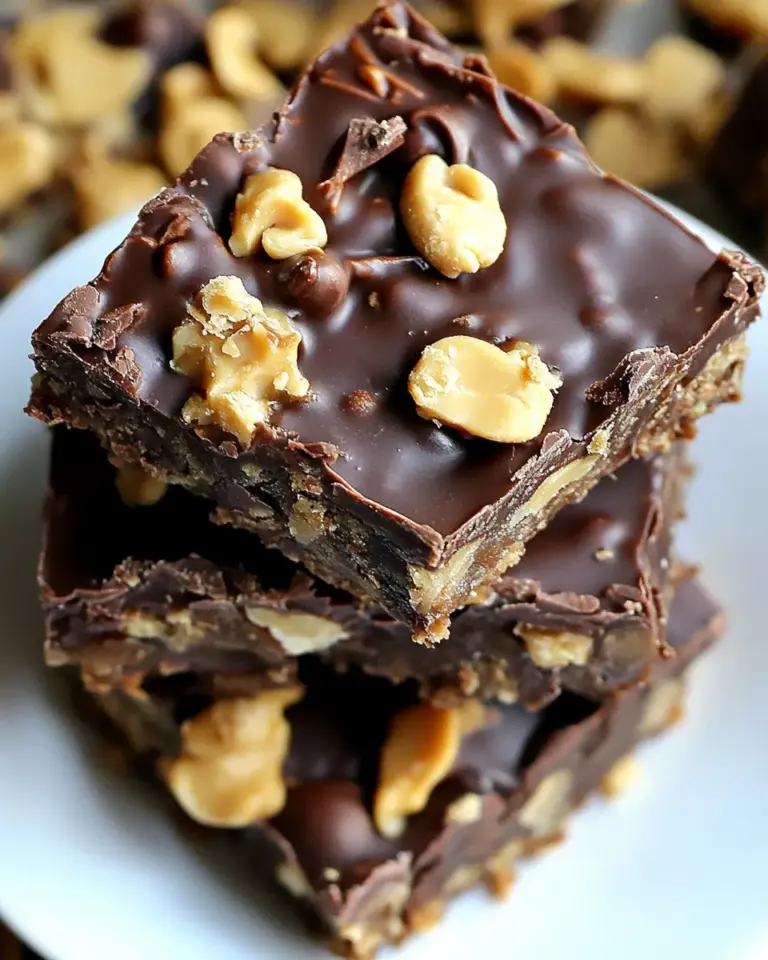
If you enjoyed this Roasted Beet Ice Cream, you might also love:
Time to Try It
Now that you have all the details, it’s time to roll up your sleeves and create this stunning Roasted Beet Ice Cream. Whether you’re indulging on a quiet night or wowing guests at a gathering, this recipe will surely leave a lasting impression. Enjoy the process, and don’t forget to savor each colorful scoop!
Roasted Beet Ice Cream
Ingredients
Equipment
Method
- Preheat your oven to 400°F (200°C). Wrap the washed beets in aluminum foil and place them on a baking sheet. Roast for about 45 minutes to an hour, or until they are fork-tender. Once done, let them cool, then peel and puree them until smooth.
- In a medium saucepan, whisk together the milk and cornstarch until the mixture is smooth. Add the heavy cream, sugar, corn syrup, salt, and the orange peel. Heat over medium heat, stirring constantly, until the mixture comes to a gentle boil. Once it starts to thicken, remove it from the heat.
- Let the ice cream base cool for about 10 minutes. Stir in the mascarpone cheese until it is fully incorporated. Then, gently fold in the pureed roasted beets, mixing until the color is uniform throughout the base.
- Transfer the mixture to a bowl, cover with plastic wrap, and refrigerate for at least 4 hours or overnight. This step is crucial for developing flavors and ensuring a creamy texture.
- Once the mixture is chilled, pour it into your ice cream maker and churn according to the manufacturer’s instructions. If you’re using poppy seeds, fold them in during the last few minutes of churning.
- Transfer the churned ice cream to an airtight container and freeze for at least 4 hours or until it is firm.
Notes
- Store in an airtight container in the freezer for up to 2 weeks.
- Let the ice cream sit at room temperature for 5-10 minutes to soften before scooping if it becomes too hard.
- Press plastic wrap directly onto the surface of the ice cream before sealing the container to prevent freezer burn.