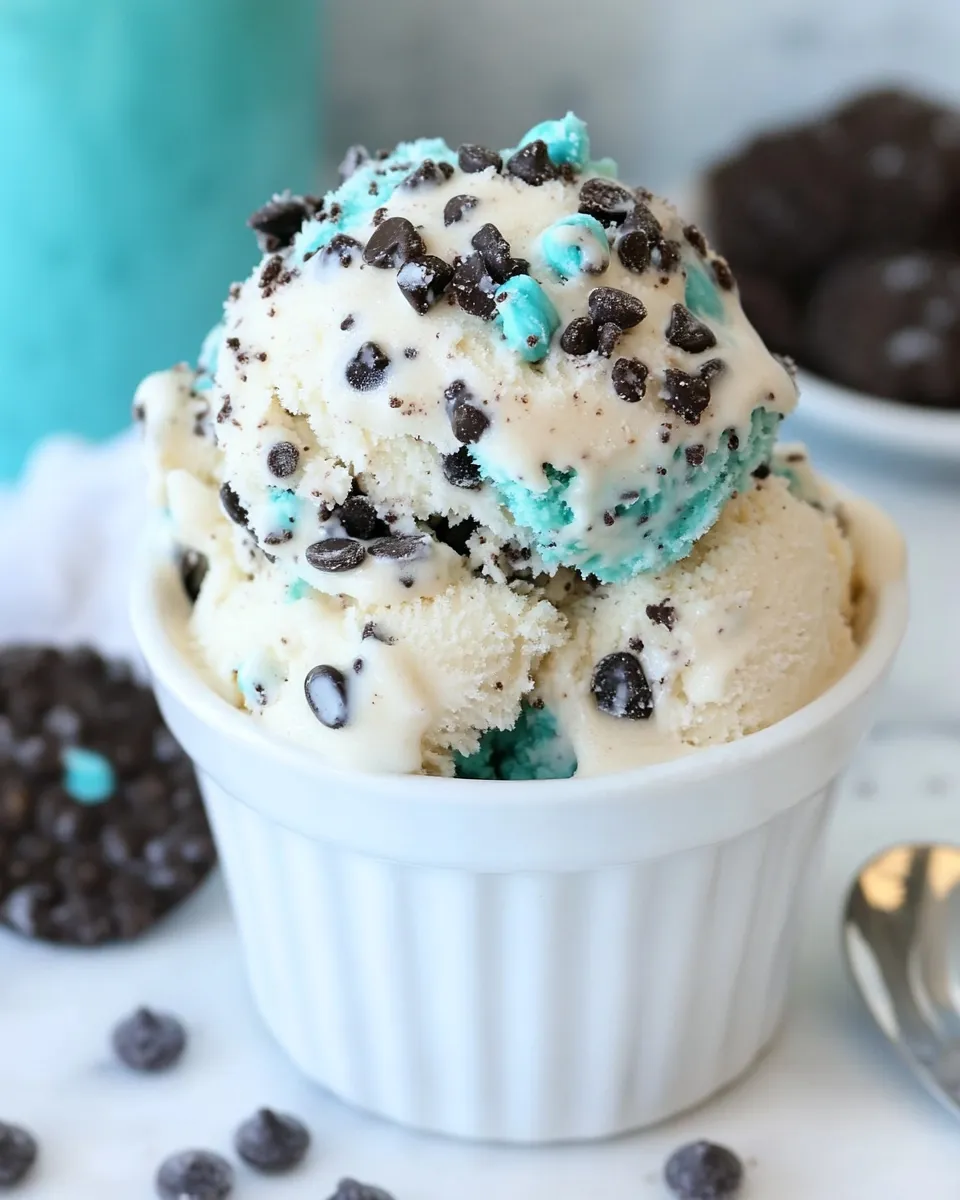
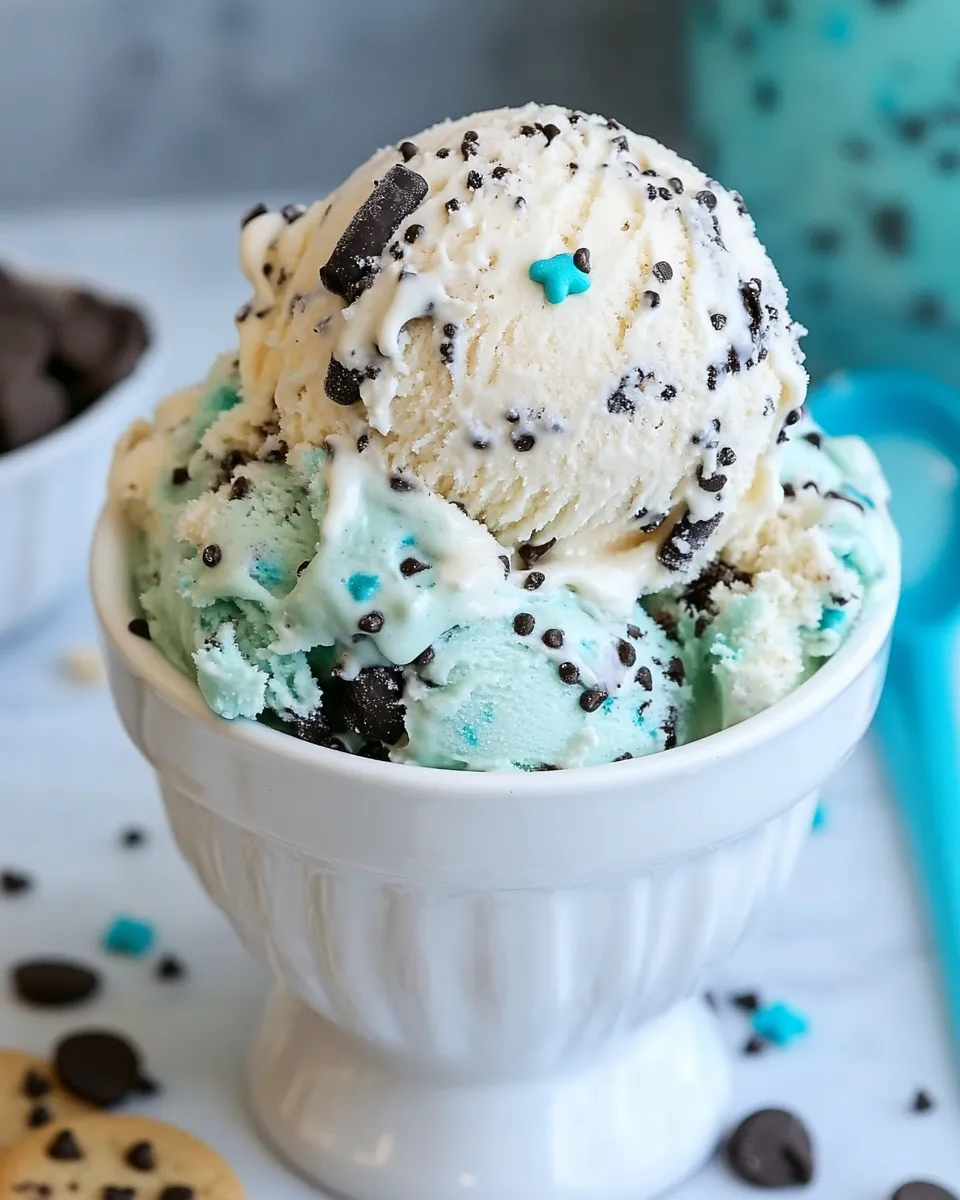
Cookie Monster Ice Cream
There’s something utterly delightful about ice cream that captures the essence of childhood, and when that ice cream is inspired by the beloved Cookie Monster from Sesame Street, it becomes an instant classic! This Cookie Monster Ice Cream recipe is a whimsical treat that combines the rich, creamy texture of homemade ice cream with chunks of cookie dough and Oreo cookies. With its vibrant blue color and delicious mix-ins, this ice cream is perfect for parties, special occasions, or simply enjoying on a warm day. Let’s dive into the details of how to create this fun dessert that will make your inner child squeal with joy!
Why This Recipe Works
Creating a creamy and flavorful Cookie Monster Ice Cream involves a balance of ingredients that work together to deliver the ultimate ice cream experience. By using a base of heavy cream and whole milk, you achieve a rich texture that is both smooth and indulgent. The addition of brown sugar lends a subtle caramel flavor, while the cookie dough bites and Oreo pieces add delightful crunch and sweetness. Plus, the blue food coloring makes it a visually appealing treat that’s sure to impress.
What to Buy
Before you begin, gather the following ingredients and tools to make your Cookie Monster Ice Cream:
- Unsalted Butter: ½ cup, softened for cookie dough.
- Brown Sugar: ½ cup, for added sweetness and depth of flavor.
- All-Purpose Flour: 1 cup, for the cookie dough.
- Kosher Salt: ½ teaspoon, to enhance the flavors.
- Pure Vanilla Extract: 2 teaspoons, for a delightful aroma.
- Mini Semi-Sweet Chocolate Chips: 1 cup, for chocolatey goodness.
- Whole Milk: 1 cup, to create a creamy ice cream base.
- Sugar: 2 cups, for sweetness.
- Large Eggs: 2, to help create a rich texture.
- Vanilla Bean: Seeds scraped from 1, for intense vanilla flavor.
- Heavy Cream: 2 cups, for creaminess.
- Blue Food Coloring: Americolor gel #103 Sky Blue, for that iconic color.
- Double Stuf Oreo Cookies: 1 cup, roughly chopped for mix-ins.
- Chocolate Chip Cookie Dough Bites: For an extra cookie crunch.
Must-Have Equipment
To make your Cookie Monster Ice Cream, you’ll need a few essential tools:
- Mixing Bowls: To combine your ingredients.
- Whisk: For mixing the ice cream base.
- Ice Cream Maker: To churn your ice cream to perfection.
- Spatula: For folding in the cookie dough and Oreos.
- Freezer-Safe Container: To store your finished ice cream.
Cookie Monster Ice Cream, Made Easy

Now that you have all your ingredients and tools ready, it’s time to make the Cookie Monster Ice Cream! Follow these simple steps:
Step 1: Prepare the Cookie Dough
In a mixing bowl, cream together the softened unsalted butter and brown sugar until light and fluffy. Add the all-purpose flour, kosher salt, and 2 teaspoons of pure vanilla extract. Mix until well combined. Fold in the mini semi-sweet chocolate chips. Scoop the dough into small balls and chill in the refrigerator while you prepare the ice cream base.
Step 2: Make the Ice Cream Base
In a large saucepan over medium heat, combine the whole milk and sugar. Stir until the sugar has dissolved. In a separate bowl, whisk the eggs until light and frothy. Slowly add a bit of the warm milk mixture to the eggs, whisking constantly to temper them. Once combined, pour the egg mixture back into the saucepan. Cook over low heat, stirring constantly until the mixture thickens enough to coat the back of a spoon.
Step 3: Flavor the Base
Remove the saucepan from heat and stir in the seeds scraped from the vanilla bean and the remaining 2 teaspoons of pure vanilla extract. Allow the mixture to cool to room temperature, then refrigerate until completely chilled, at least 2 hours or overnight.
Step 4: Churn the Ice Cream
Once the ice cream base is chilled, pour it into your ice cream maker and churn according to the manufacturer’s instructions. During the last few minutes of churning, add a few drops of blue food coloring until you achieve your desired shade.
Step 5: Add the Mix-Ins
Once the ice cream has reached a soft-serve consistency, gently fold in the chopped Double Stuf Oreos and the chilled cookie dough bites. Be careful not to overmix; you want those chunks to remain intact!
Step 6: Freeze the Ice Cream
Transfer the ice cream to a freezer-safe container, smoothing the top with a spatula. Cover tightly and freeze for at least 4 hours or until firm.
Substitutions by Diet

If you have specific dietary needs, here are some substitutions you can make:
- Dairy-Free: Substitute whole milk and heavy cream with coconut milk or almond milk, and use dairy-free butter.
- Gluten-Free: Use a gluten-free all-purpose flour blend instead of regular all-purpose flour.
- Lower Sugar: Replace sugar with a sugar substitute like stevia or erythritol, adjusting quantities as needed.
- Vegan: Use plant-based butter, flax eggs (1 tablespoon ground flaxseed mixed with 3 tablespoons water = 1 egg), and dairy-free milk.
Cook’s Commentary
Making Cookie Monster Ice Cream is not just about following a recipe; it’s about having fun in the kitchen! Feel free to get creative with your mix-ins. Consider adding colored sprinkles for extra flair or switching out the Oreos for other favorite cookies. This recipe is versatile, so tailor it to your taste. Remember, the key to a creamy ice cream is ensuring that your base is well-chilled before churning, so plan ahead for the best results!
Store, Freeze & Reheat
To keep your Cookie Monster Ice Cream fresh, store it in an airtight container in the freezer. It’s best enjoyed within a month for optimal flavor and texture, but it can last for up to 3 months. If your ice cream hardens too much in the freezer, let it sit at room temperature for about 5-10 minutes before scooping to make serving easier.
Quick Questions
Can I use store-bought cookie dough instead of making my own?
Absolutely! Store-bought cookie dough can save you time and still deliver delicious results.
How can I make this ice cream without an ice cream maker?
You can pour the ice cream base into a shallow dish and freeze it. Stir every 30 minutes for about 3 hours until it reaches your desired consistency.
Can I add other mix-ins?
Definitely! Feel free to experiment with your favorite candies, nuts, or even different types of cookies.
Is this ice cream suitable for children?
Yes! With its fun color and cookie chunks, Cookie Monster Ice Cream is a hit with kids. Just ensure that any mix-ins are age-appropriate.
Weekend Projects
If you love this Cookie Monster Ice Cream, you might also enjoy these weekend projects:
- Vanilla Bean Ice Cream – A classic that never goes out of style.
- Chewy Chocolate Chip Cookies – Pair them with your ice cream for the ultimate dessert!
- Peanut Butter Cup Brownies – Rich, fudgy brownies that are perfect for any occasion.
- Refreshing Fruity Sorbet – A lighter option for hot summer days.
Ready, Set, Cook
Now that you have the complete guide to making Cookie Monster Ice Cream, it’s time to gather your ingredients and start whipping up this fun and flavorful treat. Whether you’re indulging on a sunny afternoon or hosting a gathering, this ice cream will undoubtedly bring smiles to everyone’s faces. So, roll up your sleeves and enjoy the process—after all, the best part about making ice cream is sharing it with those you love!
Cookie Monster Ice Cream
Ingredients
Equipment
Method
- In a mixing bowl, cream together the softened unsalted butter and brown sugar until light and fluffy. Add the all-purpose flour, kosher salt, and 2 teaspoons of pure vanilla extract. Mix until well combined. Fold in the mini semi-sweet chocolate chips. Scoop the dough into small balls and chill in the refrigerator while you prepare the ice cream base.
- In a large saucepan over medium heat, combine the whole milk and sugar. Stir until the sugar has dissolved. In a separate bowl, whisk the eggs until light and frothy. Slowly add a bit of the warm milk mixture to the eggs, whisking constantly to temper them. Once combined, pour the egg mixture back into the saucepan. Cook over low heat, stirring constantly until the mixture thickens enough to coat the back of a spoon.
- Remove the saucepan from heat and stir in the seeds scraped from the vanilla bean and the remaining 2 teaspoons of pure vanilla extract. Allow the mixture to cool to room temperature, then refrigerate until completely chilled, at least 2 hours or overnight.
- Once the ice cream base is chilled, pour it into your ice cream maker and churn according to the manufacturer's instructions. During the last few minutes of churning, add a few drops of blue food coloring until you achieve your desired shade.
- Once the ice cream has reached a soft-serve consistency, gently fold in the chopped Double Stuf Oreos and the chilled cookie dough bites. Be careful not to overmix; you want those chunks to remain intact!
- Transfer the ice cream to a freezer-safe container, smoothing the top with a spatula. Cover tightly and freeze for at least 4 hours or until firm.
Notes
- Store in an airtight container in the freezer for up to 1 month for best flavor.
- Let the ice cream sit at room temperature for 5-10 minutes before scooping if it hardens too much.
- Feel free to customize the mix-ins with your favorite cookies or candies!