Turtle Candies Recipe
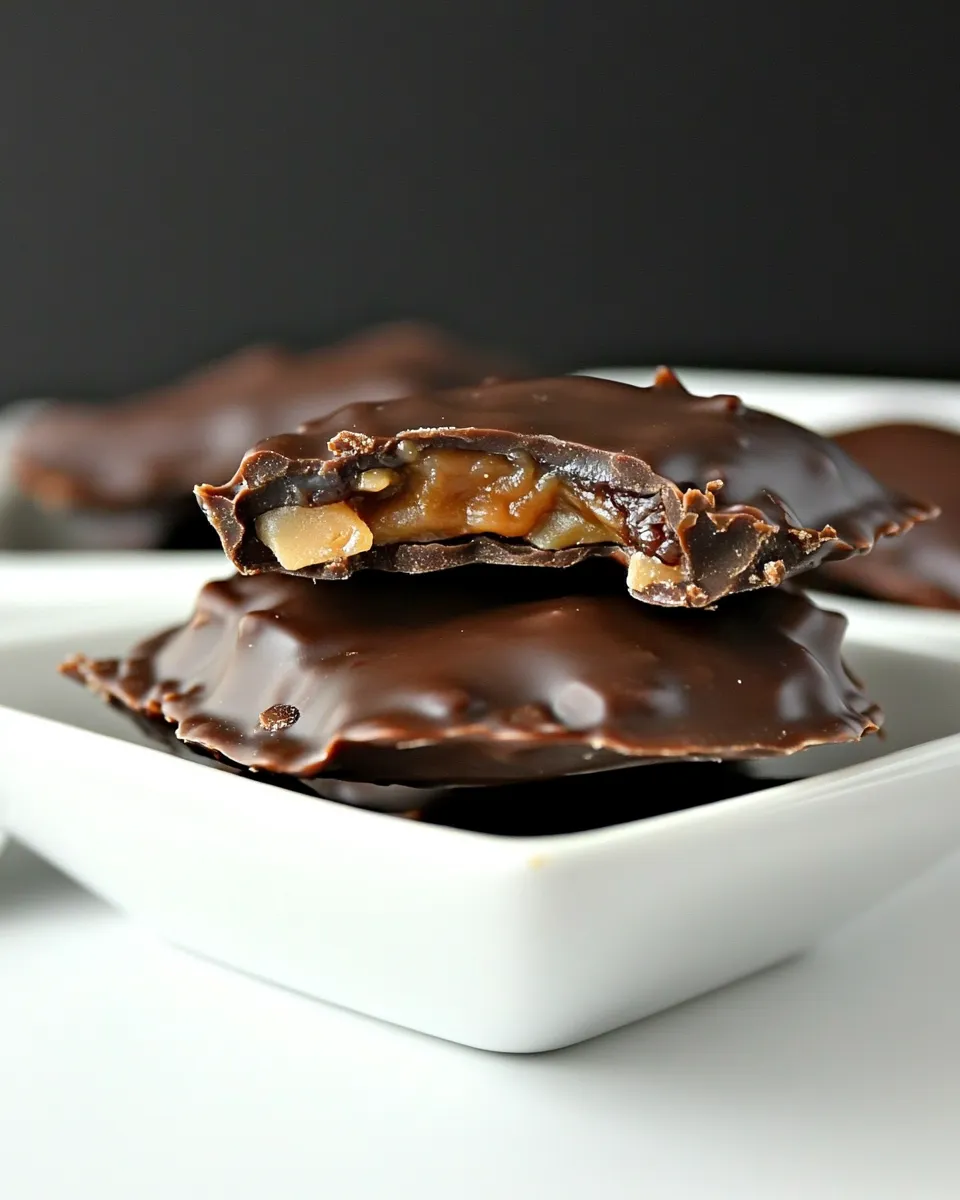
Turtle candies are a delightful combination of rich chocolate, gooey caramel, and crunchy pecans that never fail to impress. These treats are perfect for any occasion, be it a festive gathering or an everyday indulgence. With their beautiful presentation and irresistible flavor, Turtle Candies are sure to become a favorite in your household. Plus, they are surprisingly simple to make, allowing you to whip them up in no time and share them with friends and family. Let’s dive into the world of Turtle Candies and discover why they deserve a spot in your dessert repertoire.
Reasons to Love Turtle Candies Recipe
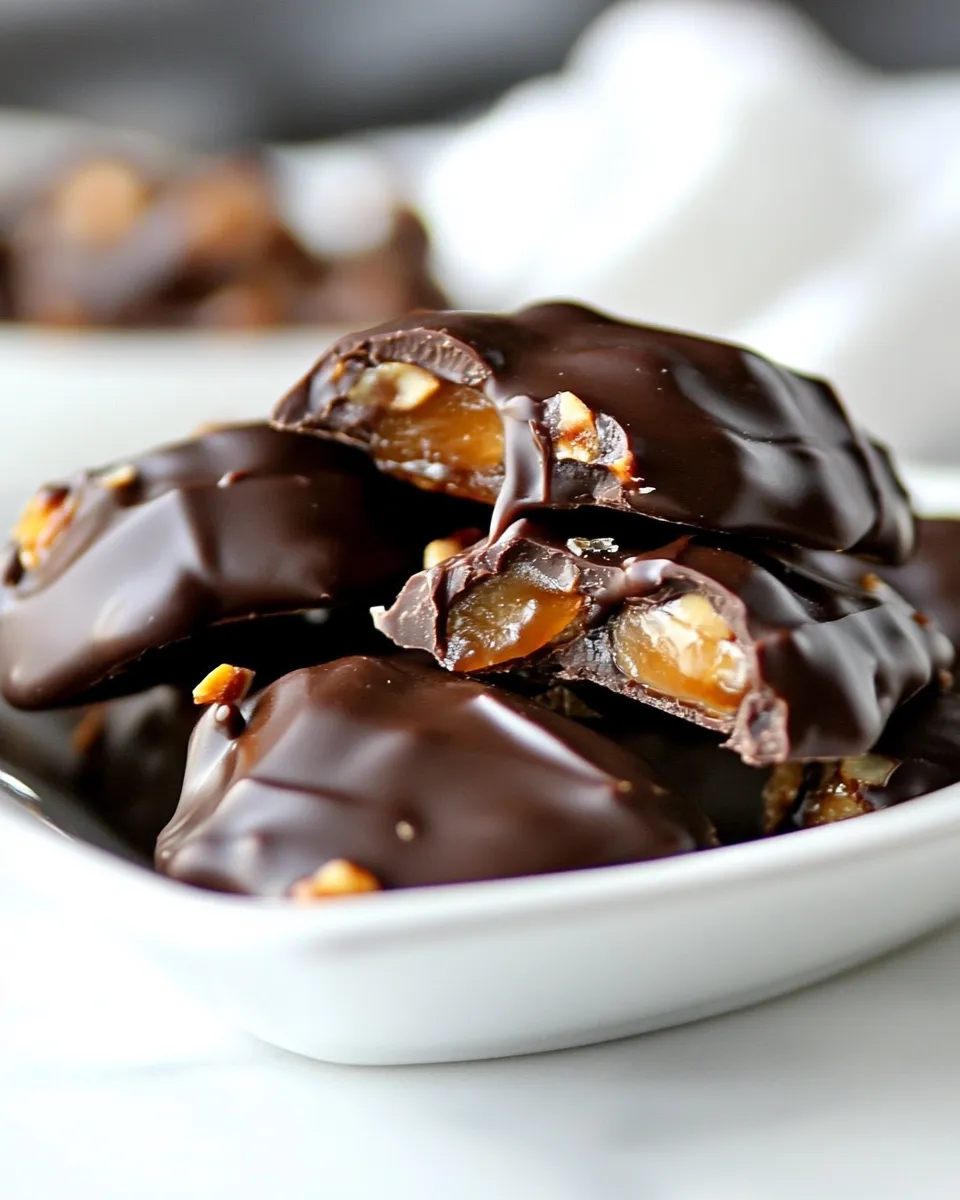
- Decadent Flavor: The combination of chocolate, caramel, and pecans creates a mouthwatering treat that is hard to resist.
- Easy to Make: With just a few ingredients and simple steps, you can create these stunning candies at home.
- Customizable: Feel free to switch up the nuts or chocolate to suit your taste preferences.
- Great for Gifting: Turtle Candies make fantastic homemade gifts for holidays, birthdays, or thank-you gestures.
- Kid-Friendly: This recipe is fun to make with kids, allowing them to get creative with the toppings.
What You’ll Gather
- 1 1/2 cups (255g) chocolate chips: Semi-sweet or dark chocolate works beautifully.
- 2 tablespoons (28g) coconut oil: This helps the chocolate melt smoothly and adds a subtle coconut flavor.
- 1 cup (112g) pecan halves: Use plain or roasted pecans for a delightful crunch.
- 36 (297g) caramels, unwrapped: These will provide the rich, gooey center that makes turtles special.
- 1 tablespoon (15g) heavy cream, half and half, or milk: This adds creaminess to the caramel mixture.
Kitchen Gear Checklist
- Baking Sheet: Line it with parchment paper for easy candy removal.
- Medium Saucepan: For melting the caramels and cream together.
- Microwave-Safe Bowl: To melt the chocolate and coconut oil.
- Spatula: Perfect for mixing and spreading the melted chocolate.
- Measuring Cups and Spoons: Essential for accuracy in your ingredients.
Build Turtle Candies Recipe Step by Step

Step 1: Prepare Your Ingredients
Gather all your ingredients together. Make sure your pecans are ready and your caramels are unwrapped.
Step 2: Melt the Chocolate
In a microwave-safe bowl, combine the chocolate chips and coconut oil. Heat in the microwave in 30-second intervals, stirring between each interval until completely melted and smooth.
Step 3: Prepare the Caramel
In a medium saucepan, combine the unwrapped caramels and heavy cream. Cook over medium heat, stirring frequently until the caramels are melted and well combined. Remove from heat and set aside.
Step 4: Assemble the Turtle Candies
On the lined baking sheet, drop spoonfuls of the melted chocolate, forming small circles. Press a pecan half into the center of each chocolate circle.
Step 5: Add the Caramel
Spoon a small amount of the melted caramel over each chocolate and pecan cluster. Allow the caramel to set slightly.
Step 6: Drizzle with Chocolate
Using the remaining melted chocolate, drizzle over the caramel-covered pecans to create a beautiful finish.
Step 7: Chill and Set
Place the baking sheet in the refrigerator for about 30 minutes or until the chocolate is fully set.
Seasonal Spins
- Holiday Turtle Candies: Add a sprinkle of sea salt or festive sprinkles for a holiday touch.
- Nut-Free Option: Substitute pecans with sunflower seeds or use a chocolate-covered pretzel base.
- Spicy Twist: Incorporate a pinch of cayenne pepper into the melted chocolate for a surprising kick.
- Flavor Variations: Try using white chocolate or milk chocolate for different flavor profiles.
Behind-the-Scenes Notes
Turtle Candies are incredibly versatile, and you can adapt them to your preferences. The combination of chocolate and caramel is timeless, but feel free to experiment with nuts or even add a layer of toffee for extra crunch. The key to perfect Turtle Candies is ensuring the chocolate is smooth and the caramel is gooey. If you like a more pronounced coconut flavor, increase the amount of coconut oil slightly.
Prep Ahead & Store
You can prepare Turtle Candies in advance; they store beautifully in an airtight container at room temperature for up to a week. If you want to keep them longer, refrigerate them, and they will last for up to two weeks. Just be sure to separate layers with parchment paper to keep them from sticking together.
Turtle Candies Recipe FAQs
Can I use different types of chocolate for this recipe?
Absolutely! While semi-sweet chocolate is traditional, you can use dark chocolate, milk chocolate, or even white chocolate based on your preference.
What can I substitute for pecans?
If you’re not a fan of pecans, you can use walnuts, almonds, or even a mix of your favorite nuts. For a nut-free version, try using seeds or chocolate-covered pretzels as a base.
How do I prevent the chocolate from seizing up?
Make sure your bowl and utensils are completely dry before adding chocolate. If you accidentally get water in the mix, adding a small amount of vegetable oil can help smooth it out.
Can I freeze Turtle Candies?
Yes, you can freeze Turtle Candies! Just make sure they’re in a single layer in an airtight container. They can last for up to three months in the freezer.
More from the Kitchen
The Takeaway
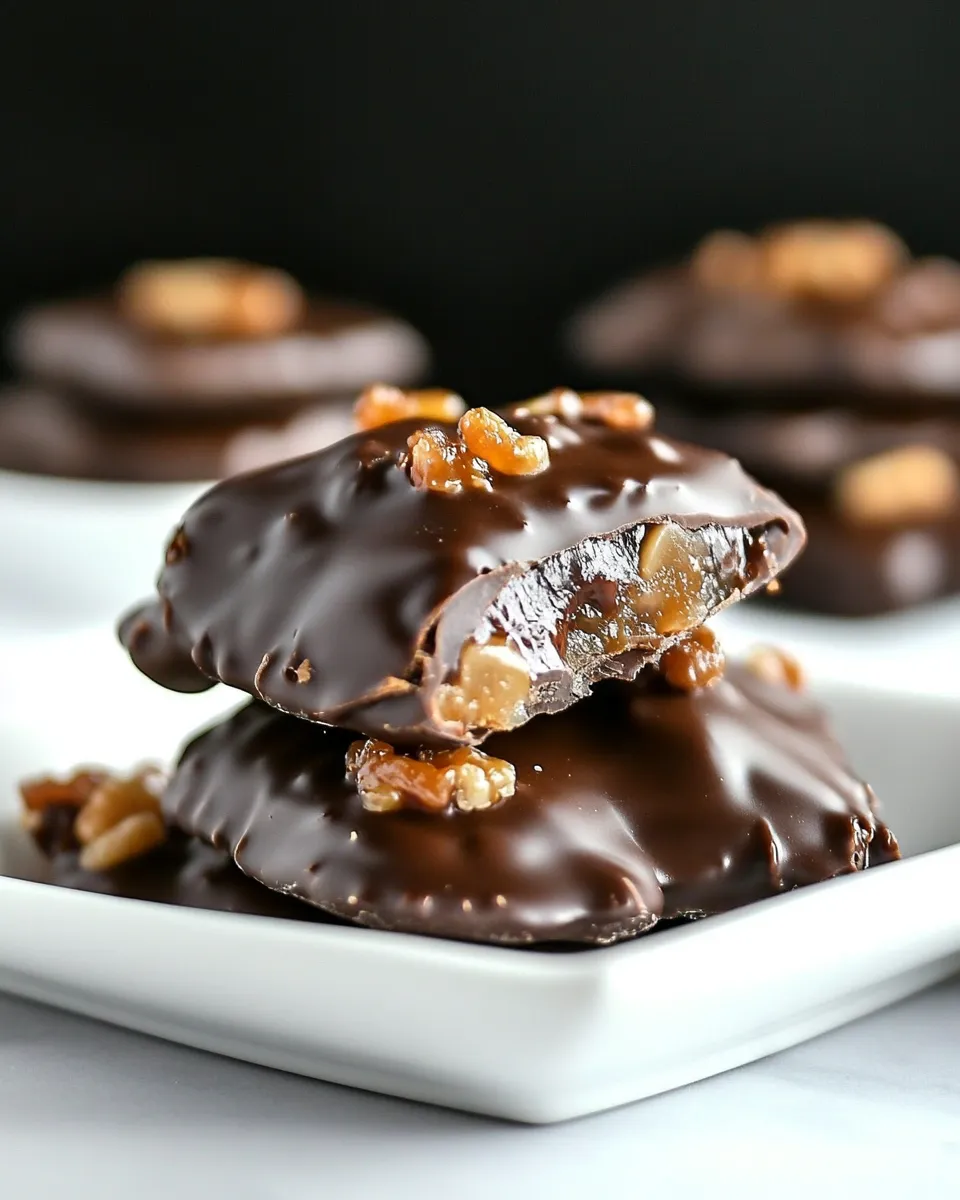
Turtle Candies are not just a treat; they are a celebration of flavors and textures that come together to create something truly special. With this easy Turtle Candies Recipe, you can impress your guests, satisfy your cravings, and even make some delightful gifts. The balance of chocolate, caramel, and pecans makes each bite an experience to savor. So, gather your ingredients, follow the steps, and enjoy the sweet satisfaction of homemade Turtle Candies. Whether you’re treating yourself or sharing with loved ones, these candies are sure to be a hit!
Turtle Candies Recipe
Ingredients
Equipment
Method
- Step 1: Prepare Your Ingredients - Gather all your ingredients together. Make sure your pecans are ready and your caramels are unwrapped.
- Step 2: Melt the Chocolate - In a microwave-safe bowl, combine the chocolate chips and coconut oil. Heat in the microwave in 30-second intervals, stirring between each interval until completely melted and smooth.
- Step 3: Prepare the Caramel - In a medium saucepan, combine the unwrapped caramels and heavy cream. Cook over medium heat, stirring frequently until the caramels are melted and well combined. Remove from heat and set aside.
- Step 4: Assemble the Turtle Candies - On the lined baking sheet, drop spoonfuls of the melted chocolate, forming small circles. Press a pecan half into the center of each chocolate circle.
- Step 5: Add the Caramel - Spoon a small amount of the melted caramel over each chocolate and pecan cluster. Allow the caramel to set slightly.
- Step 6: Drizzle with Chocolate - Using the remaining melted chocolate, drizzle over the caramel-covered pecans to create a beautiful finish.
- Step 7: Chill and Set - Place the baking sheet in the refrigerator for about 30 minutes or until the chocolate is fully set.
Notes
- Store Turtle Candies in an airtight container at room temperature for up to a week.
- For longer storage, refrigerate them for up to two weeks.
- Separate layers with parchment paper to prevent sticking.