Kentucky Butter Cake
Kentucky Butter Cake is a delightful Southern dessert that has captured hearts and taste buds alike. With its rich buttery flavor and a texture that can be described as both dense and moist, this cake is the perfect companion for a cup of coffee or as a sweet ending to a family meal. The combination of flavors and the buttery glaze that seeps into the cake make it an unforgettable treat. Whether you are a seasoned baker or a novice, this cake is sure to impress. Let’s dive into what makes Kentucky Butter Cake so special and how you can make it at home.
Why It Deserves a Spot

Kentucky Butter Cake is not just any cake; it is a nostalgic slice of Southern comfort. The origins of this cake trace back to the Bluegrass State, where it was often enjoyed during family gatherings and celebrations. Its unique texture, which strikes a perfect balance between a pound cake and a traditional cake, sets it apart. The glaze, made with butter and sugar, seeps into the cake, creating a moist crumb that is incredibly satisfying. With every bite, you are greeted with a buttery sweetness that makes this cake a standout on any dessert table.
Your Shopping Guide
When preparing to bake your Kentucky Butter Cake, here’s what you will need:
- 3 cups all-purpose flour
- 1 teaspoon salt
- 1 teaspoon baking powder
- 1/2 teaspoon baking soda
- 1 cup unsalted butter, softened
- 2 cups granulated sugar
- 4 large eggs
- 1 cup buttermilk
- 1/3 cup butter for glaze
- 3/4 cup granulated sugar for glaze
- 2 teaspoons vanilla extract
- 3 tablespoons water
With these ingredients in hand, you’re ready to create a masterpiece that will have everyone asking for seconds.
Gear Up: What to Grab
Before you start baking, gather the necessary tools to make the process smooth and enjoyable:
- Mixing bowls – for combining ingredients.
- Electric mixer – to achieve a light and fluffy batter.
- Measuring cups and spoons – for accurate measurements.
- 9×13 inch baking pan – the perfect size for this cake.
- Cooling rack – to cool the cake properly after baking.
- Whisk – for mixing dry ingredients.
Having these tools ready will ensure that your baking experience is seamless.
The Method for Kentucky Butter Cake

Now that you are equipped with the ingredients and tools, it’s time to get baking! Follow these simple steps:
Step 1: Preheat Your Oven
Begin by preheating your oven to 350°F (175°C). This ensures that your cake bakes evenly.
Step 2: Prepare Your Baking Pan
Grease your 9×13 inch baking pan with butter or cooking spray. This will prevent the cake from sticking.
Step 3: Mix Dry Ingredients
In a mixing bowl, whisk together 3 cups of flour, 1 teaspoon of salt, 1 teaspoon of baking powder, and 1/2 teaspoon of baking soda. Set this mixture aside as you prepare the wet ingredients.
Step 4: Cream Butter and Sugar
In a large mixing bowl, use an electric mixer to cream together 1 cup of softened butter and 2 cups of sugar until the mixture is light and fluffy.
Step 5: Add Eggs
Beat in 4 large eggs, one at a time, ensuring each egg is fully incorporated before adding the next. This helps to create a smooth batter.
Step 6: Incorporate Dry Ingredients and Buttermilk
Gradually add the dry ingredient mixture to the butter-sugar mixture, alternating with 1 cup of buttermilk. Begin and end with the dry ingredients, mixing until just combined.
Step 7: Pour Batter into Pan
Carefully pour the batter into the prepared baking pan, smoothing the top with a spatula.
Step 8: Bake
Place the pan in the preheated oven and bake for 50-60 minutes, or until a toothpick inserted into the center comes out clean.
Step 9: Prepare the Glaze
While the cake is baking, prepare the glaze by melting 1/3 cup of butter in a saucepan. Stir in 3/4 cup of sugar, 2 teaspoons of vanilla extract, and 3 tablespoons of water. Bring to a gentle boil, then remove from heat.
Step 10: Glaze the Cake
Once the cake is done baking, allow it to cool for about 10 minutes in the pan. Then, poke holes all over the top of the cake using a toothpick or skewer. Pour the warm glaze evenly over the cake, allowing it to soak in.
Step 11: Cool and Serve
Let the cake cool completely in the pan before slicing. Serve it plain or with a dollop of whipped cream for an extra treat!
Allergy-Friendly Substitutes
If you have specific dietary needs, here are some substitutes you can consider:
- Gluten-free flour blend – for a gluten-free version of Kentucky Butter Cake.
- Plant-based butter – for a dairy-free option.
- Flax eggs (1 tablespoon flaxseed meal + 2.5 tablespoons water per egg) – as a substitute for eggs.
- Almond milk or coconut milk – as a replacement for buttermilk.
These adjustments will allow you to enjoy Kentucky Butter Cake while accommodating various dietary restrictions.
Slip-Ups to Skip
Baking can be tricky, but here are some common pitfalls to avoid:
- Not measuring ingredients accurately – this can affect the texture and taste.
- Overmixing the batter – this can result in a dense cake.
- Skipping the glaze – it’s a crucial part of what makes this cake so delightful!
- Not allowing the cake to cool before glazing – this can cause the glaze to run off instead of soaking in.
By avoiding these mistakes, you’ll ensure that your Kentucky Butter Cake turns out perfectly every time.
Keep-It-Fresh Plan
To enjoy your Kentucky Butter Cake for days to come, follow these tips:
- Store the cake in an airtight container at room temperature for up to 3 days.
- For longer storage, refrigerate it for up to a week.
- You can also freeze individual slices in plastic wrap and then place them in a freezer bag for up to 3 months. Just thaw at room temperature when ready to enjoy.
These methods will help maintain the cake’s flavor and moisture.
Kentucky Butter Cake Q&A
Can I use a different type of sugar for the glaze?
Yes, you can use brown sugar for a richer flavor, but it will change the color and taste slightly. It’s delicious, too!
Can I make Kentucky Butter Cake ahead of time?
Absolutely! This cake actually tastes better after a day or two as the flavors meld together. Just make sure to store it properly.
What do I serve with Kentucky Butter Cake?
This cake pairs wonderfully with fresh fruit, whipped cream, or a scoop of vanilla ice cream. It’s also delightful on its own!
Can I add flavors to the cake batter?
Definitely! You can add lemon zest, almond extract, or even chocolate chips to customize your Kentucky Butter Cake to your liking.
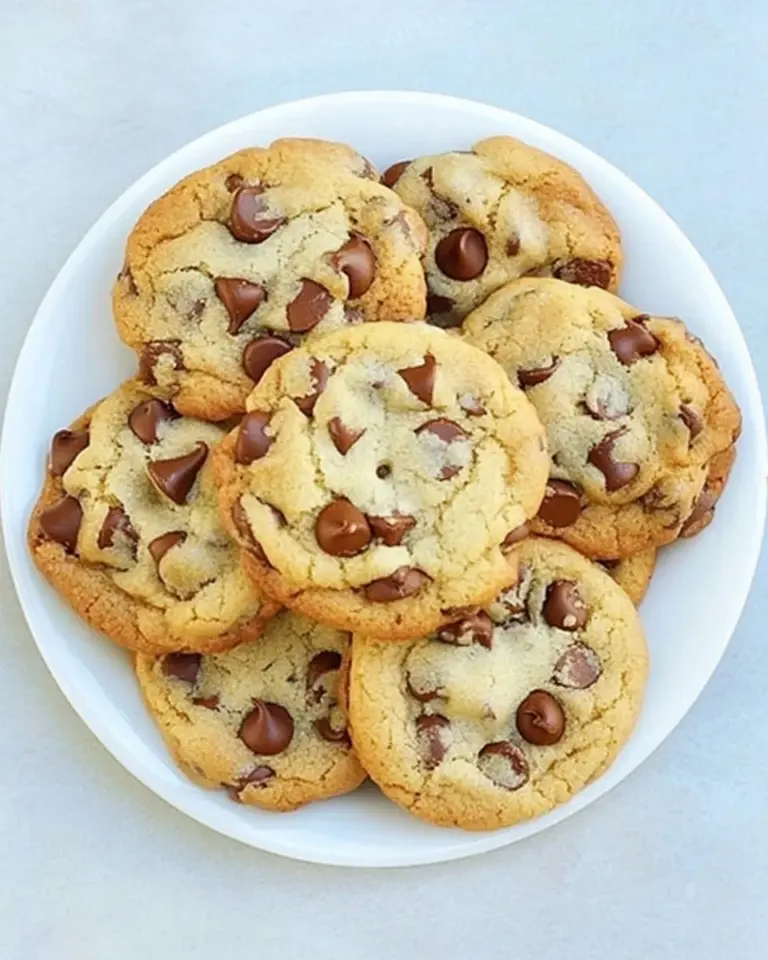
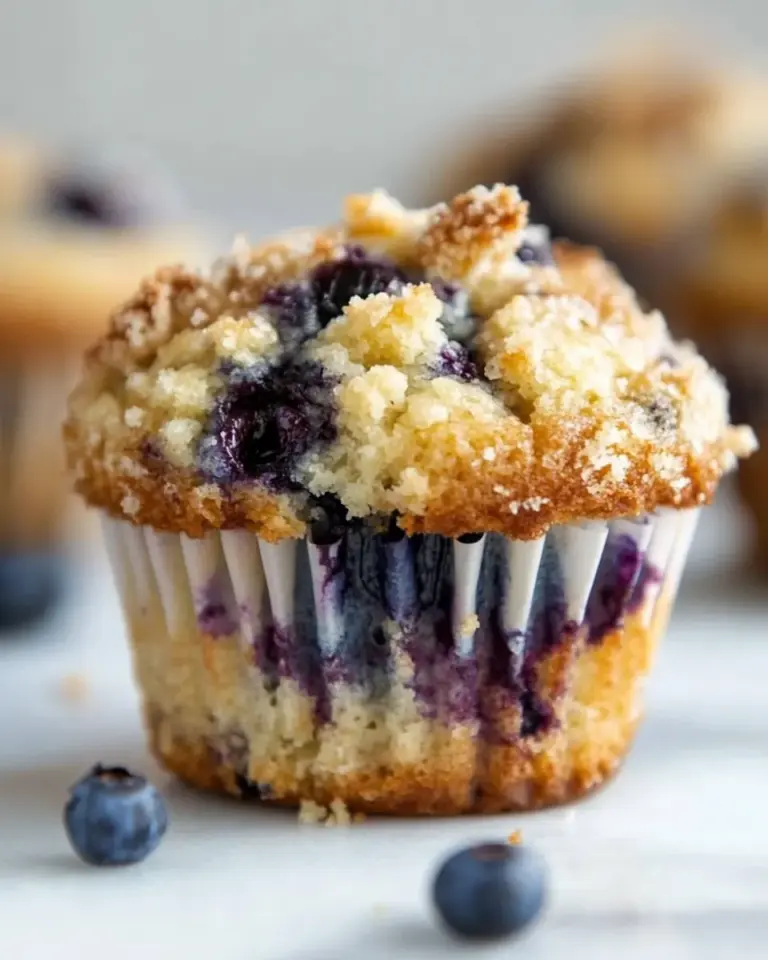
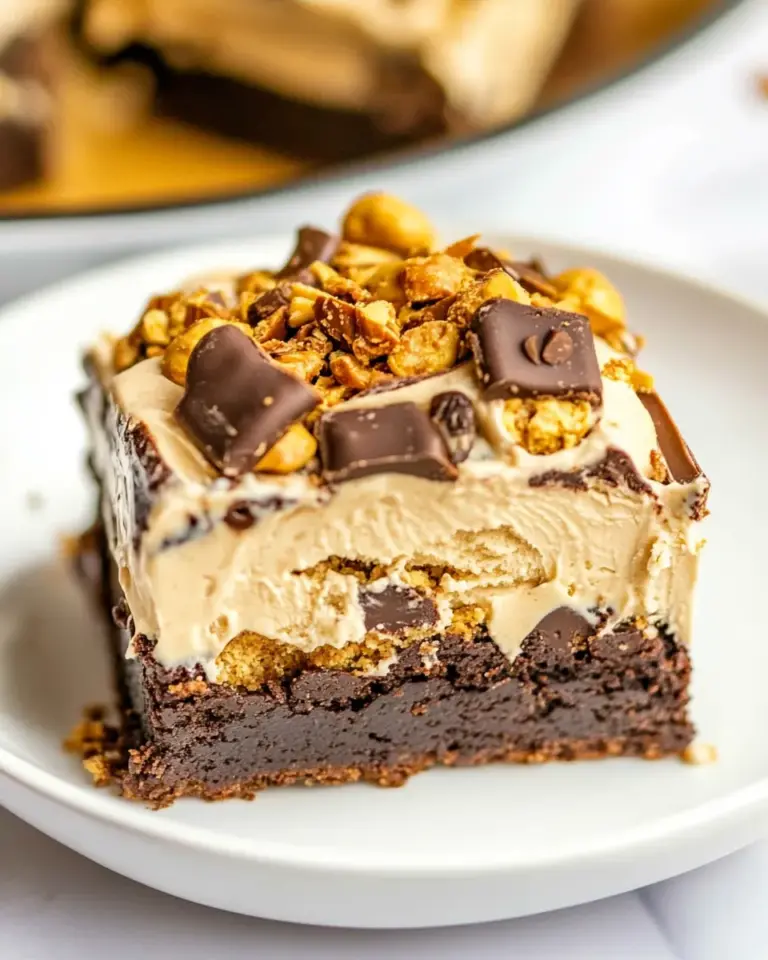
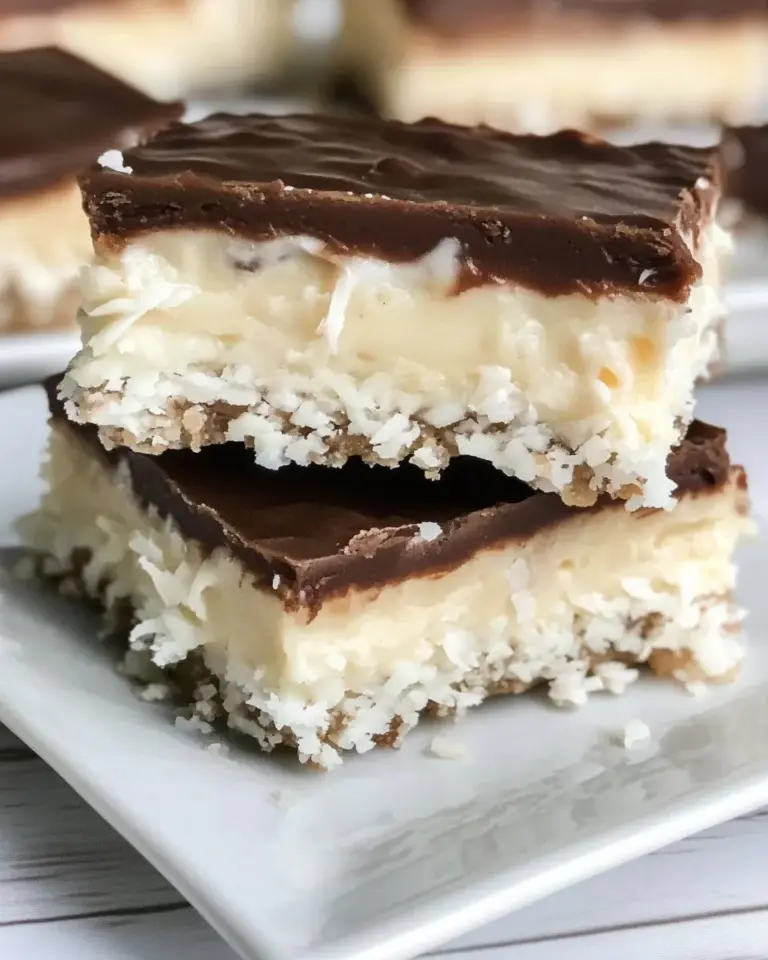
What to Make After This
If you’re inspired to keep baking, here are some delightful recipes to try next:
These recipes will keep your baking adventures exciting and delicious!
Ready to Cook?
With your ingredients prepped and your oven ready, it’s time to whip up this Kentucky Butter Cake. Remember to savor each step of the process, from mixing to baking, and of course, to indulging in this sweet Southern delight. Enjoy sharing this cake with friends and family, and watch as it becomes a beloved staple in your home just as it has in so many others. Happy baking!

Kentucky Butter Cake
Ingredients
Equipment
Method
- Preheat your oven to 350°F (175°C).
- Grease your 9x13 inch baking pan with butter or cooking spray.
- In a mixing bowl, whisk together 3 cups of flour, 1 teaspoon of salt, 1 teaspoon of baking powder, and 1/2 teaspoon of baking soda. Set aside.
- In a large mixing bowl, cream together 1 cup of softened butter and 2 cups of sugar until light and fluffy.
- Beat in 4 large eggs, one at a time, until fully incorporated.
- Gradually add the dry ingredient mixture to the butter-sugar mixture, alternating with 1 cup of buttermilk.
- Pour the batter into the prepared baking pan, smoothing the top with a spatula.
- Bake for 50-60 minutes, or until a toothpick inserted in the center comes out clean.
- Prepare the glaze by melting 1/3 cup of butter in a saucepan. Stir in 3/4 cup of sugar, 2 teaspoons of vanilla extract, and 3 tablespoons of water. Bring to a boil, then remove from heat.
- Once the cake is done, let it cool for about 10 minutes. Poke holes in the top and pour the warm glaze over the cake.
- Let the cake cool completely before slicing and serving.
Notes
- Store in an airtight container at room temperature for up to 3 days.
- Refrigerate for up to a week for longer storage.
- Freeze individual slices for up to 3 months; thaw at room temperature when ready to enjoy.