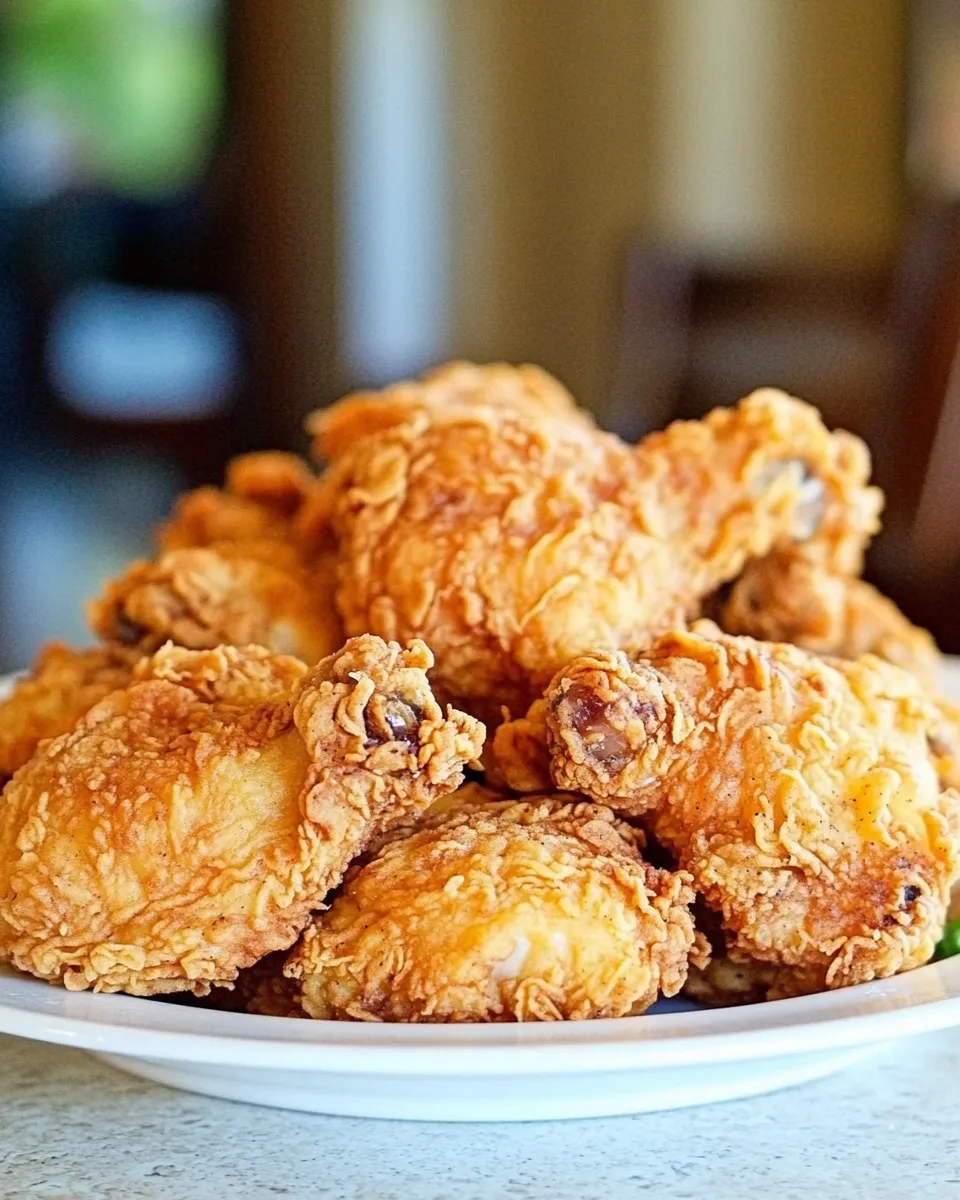
Pioneer Womans Buttermilk Fried Chicken
There’s something truly magical about the aroma of fried chicken wafting through the kitchen. It invokes memories of family gatherings, weekend dinners, and a sense of comfort that only a home-cooked meal can provide. Among the myriad of recipes available, Pioneer Womans Buttermilk Fried Chicken stands out with its crispy, golden exterior and juicy, flavorful meat. This dish is perfect for any occasion, whether you’re hosting a picnic or simply enjoying a cozy night in. So, let’s dive into the details of this iconic recipe that will undoubtedly become a staple in your home.
What Sets This Recipe Apart
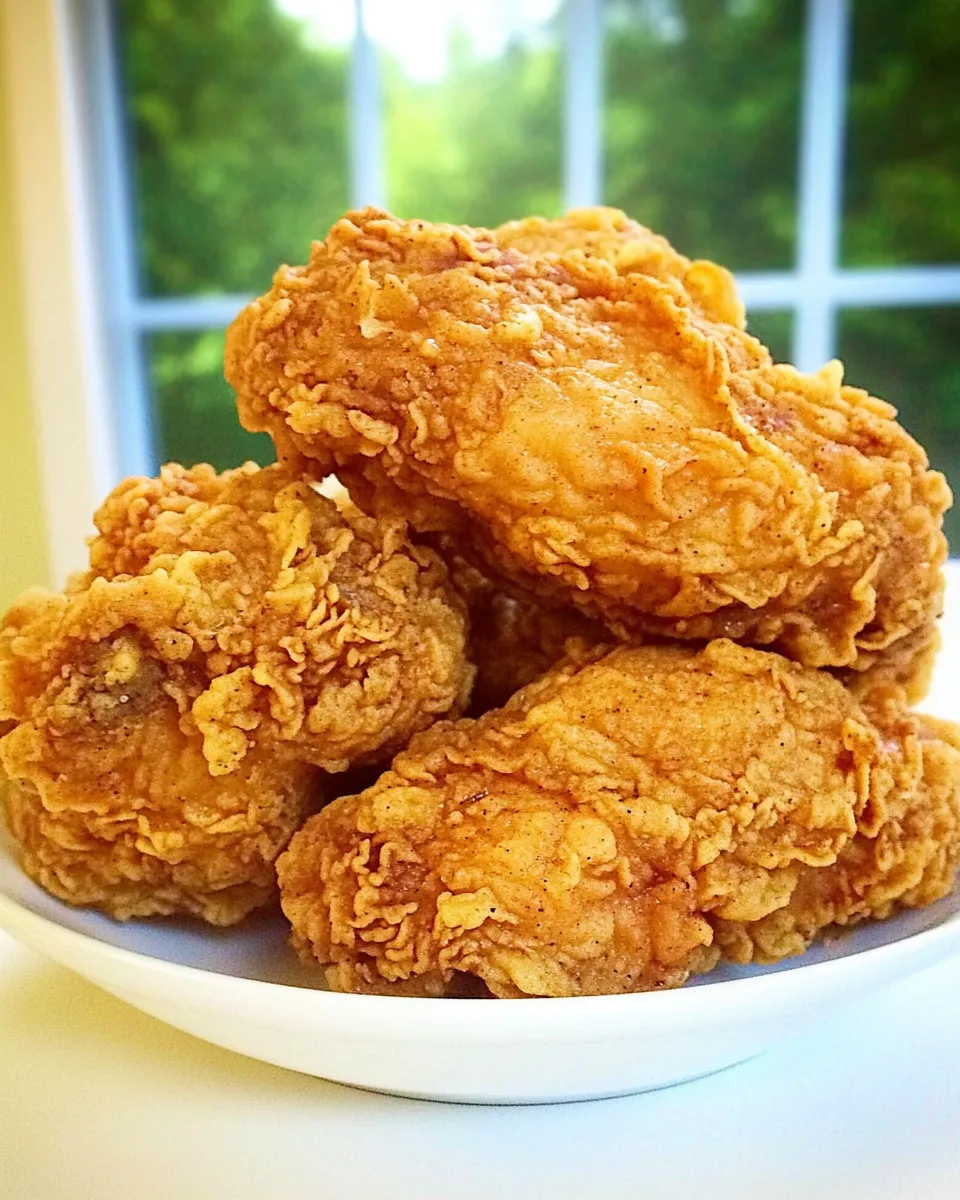
What makes Pioneer Womans Buttermilk Fried Chicken unique is the use of buttermilk, which not only tenderizes the chicken but also infuses it with a rich flavor. The blend of spices adds a delightful kick, making every bite a burst of flavor. The double-dipping technique—first in buttermilk and then in seasoned flour—ensures a crispy coating that’s hard to resist. This recipe captures the essence of traditional Southern cooking, making it a must-try for anyone who appreciates hearty, soul-satisfying food.
What You’ll Need
- 2 cut-up fryer chickens
- 1 quart plus 1/4 cup buttermilk, divided
- 5 cups all-purpose flour
- 3 tablespoons seasoned salt (like Lawry’s)
- 2 teaspoons black pepper
- 2 teaspoons dried thyme
- 2 teaspoons paprika
- 1 teaspoon cayenne pepper
- 1/4 cup milk
- Canola or vegetable oil for frying
Recommended Tools
- Large mixing bowls – for marinating the chicken and mixing the flour.
- Deep frying pan or Dutch oven – essential for achieving that perfect fry.
- Cooking thermometer – to ensure the oil is at the right temperature.
- Wire rack – for draining excess oil after frying.
- Tongs – for safely turning the chicken while frying.
Directions: Pioneer Womans Buttermilk Fried Chicken
Step 1: Marinate the Chicken
Start by placing the cut-up fryer chickens in a large bowl. Pour 1 quart of buttermilk over the chicken, ensuring each piece is thoroughly coated. Cover the bowl and refrigerate for at least 4 hours, or overnight if possible. This step is crucial for tenderizing the meat and enhancing the flavors.
Step 2: Prepare the Dredging Mixture
In another large bowl, combine the all-purpose flour, seasoned salt, black pepper, dried thyme, paprika, and cayenne pepper. Mix well to ensure the spices are evenly distributed. This blend will create the flavorful crust that makes the chicken irresistible.
Step 3: Heat the Oil
In a deep frying pan or Dutch oven, pour enough canola or vegetable oil to cover the bottom of the pan by about 1 inch. Heat the oil over medium-high heat until it reaches 350°F (175°C). Use a cooking thermometer for accuracy.
Step 4: Dredge the Chicken
Once the chicken has marinated, remove the pieces from the buttermilk, allowing any excess to drip off. Dip each piece into the seasoned flour mixture, ensuring it is well-coated on all sides. For an extra-crispy coating, you can repeat this process by dipping the chicken back into the buttermilk and then again into the flour.
Step 5: Fry the Chicken
Carefully place the coated chicken pieces into the hot oil, making sure not to overcrowd the pan. Fry the chicken in batches if necessary. Cook until the chicken is golden brown and crispy, about 12 to 15 minutes per side. Use tongs to turn the chicken halfway through cooking for even browning.
Step 6: Drain and Serve
Once the chicken is cooked through and has reached an internal temperature of 165°F (75°C), remove it from the oil and place it on a wire rack to drain excess oil. Let it rest for a few minutes before serving to allow the juices to redistribute.
Seasonal Ingredient Swaps
- For a different flavor profile, try adding garlic powder or onion powder to the flour mixture.
- In the summer, consider adding fresh herbs like rosemary or basil to the buttermilk marinade for a bright, herbaceous flavor.
- If you prefer a spicier kick, swap out the cayenne pepper for a hotter chili powder or add a dash of hot sauce to the buttermilk.
Errors to Dodge
- Don’t skip marinating the chicken; it’s essential for flavor and tenderness.
- Avoid overcrowding the pan while frying, as this can lower the oil temperature and lead to soggy chicken.
- Ensure the oil is at the right temperature before adding the chicken; too cool oil will result in greasy chicken, while too hot can burn the coating.
Store, Freeze & Reheat
Leftover Pioneer Womans Buttermilk Fried Chicken can be stored in an airtight container in the refrigerator for up to 3 days. If you wish to freeze the fried chicken, wrap each piece in plastic wrap and then place them in a freezer bag. They can be frozen for up to 3 months. To reheat, place the chicken in a preheated oven at 375°F (190°C) for about 20-25 minutes or until heated through, ensuring the skin remains crispy.
Pioneer Womans Buttermilk Fried Chicken Q&A
Can I use boneless chicken for this recipe?
While bone-in chicken is recommended for the best flavor and juiciness, you can use boneless chicken pieces. Just be mindful of the cooking time, as boneless pieces will cook faster.
What oil is best for frying chicken?
Canola or vegetable oil is ideal for frying due to their high smoke points. Peanut oil is another great option if you enjoy a slightly nutty flavor.
How do I know when the chicken is done frying?
The best way to check for doneness is to use a meat thermometer. The internal temperature should reach 165°F (75°C). Additionally, the chicken should be golden brown and crispy on the outside.
Can I make this recipe gluten-free?
Yes! You can substitute the all-purpose flour with a gluten-free flour blend. Just ensure that all other ingredients are gluten-free as well.
Keep Cooking
- Sally’s Baking Addiction – Explore sweet treats perfect for any gathering.
- Pinch of Yum – Discover quick and wholesome meals for busy weeknights.
- Minimalist Baker – Find simple, delicious recipes with minimal ingredients.
Ready, Set, Cook
Now that you have all the details to make Pioneer Womans Buttermilk Fried Chicken, it’s time to roll up your sleeves and get cooking. Gather your ingredients, prepare your workspace, and let the frying begin! Whether you serve it with classic sides like coleslaw and mashed potatoes or enjoy it on its own, this fried chicken recipe is sure to impress family and friends alike.
As you savor each crispy, flavorful bite, you’ll understand why this recipe has become a beloved favorite. Happy cooking, and enjoy your delicious homemade fried chicken!

Pioneer Womans Buttermilk Fried Chicken
Ingredients
Equipment
Method
- Start by placing the cut-up fryer chickens in a large bowl. Pour 1 quart of buttermilk over the chicken, ensuring each piece is thoroughly coated. Cover the bowl and refrigerate for at least 4 hours, or overnight if possible.
- In another large bowl, combine the all-purpose flour, seasoned salt, black pepper, dried thyme, paprika, and cayenne pepper. Mix well to ensure the spices are evenly distributed.
- In a deep frying pan or Dutch oven, pour enough canola or vegetable oil to cover the bottom of the pan by about 1 inch. Heat the oil over medium-high heat until it reaches 350°F (175°C).
- Once the chicken has marinated, remove the pieces from the buttermilk, allowing any excess to drip off. Dip each piece into the seasoned flour mixture, ensuring it is well-coated on all sides.
- Carefully place the coated chicken pieces into the hot oil, making sure not to overcrowd the pan. Fry the chicken in batches if necessary. Cook until the chicken is golden brown and crispy, about 12 to 15 minutes per side.
- Once the chicken is cooked through and has reached an internal temperature of 165°F (75°C), remove it from the oil and place it on a wire rack to drain excess oil.
Notes
- Don’t skip marinating the chicken; it’s essential for flavor and tenderness.
- Avoid overcrowding the pan while frying to maintain oil temperature.
- Ensure the oil is at the right temperature to achieve crispy chicken.