Best Chicken Kiev Recipe
Chicken Kiev is a classic dish that combines crispy, golden breaded chicken with a deliciously rich garlic herb butter that oozes out as you cut into it. This dish is perfect for a dinner party or a cozy night in, and it’s surprisingly easy to make at home. With this Best Chicken Kiev Recipe, you’ll impress your family and friends with your culinary skills.
What Sets This Recipe Apart
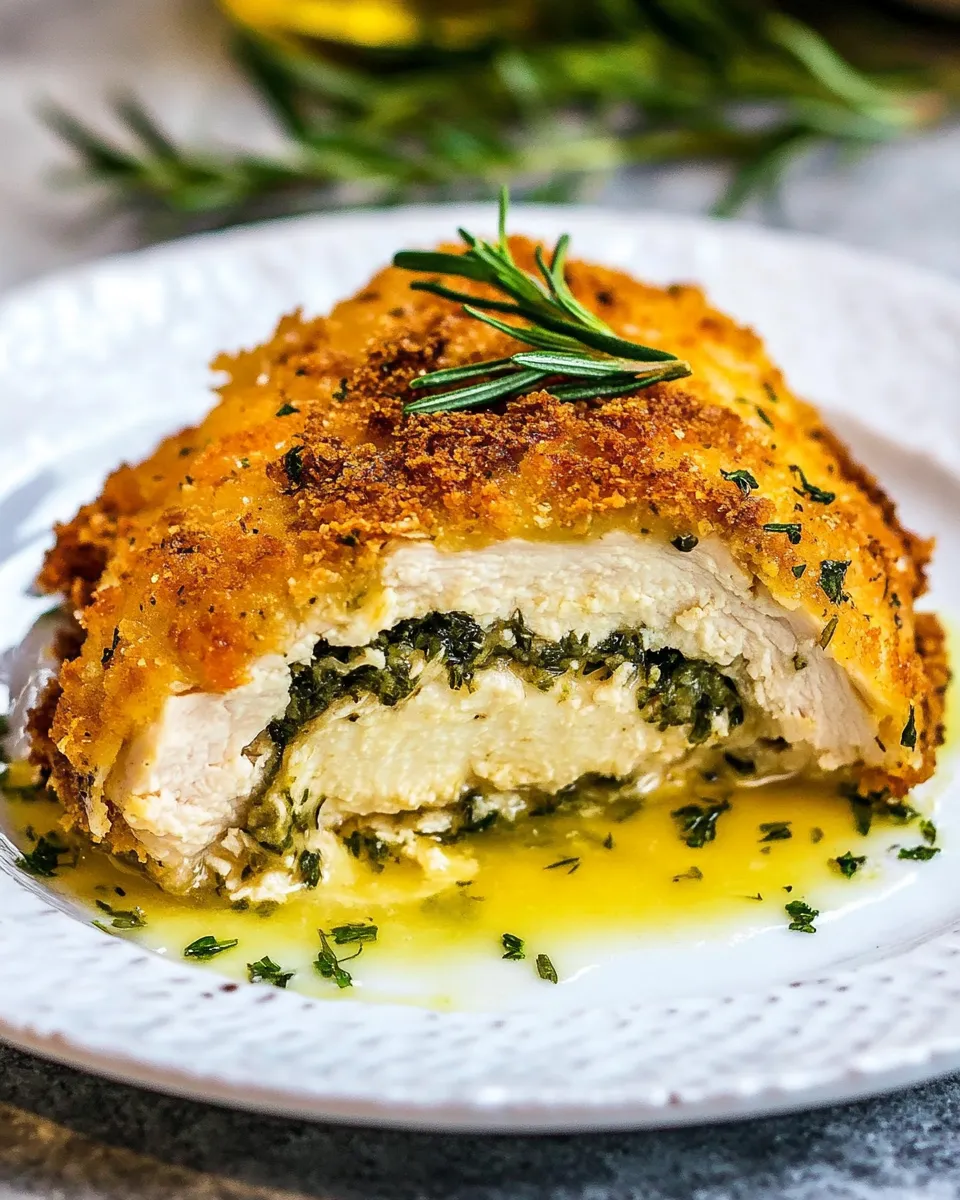
The magic of this Best Chicken Kiev Recipe lies in the herb butter that is both flavorful and aromatic. Packed with fresh herbs, garlic, and a hint of lemon, it elevates the chicken to new heights. The use of panko breadcrumbs gives the chicken an extra crunch, while the frying method locks in moisture, ensuring each bite is juicy and tender. This recipe strikes a perfect balance between crispy exterior and flavorful filling, making it a standout dish on any table.
Gather These Ingredients
- 6 tablespoons unsalted butter, at room temperature
- 4 cloves garlic, minced
- 1/4 teaspoon salt
- 3 tablespoons chopped parsley
- 1 teaspoon fresh rosemary, finely chopped
- 1 teaspoon lemon zest
- 1 teaspoon lemon juice
- 1/2 teaspoon fresh thyme, finely chopped
- 4 small/medium chicken breasts, skinless and boneless
- Salt and pepper to taste
- 1 cup all-purpose flour
- 1 teaspoon salt
- 2 eggs, beaten
- 2 cups panko bread crumbs
- 1/2 teaspoon paprika
- 1 teaspoon garlic powder
- 1 teaspoon onion powder
- 2 cups vegetable oil for frying or as needed
What You’ll Need (Gear)
- Meat mallet or rolling pin – for flattening the chicken breasts.
- Mixing bowls – for preparing the herb butter and breading.
- Frying pan – to fry the chicken to golden perfection.
- Tongs – for flipping the chicken while frying.
- Meat thermometer – to ensure the chicken is cooked through.
- Paper towels – to drain excess oil after frying.
Stepwise Method: Best Chicken Kiev Recipe
Step 1: Prepare the Herb Butter
In a mixing bowl, combine the unsalted butter, minced garlic, salt, chopped parsley, fresh rosemary, lemon zest, lemon juice, and fresh thyme. Mix until well combined. Place the mixture on a piece of plastic wrap, shape it into a log, and refrigerate until firm, about 30 minutes.
Step 2: Prepare the Chicken
While the butter is chilling, place the chicken breasts between two sheets of plastic wrap. Use a meat mallet or rolling pin to gently pound the chicken to an even thickness of about 1/2 inch. This ensures even cooking. Season both sides with salt and pepper.
Step 3: Stuff the Chicken
Once the herb butter is firm, remove it from the refrigerator. Cut the butter log into four equal pieces. Place one piece of butter in the center of each chicken breast. Fold the sides of the chicken over the butter, then roll it up tightly, tucking in the ends to seal the butter inside. Secure with toothpicks if necessary.
Step 4: Prepare the Breading Station
Set up a breading station with three shallow dishes. In the first dish, place the all-purpose flour and 1 teaspoon salt. In the second dish, pour the beaten eggs. In the third dish, combine the panko bread crumbs, paprika, garlic powder, and onion powder.
Step 5: Bread the Chicken
Dredge each chicken roll first in the flour, shaking off any excess. Next, dip it into the beaten eggs, allowing the excess to drip off, and finally coat it in the seasoned panko bread crumbs, pressing gently to adhere.
Step 6: Fry the Chicken
In a large frying pan, heat the vegetable oil over medium heat until shimmering. Carefully add the chicken rolls to the pan, making sure not to overcrowd. Fry for about 5-7 minutes on each side, or until golden brown and the internal temperature reaches 165°F (75°C).
Step 7: Drain and Serve
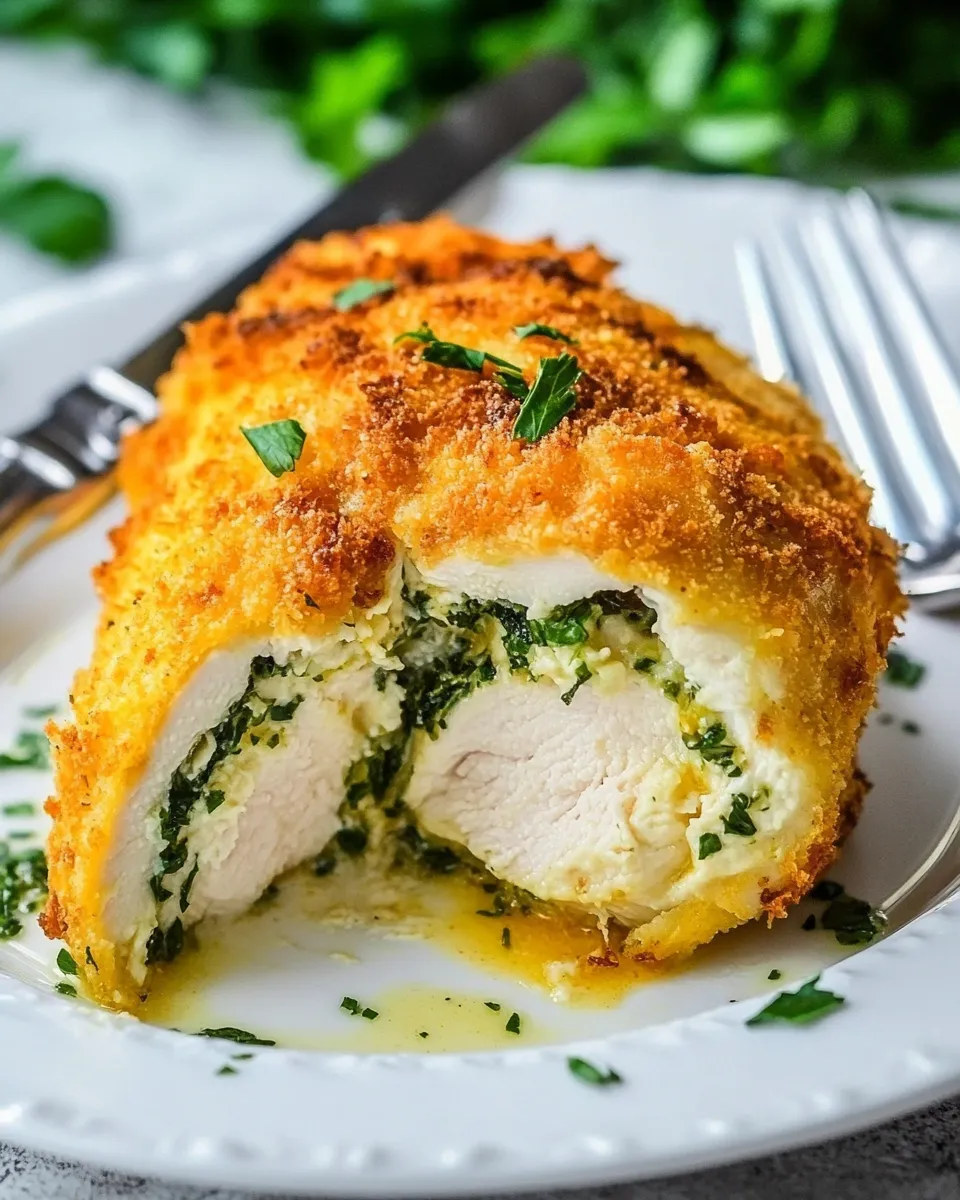
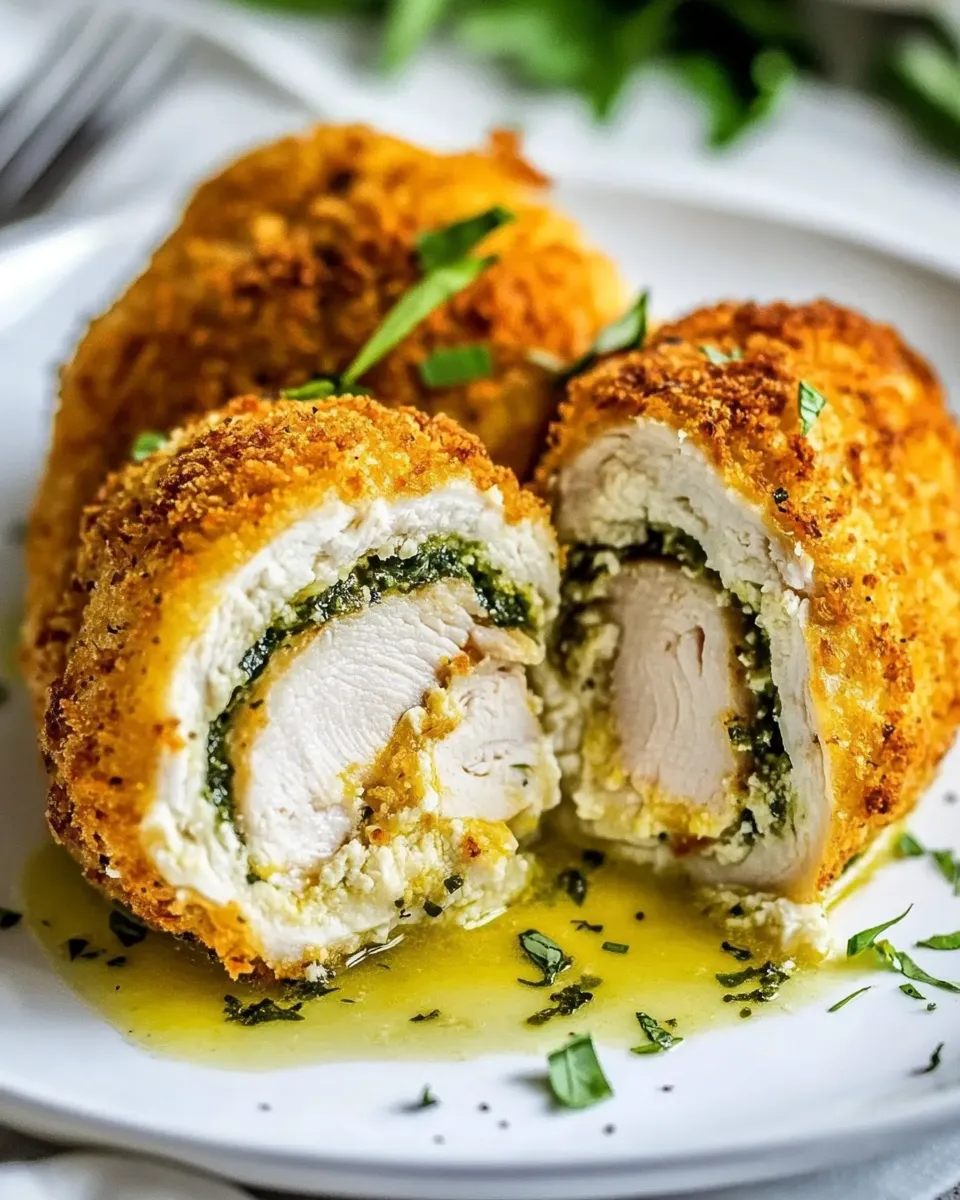
Once cooked, transfer the Chicken Kiev to a plate lined with paper towels to drain any excess oil. Allow it to rest for a few minutes before removing the toothpicks. Serve hot, and watch as the delicious garlic herb butter spills out!
Swap Guide

- Butter: Use vegan butter for a dairy-free version.
- Chicken: Turkey breasts can be used as an alternative to chicken.
- Vegetable oil: Any neutral oil like canola or grapeseed oil works well for frying.
- Panko breadcrumbs: Gluten-free breadcrumbs can be used for a gluten-free option.
Frequent Missteps to Avoid
- Not sealing the chicken properly can cause the butter to leak out during frying.
- Overcrowding the pan can lower the oil temperature, resulting in soggy breading.
- Failing to let the herb butter chill completely will make it difficult to handle.
- Not allowing the chicken to rest after frying can lead to butter leakage when cutting.
Shelf Life & Storage
Leftover Chicken Kiev can be stored in an airtight container in the refrigerator for up to 3 days. To reheat, place in a preheated oven at 350°F (175°C) until warmed through, about 10-15 minutes. For longer storage, freeze the uncooked, breaded chicken rolls for up to 3 months. Thaw in the refrigerator before frying.
FAQ
Can I make Chicken Kiev in advance?
Yes, you can prepare the chicken rolls up to the frying stage and store them in the refrigerator for up to 24 hours before cooking.
What can I serve with Chicken Kiev?
Chicken Kiev pairs beautifully with a side of mashed potatoes, a fresh garden salad, or steamed vegetables for a well-rounded meal.
How can I make Chicken Kiev healthier?
For a healthier version, you can bake the Chicken Kiev instead of frying it. Preheat your oven to 375°F (190°C) and bake for about 25-30 minutes until cooked through and golden.
Can I use chicken thighs instead of breasts?
Yes, chicken thighs are a great alternative and will provide a richer flavor. Just adjust the cooking time as needed.
Explore More
Ready to Cook?
This Best Chicken Kiev Recipe is a delightful way to impress your loved ones with a dish that is both elegant and comforting. With the right ingredients and a few simple steps, you’ll create a meal that is full of flavor and sure to become a family favorite. So, roll up your sleeves, gather your ingredients, and get ready to make magic in the kitchen!
Best Chicken Kiev Recipe
Ingredients
Equipment
Method
- In a mixing bowl, combine the unsalted butter, minced garlic, salt, chopped parsley, fresh rosemary, lemon zest, lemon juice, and fresh thyme. Mix until well combined. Place the mixture on a piece of plastic wrap, shape it into a log, and refrigerate until firm, about 30 minutes.
- While the butter is chilling, place the chicken breasts between two sheets of plastic wrap. Use a meat mallet or rolling pin to gently pound the chicken to an even thickness of about 1/2 inch. This ensures even cooking. Season both sides with salt and pepper.
- Once the herb butter is firm, remove it from the refrigerator. Cut the butter log into four equal pieces. Place one piece of butter in the center of each chicken breast. Fold the sides of the chicken over the butter, then roll it up tightly, tucking in the ends to seal the butter inside. Secure with toothpicks if necessary.
- Set up a breading station with three shallow dishes. In the first dish, place the all-purpose flour and 1 teaspoon salt. In the second dish, pour the beaten eggs. In the third dish, combine the panko bread crumbs, paprika, garlic powder, and onion powder.
- Dredge each chicken roll first in the flour, shaking off any excess. Next, dip it into the beaten eggs, allowing the excess to drip off, and finally coat it in the seasoned panko bread crumbs, pressing gently to adhere.
- In a large frying pan, heat the vegetable oil over medium heat until shimmering. Carefully add the chicken rolls to the pan, making sure not to overcrowd. Fry for about 5-7 minutes on each side, or until golden brown and the internal temperature reaches 165°F (75°C).
- Once cooked, transfer the Chicken Kiev to a plate lined with paper towels to drain any excess oil. Allow it to rest for a few minutes before removing the toothpicks. Serve hot, and watch as the delicious garlic herb butter spills out!
Notes
- For a dairy-free version, substitute with vegan butter.
- Chicken thighs can be used for a richer flavor.
- Ensure not to overcrowd the frying pan to maintain oil temperature.
- Let the herb butter chill completely to make it easier to handle.
- Store leftovers in an airtight container for up to 3 days.